Creating your own folding knife is not only a rewarding experience but also a way to express your craftsmanship. This guide will walk you through the process of making a folding knife from scratch. Whether you’re a curious beginner or an experienced knifemaker, you’ll find this guide both informative and engaging. Let’s dive into the art of knife making and unlock the secrets to crafting your own unique folding knife masterpiece.
Outline
- What Materials Do You Need for a Folding Knife?
- Understanding the essentials of knife making materials.
- Exploring different blade and handle materials.
- How to Design Your Folding Knife?
- Creating a blueprint for your knife.
- Considering aesthetic and functional aspects.
- Step 1: Cutting Out the Blade
- Using a saw blade to shape your knife.
- Tips for a precise cut.
- Step 2: Shaping the Blade
- Using a grinder and sandpaper for shaping.
- Ensuring the blade looks like a knife.
- Step 3: Drilling the Pivot Hole
- How to drill a hole for the pivot.
- Importance of alignment and precision.
- Step 4: Crafting the Handle Scales
- Selecting and shaping handle materials like micarta.
- Drilling holes and attaching to the blade.
- Step 5: Assembling the Folding Mechanism
- Installing the pivot and stop pin.
- Ensuring smooth blade opening and closing.
- Step 6: Creating the Locking Mechanism
- Understanding the liner lock system.
- Properly bending the lock bar.
- Step 7: Heat Treating the Blade
- Techniques for hardening the blade.
- Quenching and tempering basics.
- Step 8: Finishing Touches
- Sanding and polishing the blade and handle.
- Sharpening the blade to perfection.
What Materials Do You Need for a Folding Knife?
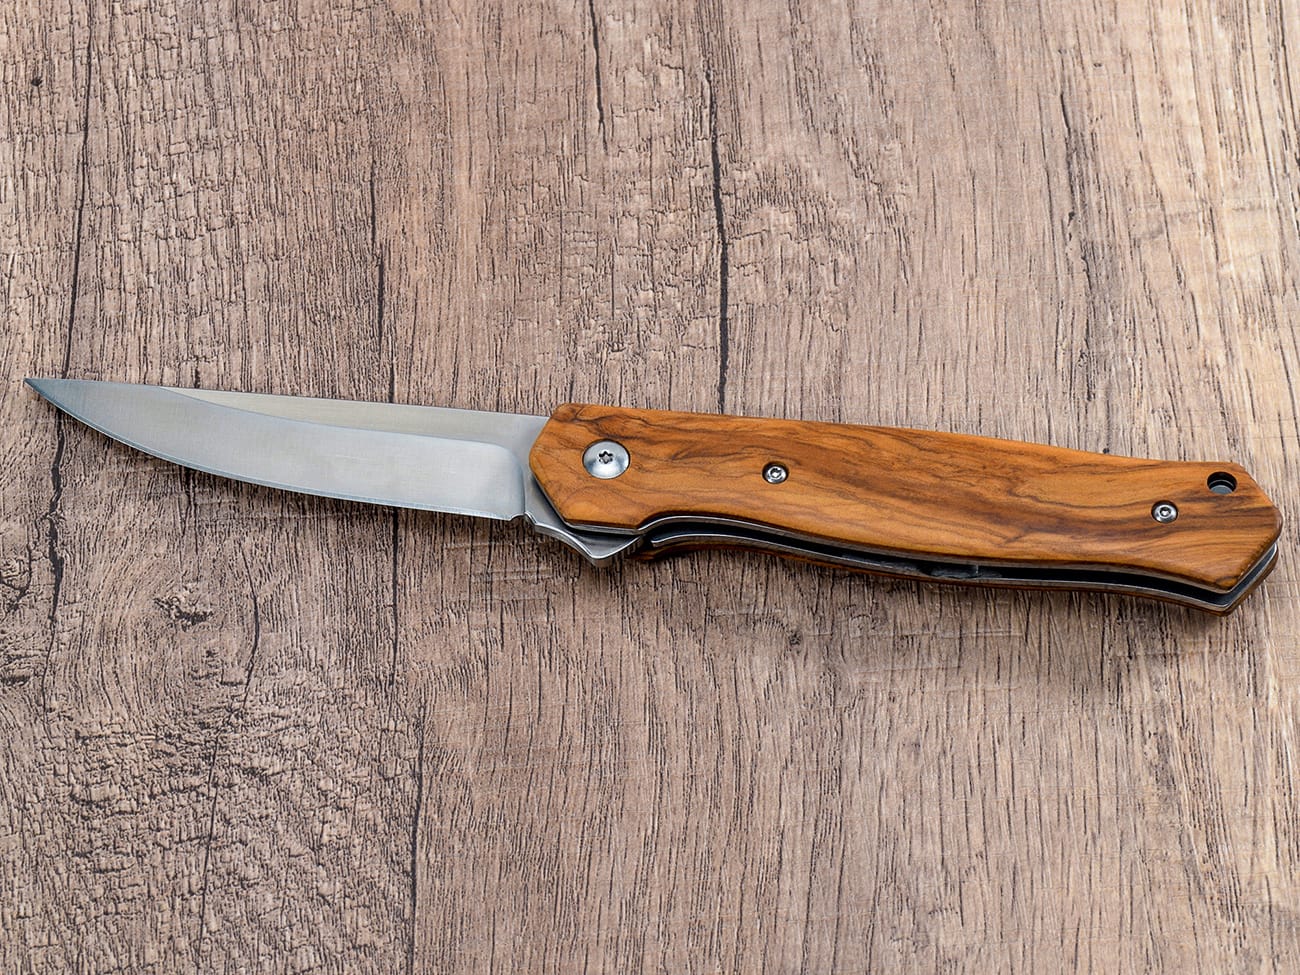
When embarking on a folding knife project, selecting the right materials is crucial. You’ll need a piece of metal for the blade, such as carbon steel or spring steel, which are known for their durability and ability to hold an edge. Additionally, handle scales can be crafted from a variety of materials like wood, G10, or micarta, each offering unique aesthetics and grip qualities.To complement your homemade folding knife, consider using washers to ensure smooth blade operation. A stop pin will also be essential to keep the blade stable when open. For the locking mechanism, materials like titanium liner or a simple design lockbar will provide strength and reliability.
How to Design Your Folding Knife?
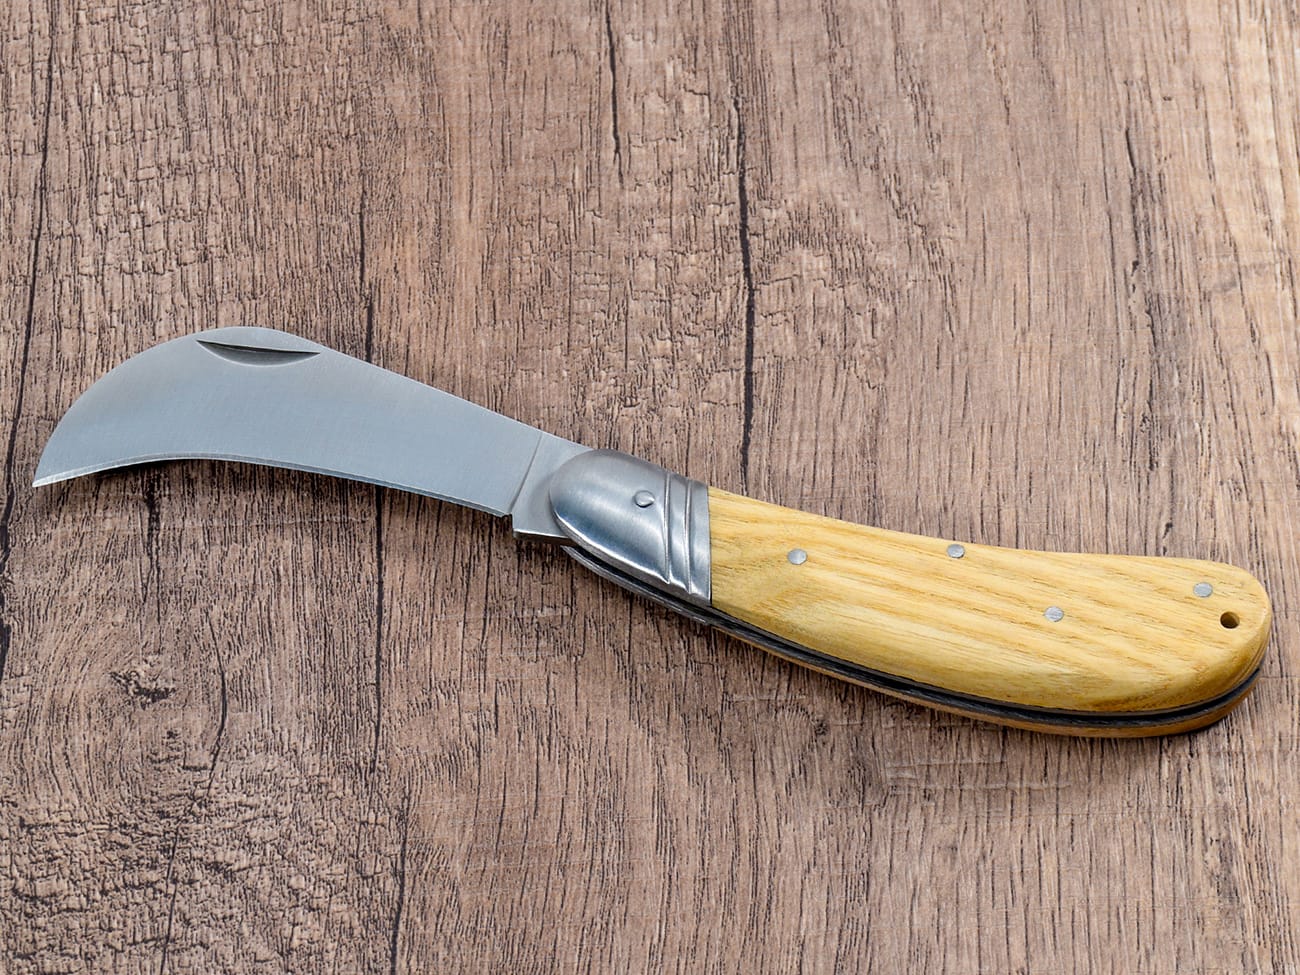
Designing your folding knife is a creative process that involves planning both the form and function of your knife. Start by sketching a blueprint that includes the blade shape, handle length, and locking mechanism. Pay attention to the blade’s tang and how it fits into the handle when folded.Consider the ergonomics of the handle and how it feels in your hand. The end of the handle should complement the blade’s aesthetics and functionality. A well-thought-out design will not only look appealing but will also enhance the knife’s performance.
Step 1: Cutting Out the Blade
Begin your knife making journey by cutting out the blade from a saw blade or piece of metal. Use a jeweler’s saw for intricate cuts or a band saw for larger shapes. It’s important to clamp your material securely and to proceed with caution to ensure precise cuts.This is where your knife starts to take shape, so take your time to make sure it resembles your initial design. Remember, the blade is the heart of your knife, and precision here will pay off in the final product.
Step 2: Shaping the Blade
Once the blade is cut out, it’s time to shape it using a grinder or sander. A disc grinder can be particularly useful for this step. Carefully shape the blade, paying attention to the bevel and edge profile. This is where your blade will begin to look like a knife.Use sandpaper to smooth out any rough edges and prepare the blade for the next steps. The goal is to achieve a finely-tuned blade that balances durability with sharpness.
Step 3: Drilling the Pivot Hole
Drilling the pivot hole is a critical step in the folding knife project. Use a drill press or hand drill with a suitable drill bit to ensure precision. It’s important to drill the hole in the exact spot for proper blade alignment.Ensure the pivot hole is smooth and free of burrs, as this will affect the blade’s movement. Accurate drilling here sets the foundation for the folding mechanism’s functionality.
Step 4: Crafting the Handle Scales
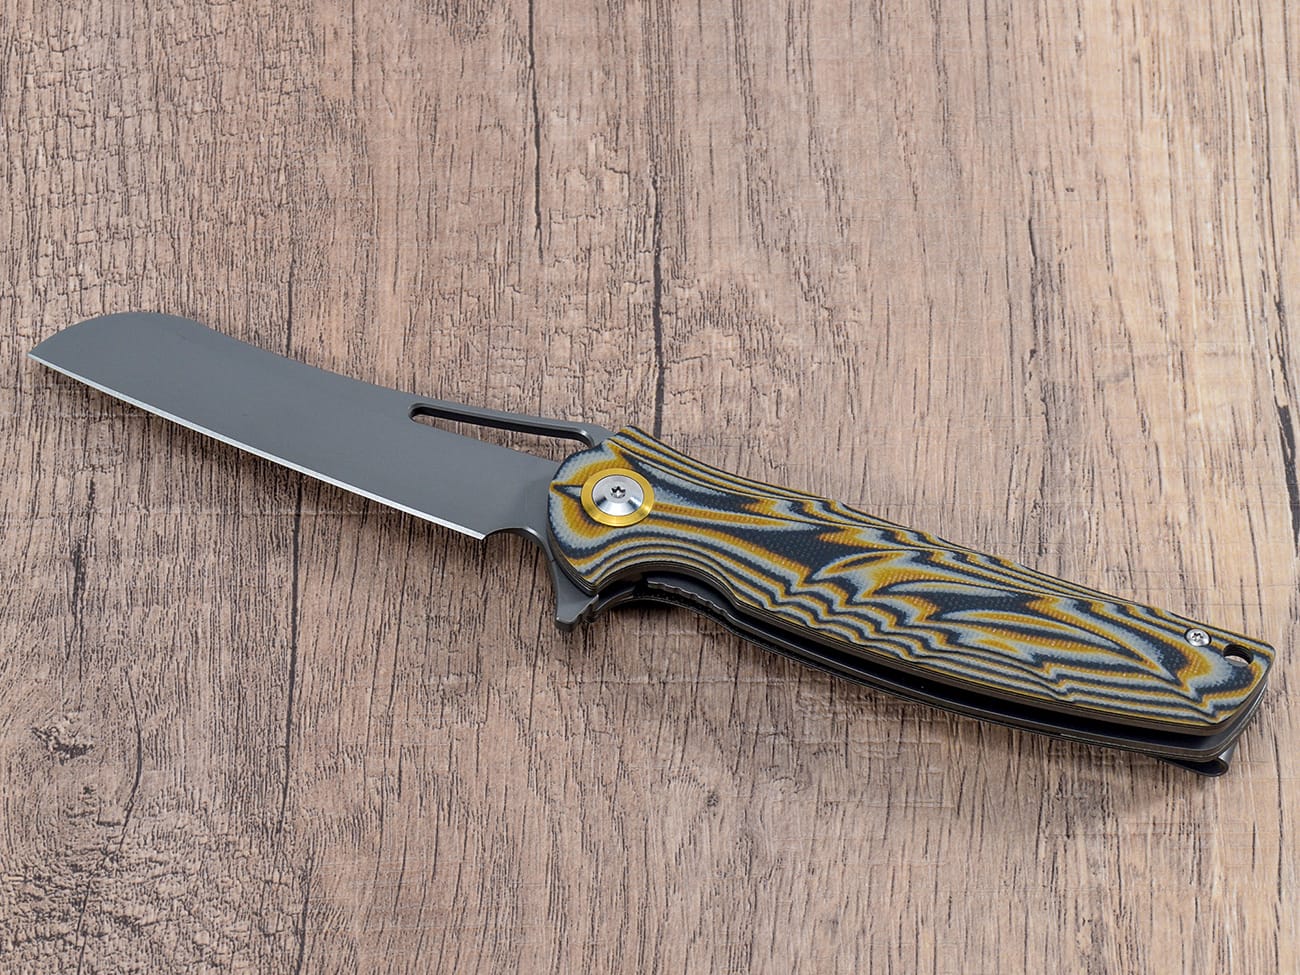
The handle scales are a vital part of the knife’s appearance and usability. Choose materials that match the blade’s design and feel comfortable in hand. Micarta handle scales are a great choice for durability and aesthetics.After selecting your material, shape the scales to fit the blade and drill holes for the pivot and stop pin. This step requires precision to ensure all parts align perfectly when assembled.
Step 5: Assembling the Folding Mechanism
Assembling the folding mechanism involves installing the pivot pin and stop pin, allowing for smooth blade operation. Use washers to reduce friction and enhance the knife’s opening and closing action.Ensure that the blade sits correctly and that the folding action is smooth and reliable. Test the knife frequently during this step to make adjustments as needed.
Step 6: Creating the Locking Mechanism
The locking mechanism is crucial for a folding knife’s safety and functionality. A liner lock is a popular choice, providing a secure lock when the blade is open. Carefully bend the lock bar to ensure it engages properly with the blade.The lock would need to be tested thoroughly to ensure it holds the blade securely in place during use. It’s an essential component that requires attention to detail and precision.

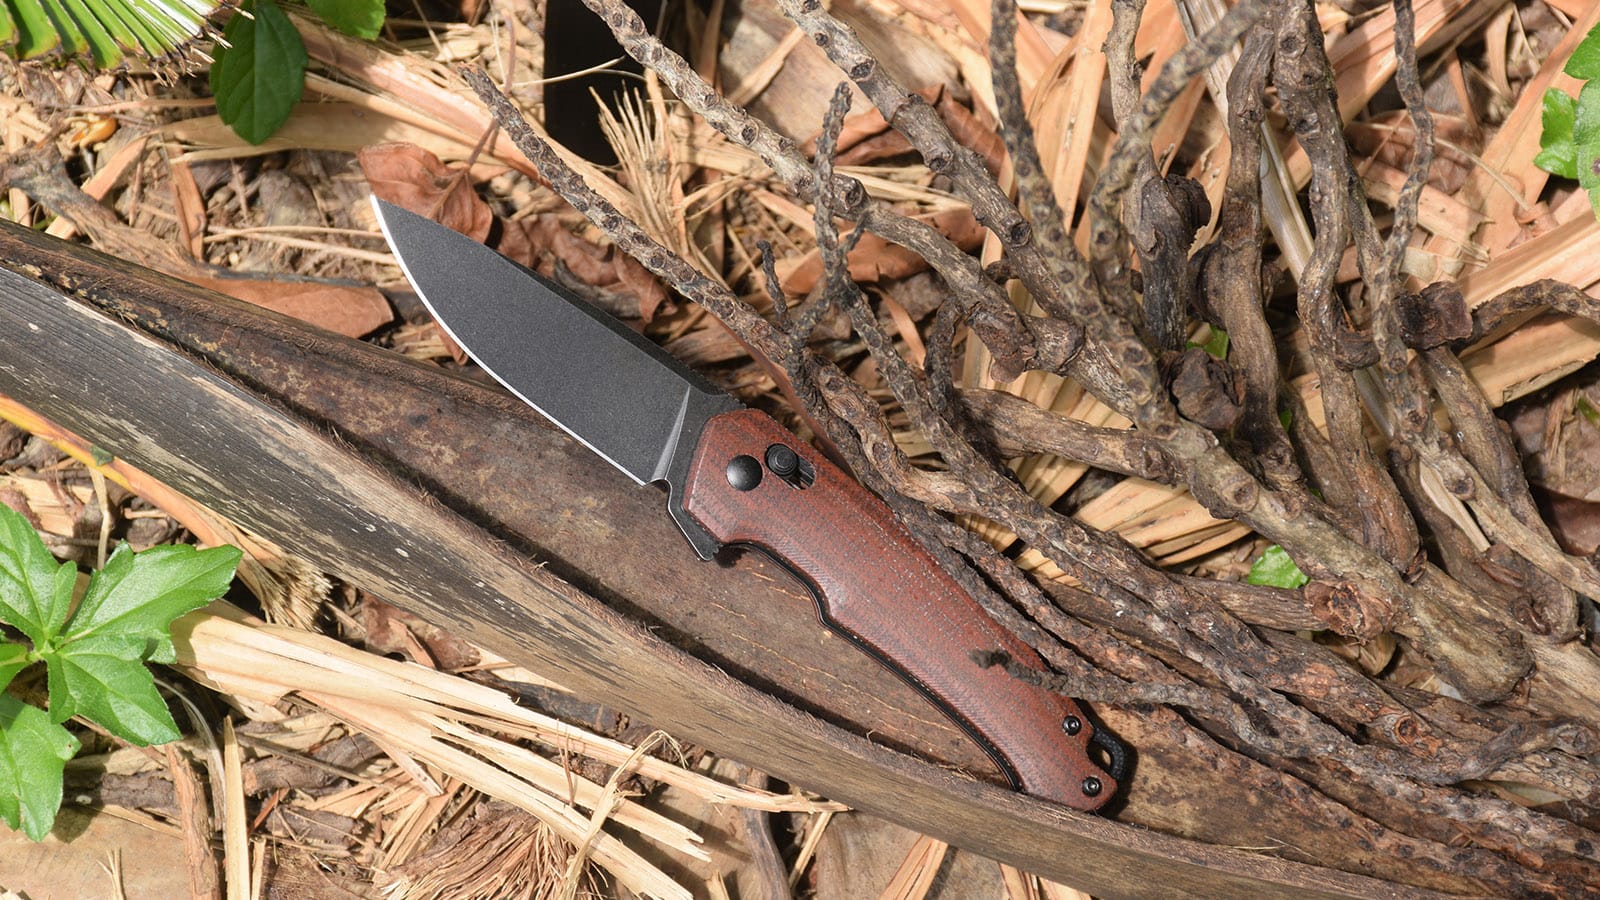
Image Title: Crafting a Micarta Handle Folding Knife
Step 7: Heat Treating the Blade
Heat treating the blade is a process to harden and strengthen it. This involves heating the blade to a specific temperature and then quenching it in oil or water. The heat treat process increases the blade’s toughness and ability to hold an edge.After quenching, temper the blade by heating it again to a lower temperature. This reduces brittleness while maintaining the blade’s hardness, making it suitable for everyday use.
Step 8: Finishing Touches
The final touches involve sanding and polishing the blade and handle. Use progressively finer sandpaper to achieve a smooth finish. A buffing wheel can add a professional shine to your knife, enhancing its overall appearance.Finally, sharpen the blade using a grinder or sharpening stone until it’s razor-sharp. A well-sharpened blade is essential for a functional knife.
Conclusion
Congratulations! You’ve learned how to make a folding knife from scratch. This journey has taken you through the essentials of knife making, from selecting materials to the final finishing touches. Here are the key points to remember:
- Select durable and suitable materials for both the blade and handle.
- Design a functional and aesthetically pleasing knife.
- Cut, shape, and drill with precision.
- Assemble the folding and locking mechanisms accurately.
- Heat treat the blade for durability.
- Finish with a smooth and sharp edge.
For more information on folding knives and materials, check out our comprehensive guides on Folding Knife, Knife Blades Materials, and Knife Handle Materials.With patience and practice, you’ll master the art of knife making and create your own unique folding knives. Happy crafting!