Are you ready to embark on an exciting journey into the world of knife making? Whether you’re a seasoned craftsman or a curious beginner, assembling a folding knife is a rewarding experience that combines precision, creativity, and craftsmanship. In this comprehensive guide, we’ll walk you through the intricate process of assembling a folding knife, from selecting the right components to fine-tuning the final product. By the end of this article, you’ll have the knowledge and confidence to create your very own custom pocket knife. Let’s dive in and unlock the secrets of folding knife assembly!
Why Should You Learn to Assemble a Folding Knife?
Before we delve into the nitty-gritty details, let’s consider why learning to assemble a folding knife is a valuable skill:
- Customization: By assembling your own knife, you can create a unique tool tailored to your specific needs and preferences.
- Understanding: Gaining insight into the inner workings of a folding knife will help you better maintain and repair your knives in the future.
- Craftsmanship: The process of knife assembly is a rewarding hands-on experience that hones your fine motor skills and attention to detail.
- Cost-effectiveness: Building your own knife can be more economical than purchasing high-end custom knives.
- Hobby potential: Knife making can become an enjoyable and potentially profitable hobby or side business.
Now that we’ve established the benefits, let’s explore the step-by-step process of assembling a folding knife.
What Tools and Materials Do You Need?
Before you begin, gather the following tools and materials:
- Folding knife kit or individual components (blade, handle scales, liners, pivot, etc.)
- Screwdriver set (including Torx drivers)
- Pliers
- File or sandpaper
- Lubricant (e.g., nano-oil)
- Epoxy (if needed for handle scale attachment)
- Drill press (if drilling your own pin holes)
- Ball peen hammer (for peening pins)
- Workbench or sturdy work surface
Step 1: Familiarize Yourself with the Components
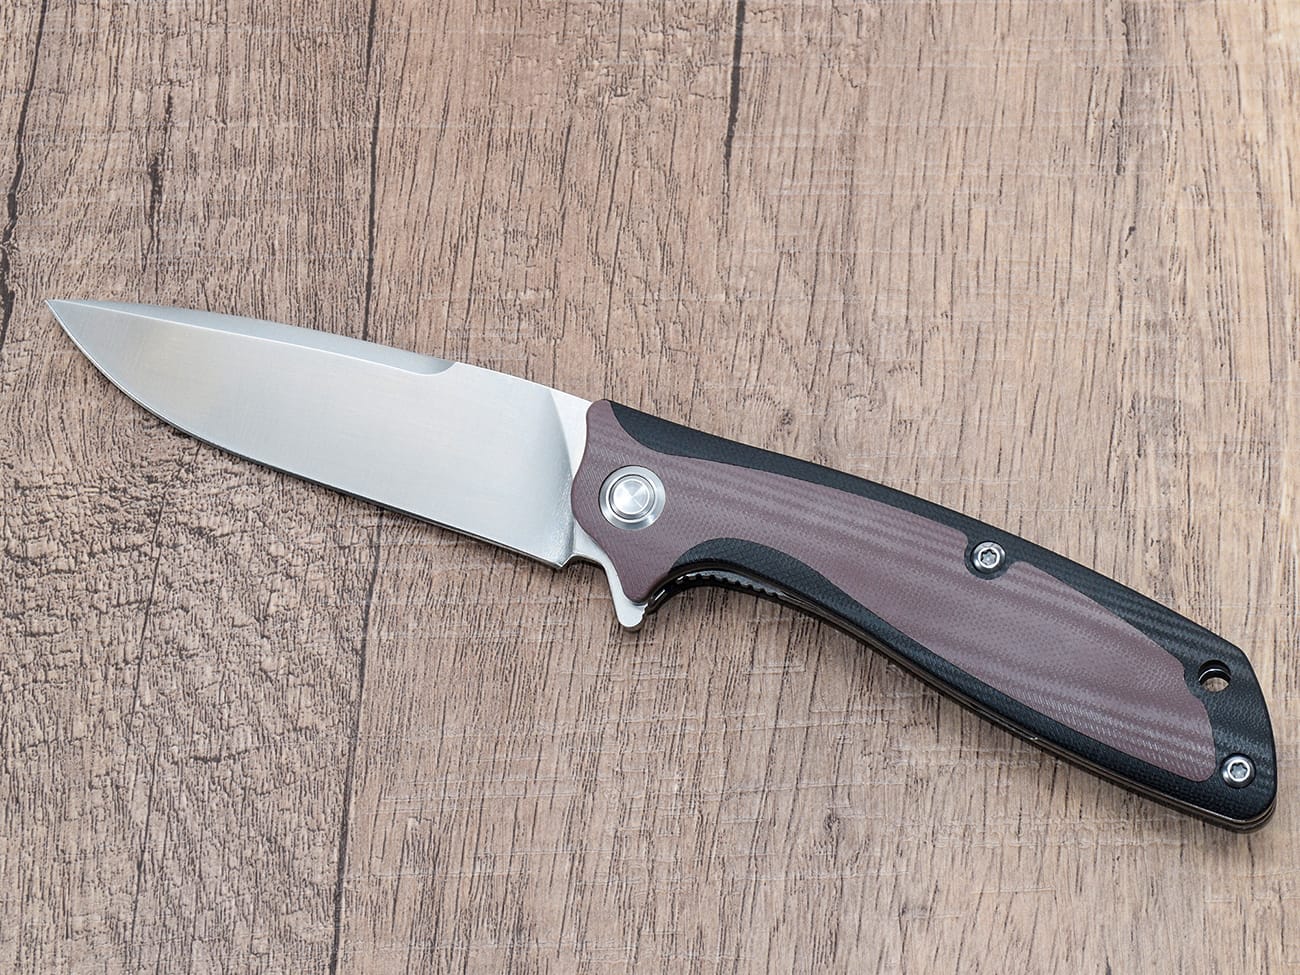
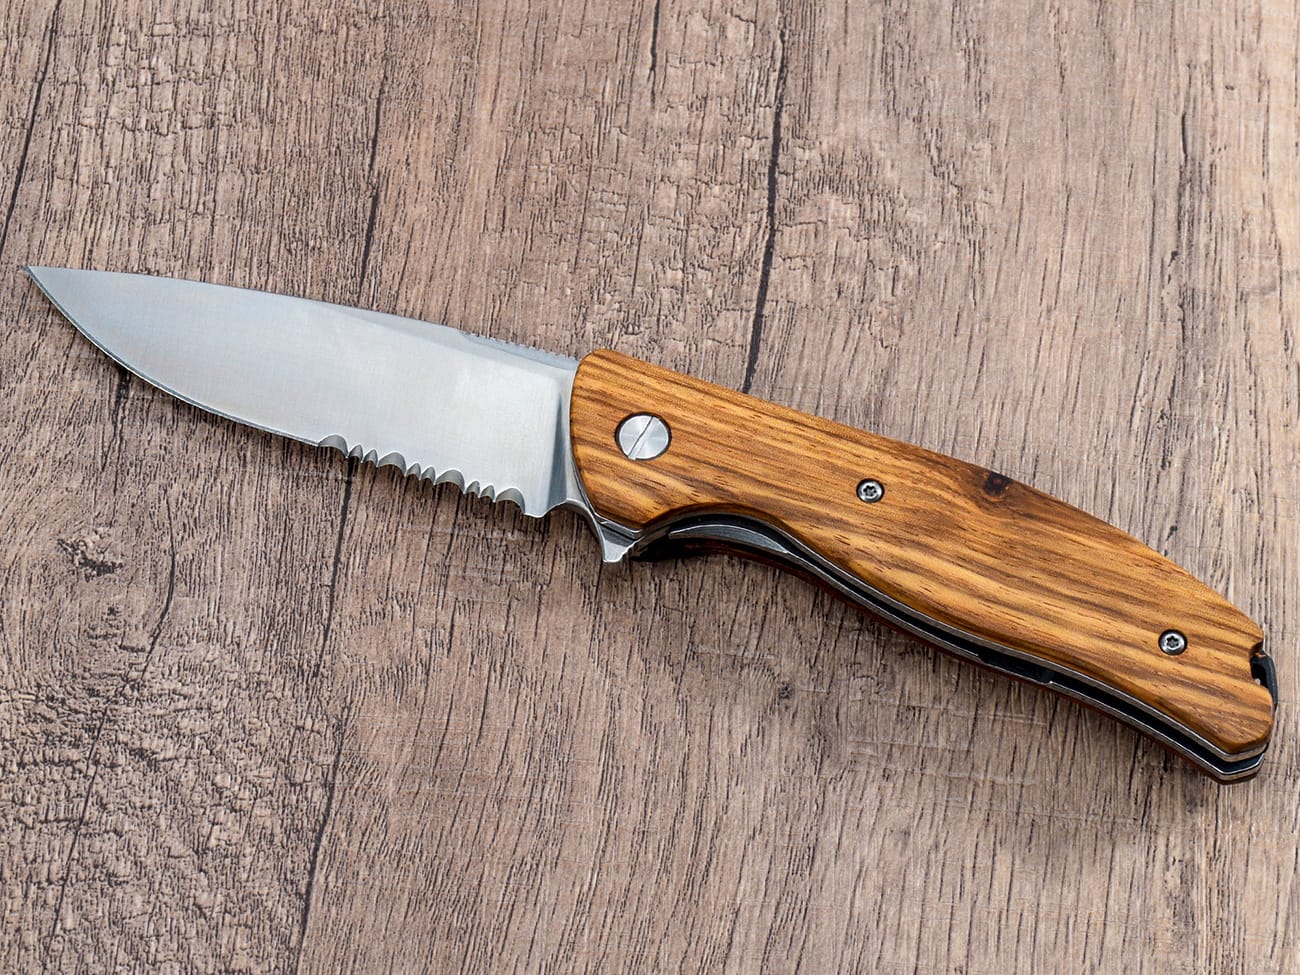
Before you start assembling your folding knife, take some time to examine all the components. A typical folding knife consists of:
- Blade
- Handle scales (often made of G10, wood, or other materials)
- Liners (metal plates that provide structure)
- Pivot (the main screw around which the blade rotates)
- Washers (to reduce friction)
- Lock mechanism (e.g., liner lock, frame lock, or lockback)
- Pocket clip (optional)
- Various screws and pins
Understanding how these parts work together is crucial for a successful assembly.
Step 2: Prepare the Blade
The blade is the heart of your knife. Here’s how to prepare it:
- Inspect the blade for any imperfections or burrs.
- If necessary, use fine-grit sandpaper to smooth out any rough spots.
- Clean the blade thoroughly to remove any debris or oils.
Remember, a well-prepared blade is essential for smooth operation and longevity of your folding knife.
Step 3: Assemble the Handle
The handle assembly is a critical step in the process. Follow these steps:
- Lay out your handle scales and liners.
- If using wooden handle scales, consider applying a finish for protection.
- Align the liners with the handle scales, ensuring all holes match up.
- If needed, use epoxy to secure the scales to the liners.
- Clamp the assembly and allow it to dry completely.
Learn more about different handle materials and their properties
Step 4: Install the Lock Mechanism
The lock mechanism is crucial for safe operation. Here’s how to install it:
- For a liner lock knife, ensure the lock bar is properly positioned within the liner.
- Test the lock bar’s tension and adjust if necessary.
- For other lock types like a frame lock or lockback, follow the specific instructions for your chosen mechanism.
Remember, a properly functioning lock is essential for preventing the blade from closing unexpectedly during use.
Step 5: Assemble the Pivot
The pivot is the axis around which your blade will rotate. Follow these steps:
- Insert the pivot pin through one side of the handle.
- Place washers on either side of the blade tang.
- Carefully insert the blade between the handle liners, aligning it with the pivot.
- Secure the pivot with the corresponding screw or pin.
Proper pivot assembly ensures smooth blade operation and prevents wobbling.
Step 6: Fine-tune the Action
Now it’s time to adjust the knife’s action:
- Slowly open and close the blade to test the action.
- Adjust the pivot tension until you achieve the desired smoothness and resistance.
- Apply a small amount of lubricant to the pivot and other moving parts.
A well-tuned action should allow the blade to open smoothly without being too loose.
Step 7: Install Additional Hardware
With the main assembly complete, it’s time to add the finishing touches:
- Attach the pocket clip (if included) using the provided screws.
- Install any additional hardware like lanyard holes or thumb studs.
- Double-check all screws and pins for tightness.
Step 8: Test and Adjust
Before considering your knife complete, perform these final checks:
- Open and close the blade multiple times to ensure smooth operation.
- Test the lock mechanism to verify it engages securely.
- Check for any blade play (side-to-side or up-and-down movement when open).
- Make any necessary adjustments to screws or pivot tension.
Step 9: Sharpen and Maintain
To keep your newly assembled knife in top condition:
- Sharpen the blade if needed using a sharpening stone or system of your choice.
- Clean all parts thoroughly to remove any debris from the assembly process.
- Apply a light coat of oil to prevent rust and ensure smooth operation.
Discover more about knife maintenance and sharpening techniques
Common Challenges and How to Overcome Them
As you assemble your folding knife, you may encounter some challenges. Here are a few common issues and their solutions:
- Blade centering problems: Adjust the pivot tension and check for any debris between the blade and liners.
- Lock bar tension issues: Carefully bend the lock bar to increase or decrease tension as needed.
- Stiff action: Apply lubricant and work the blade open and close multiple times to break it in.
- Loose handle scales: Use epoxy to secure them, ensuring a strong bond.
Remember, patience and attention to detail are key when troubleshooting these issues.
Safety Considerations
When assembling and using your folding knife, always prioritize safety:
- Wear protective gloves when handling sharp blades.
- Work in a well-lit area with a stable work surface.
- Keep your workspace clean and organized to prevent accidents.
- Always cut away from yourself when testing the blade.
- Store your knife safely when not in use, especially if children are present.
Conclusion
Assembling a folding knife is a rewarding process that combines technical skill, creativity, and patience. By following this comprehensive guide, you’ve gained the knowledge needed to create your own custom pocket knife. Remember that practice makes perfect, and each knife you assemble will help you refine your skills.As you continue your knife-making journey, consider exploring different blade materials, handle designs, and lock mechanisms to expand your repertoire. Who knows? You might even discover a passion for creating unique, high-quality folding knives that others will admire and appreciate.Key takeaways to remember:
- Always prioritize safety throughout the assembly process
- Take your time and pay attention to detail
- Proper alignment and tension of components are crucial for smooth operation
- Regular maintenance will keep your assembled knife in top condition
- Don’t be afraid to experiment with different materials and designs
Now that you’re equipped with the knowledge to assemble a folding knife, it’s time to put your skills to the test. Happy knife making!
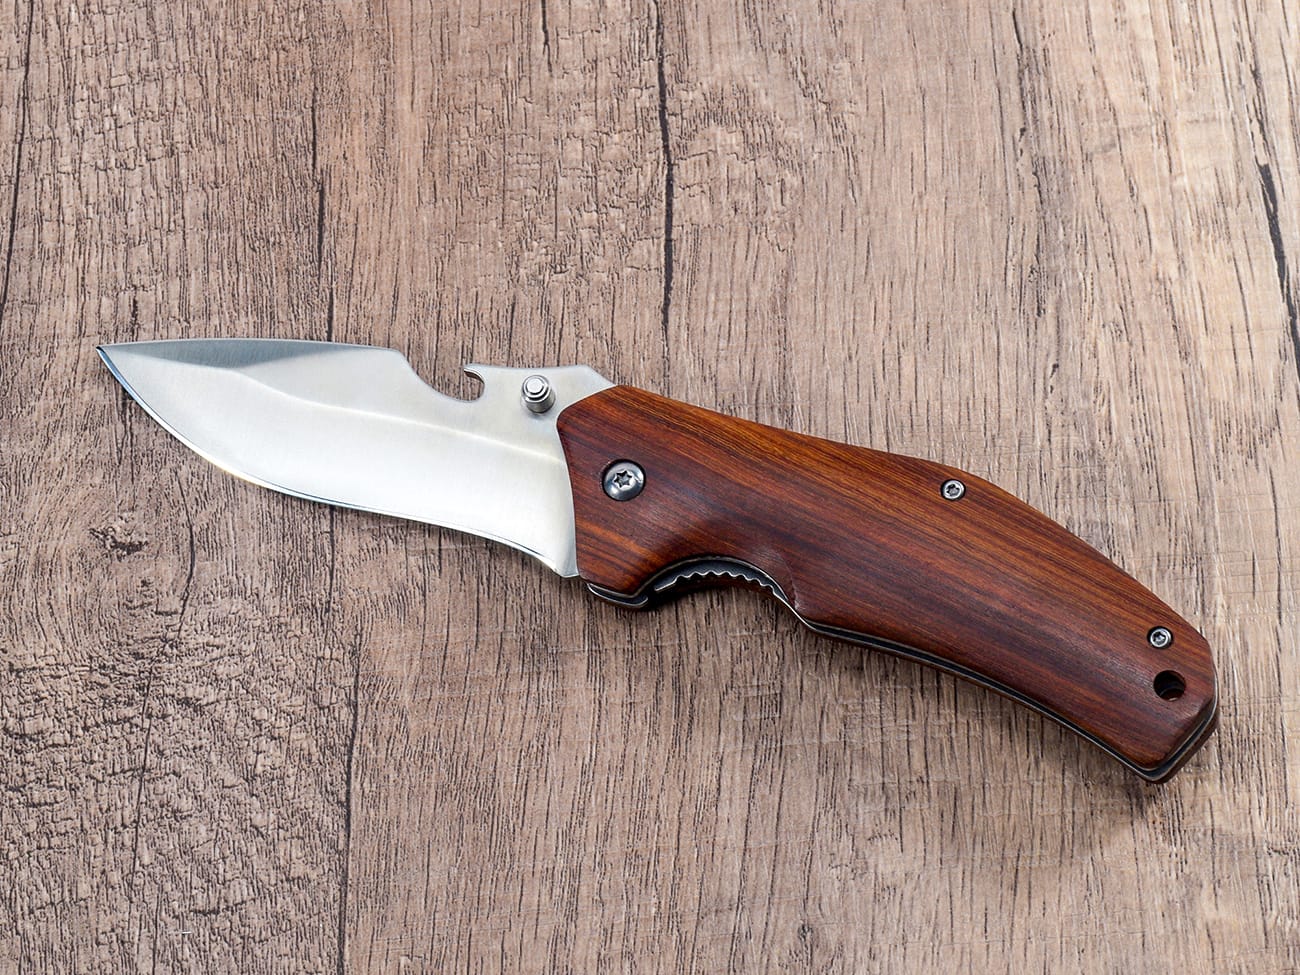
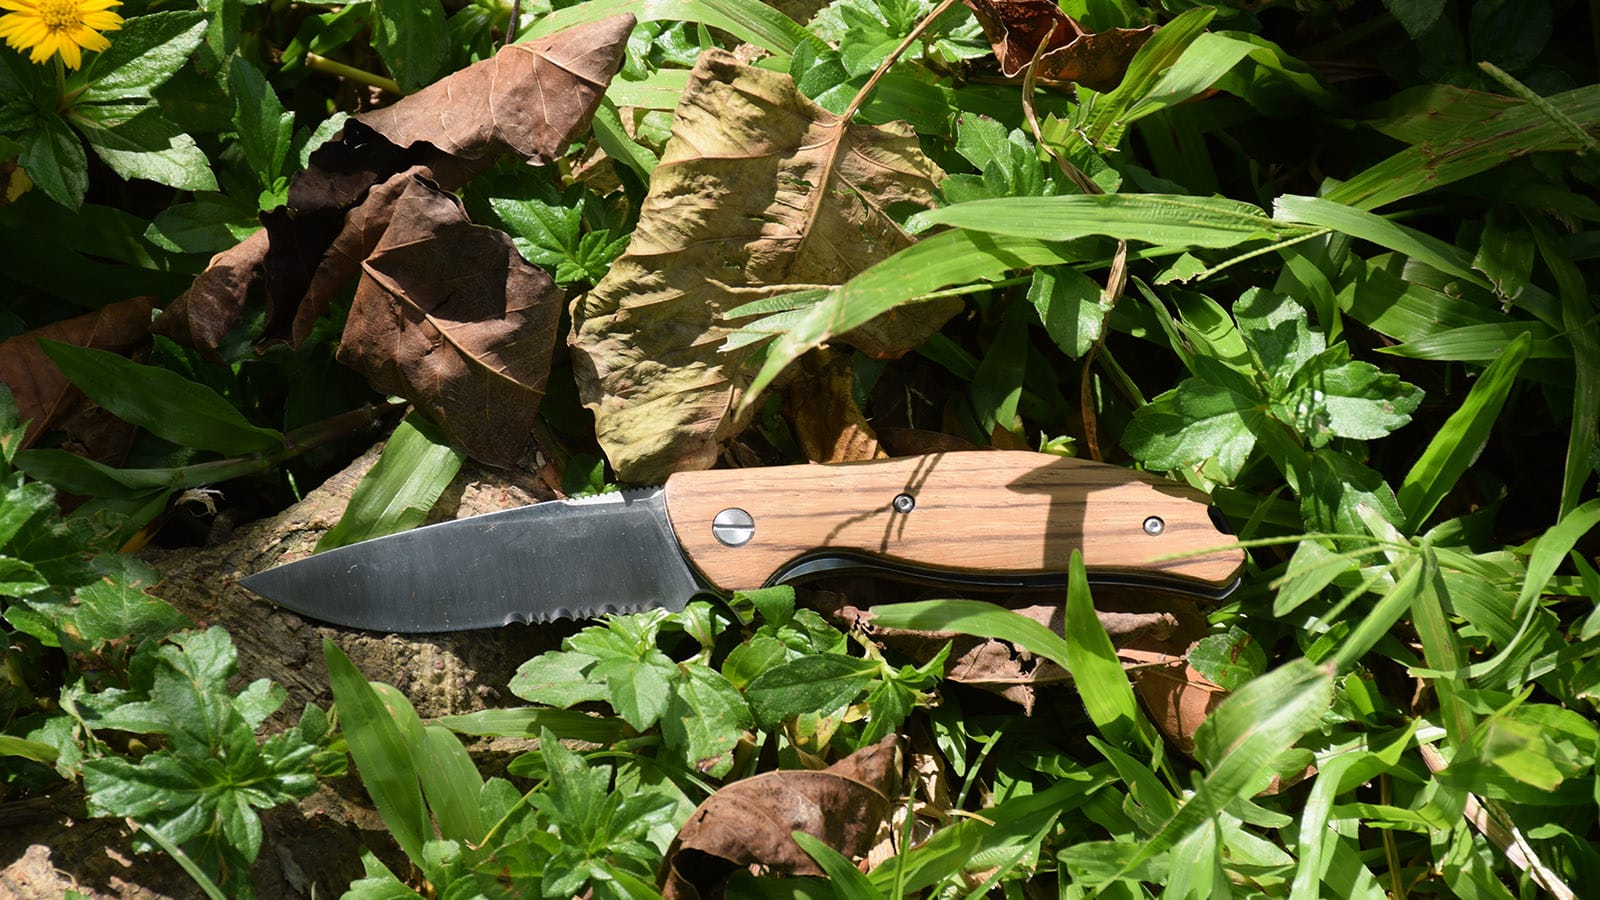
A beautifully crafted custom folding knife with a wooden handle and black pocket clipExplore our collection of high-quality folding knives for inspiration

