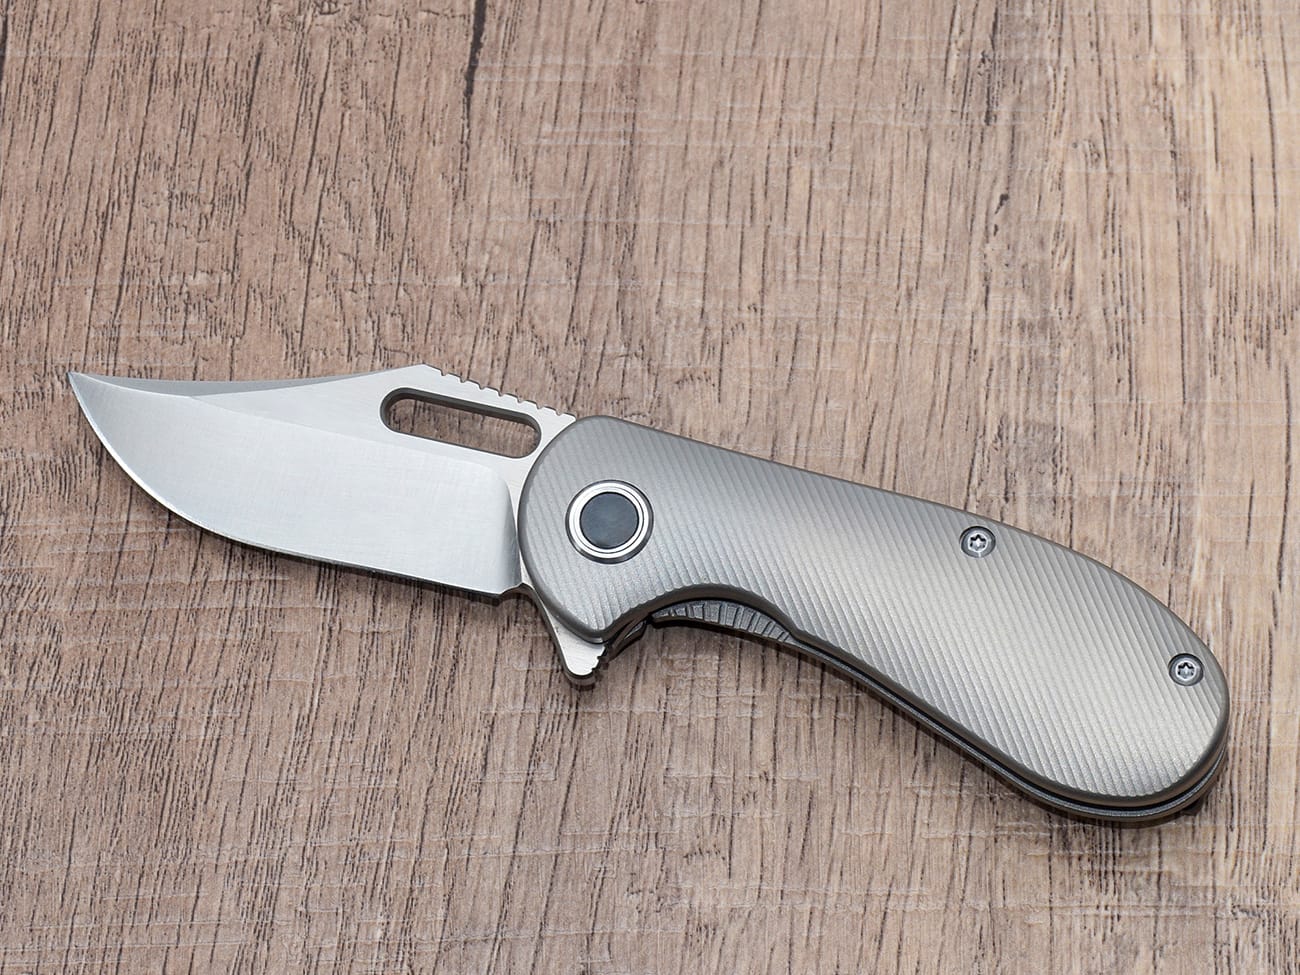
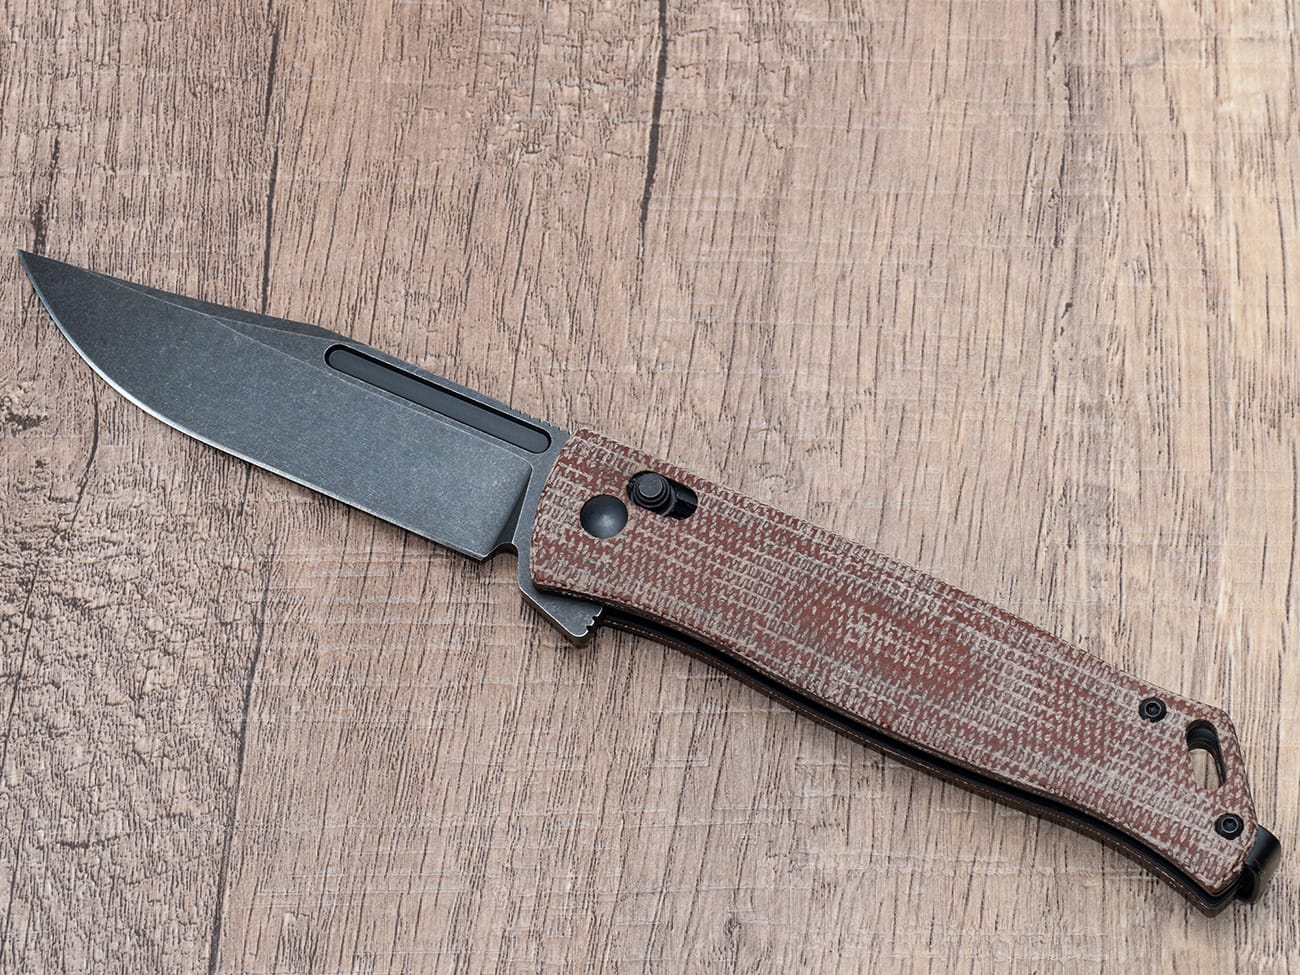
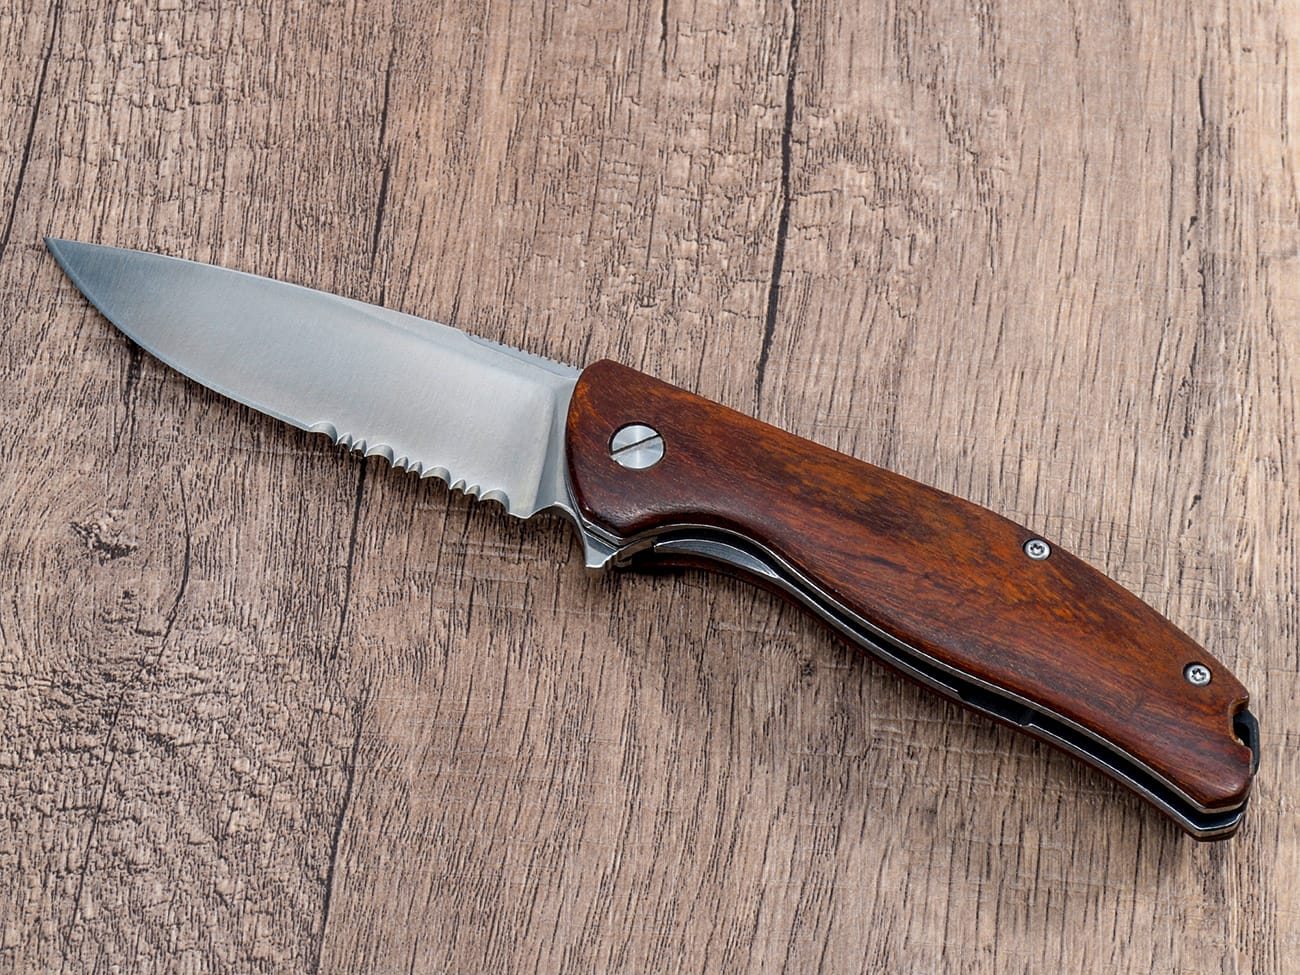
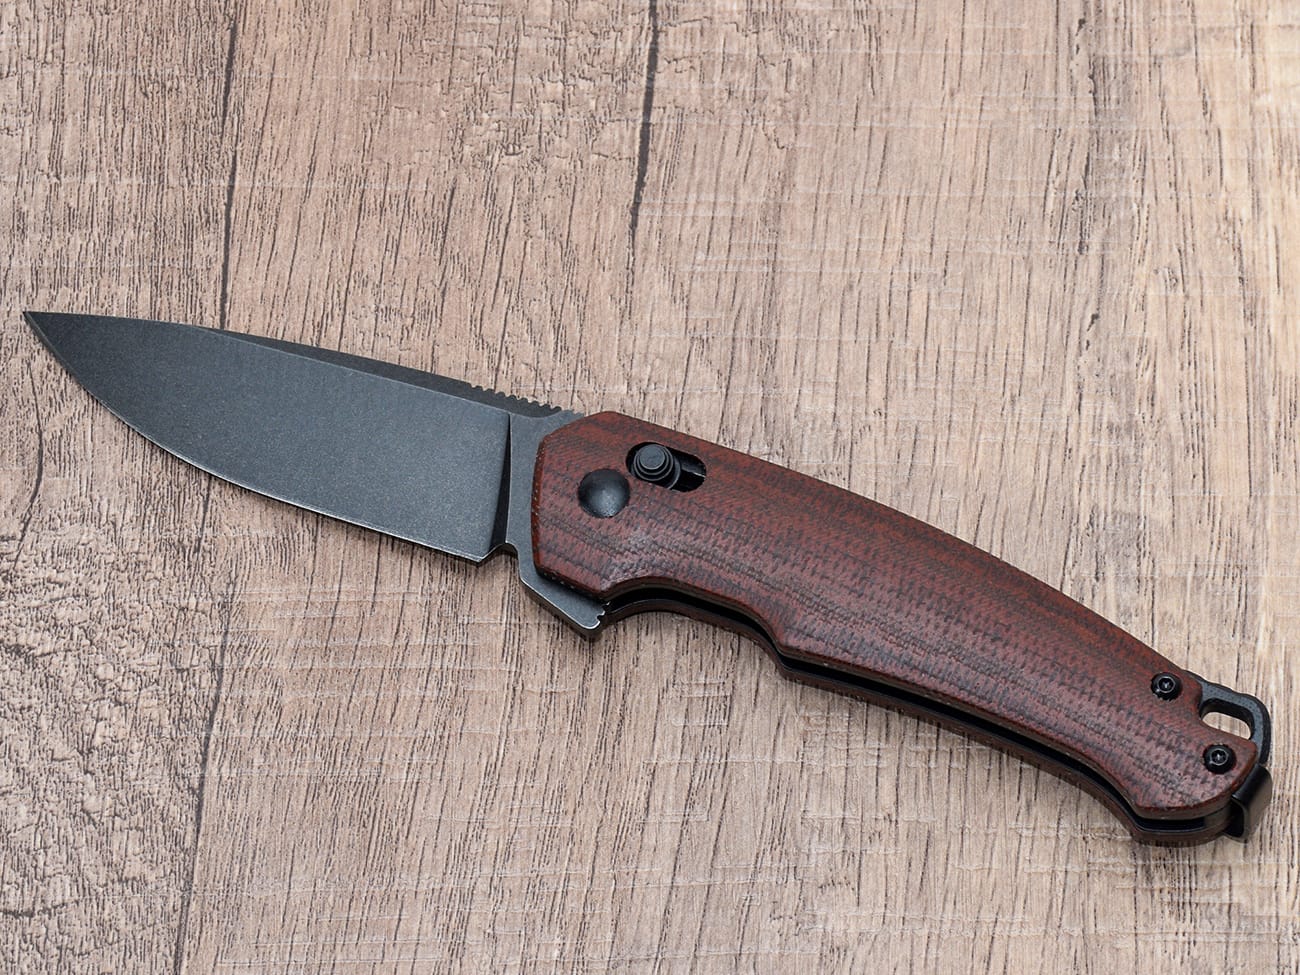
If you’ve ever wanted to combine creativity, craftsmanship, and functionality, learning how to make a wooden folding knife is the perfect project. This process blends woodworking, engineering, and artistry to create a tool that is not only practical but also uniquely yours. From crafting the handle to assembling the blade, this guide will walk you through each step in building a wooden pocket knife with hand tools.Whether you’re an experienced woodworker or a beginner looking for a fun project, this article will provide the guidance you need to succeed. By the end, you’ll have a finished wooden folding knife—and the satisfaction of making it yourself.
Table of Contents
1. What Materials and Tools Do You Need to Make a Wooden Folding Knife?
Before we dive into the steps, let’s gather some essential materials and tools. Crafting a wooden knife requires precision, so having the right tools is crucial.
Materials:
- Wood: Choose durable and attractive woods like walnut or maple for the handle.
- Blade: You can use a pre-made blade or craft one from high carbon steel.
- Epoxy: For securing parts together.
- Dowel or small screws: These act as the pivot for the folding mechanism.
- Sandpaper: For smoothing edges and finishing.
- Shim: To ensure proper alignment during assembly.
Tools:
- Scroll Saw or Coping Saw: For cutting out handle shapes.
- Drill or Drill Press: To create holes for the pivot and screws.
- Sander or Belt Sander: For shaping and smoothing the handle.
- Vise: To hold parts securely while working.
- Round File: To refine small details and edges.
- Hacksaw: If working with metal for the blade.
Having these materials and tools on hand will make the process smoother and more efficient.
2. Step 1: Designing the Knife and Creating a Template
Every great knife starts with a design. Begin by sketching your knife on paper or using a digital program to create a template.
Tips for Designing:
- Include the blade slot in your design to ensure the blade folds smoothly into the handle.
- Decide on the dimensions of the knife, considering both aesthetics and functionality.
- Add a thumb stud or notch for easy blade opening.
Once your design is finalized, transfer it onto your chosen wood and blade material. Use a scroll saw or coping saw to cut out the shape of the handle and blade.
3. Step 2: Shaping the Handle
The handle is one of the most important elements of your knife. It should be comfortable to hold while maintaining a sleek design.
Steps to Shape the Handle:
- Cut the Scales: The handle is typically made of two wooden scales. Use your template to outline and cut the scales from your chosen wood.
- Sand the Edges: Use a belt sander or sandpaper to smooth the edges and refine the shape.
- Drill the Holes: Use a drill press to create holes for the pivot, screws, or standoff.
Take your time shaping the handle—it’s what makes your knife unique and ergonomic.
4. Step 3: Preparing the Blade
If you’re using a pre-made blade, you can skip this step. However, crafting your own blade adds a personal touch to your knife.
Steps for Blade Preparation:
- Cut the Blade: Use a hacksaw or bandsaw to cut the blade from a piece of high carbon steel or another metal.
- Refine the Shape: Use a grinder or round file to shape the blade and add a bevel for the cutting edge.
- Drill the Pivot Hole: Align the blade with the handle and drill the hole for the pivot.
- Heat Treatment: If using metal, perform a heat treatment to harden the blade and improve its durability.
Once the blade is shaped, test its fit within the handle to ensure smooth folding.
5. Step 4: Assembling the Knife
Now comes the exciting part—putting the knife together! This step requires precision and patience.
Assembly Steps:
- Align the Parts: Place the blade between the two wooden scales, ensuring the pivot hole is aligned.
- Insert the Pivot: Use a dowel or small screws to attach the blade to the handle. Tighten just enough to allow smooth movement.
- Glue or Screw the Scales: Secure the wooden scales with epoxy or screws, leaving the blade free to rotate.
At this stage, your knife should start to resemble a finished product.
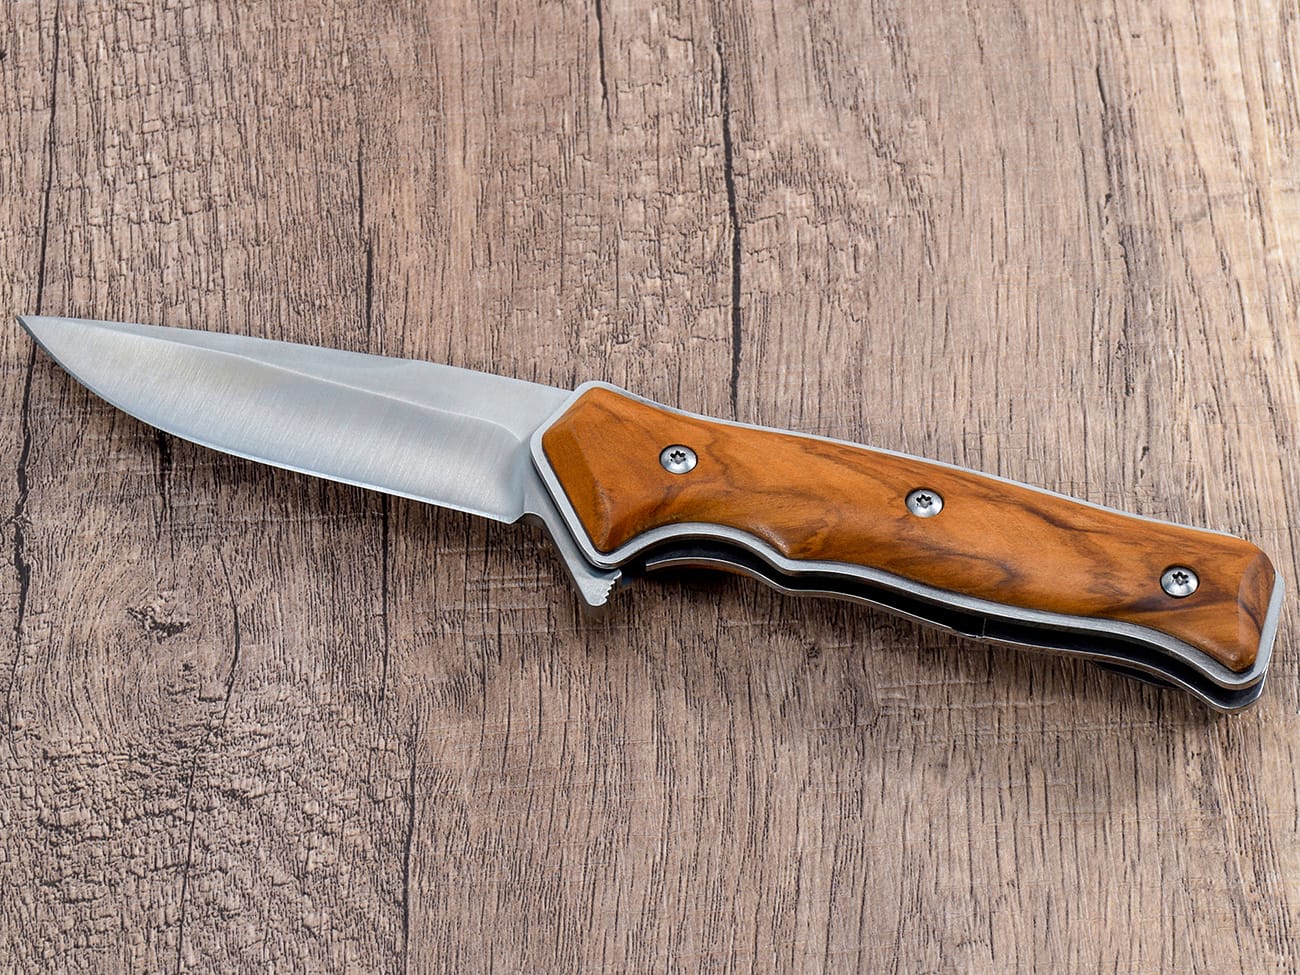
Image alt: Wooden folding knife with a sanded blade and ergonomic wooden handle.
6. Step 5: Sanding and Finishing
Sanding and finishing are crucial for achieving a professional look and feel.
Steps for Sanding and Finishing:
- Smooth All Edges: Use a belt sander or sandpaper to smooth the handle and blade. Pay extra attention to the blade slot and edges.
- Buff the Blade: If using metal, polish the blade for a clean, shiny finish.
- Apply a Finish to the Wood: Use oil, varnish, or wax to protect the wood and enhance its natural grain.
A well-sanded and finished knife not only looks better but also feels more comfortable in the hand.
7. Step 6: Testing the Knife
Before declaring your knife complete, test its functionality to ensure it’s safe and effective.
Testing Checklist:
- Does the blade open and close smoothly?
- Is the blade secure in the open position?
- Are there any rough edges or alignment issues?
If you encounter any issues, make adjustments by sanding, tightening screws, or reapplying glue.
8. How Does a Wooden Folding Knife Compare to Other Knives?
While wooden pocket knives are often viewed as decorative, they can also be functional. The key differences lie in their durability and maintenance.
Advantages of Wooden Folding Knives:
- Aesthetic Appeal: The natural beauty of wood adds a unique charm.
- Customizable: Easily personalize the handle design and finish.
- Eco-Friendly: Wooden knives are often more sustainable than plastic alternatives.
However, wooden knives may require more care to prevent wear and tear compared to metal or synthetic options.
9. Similar Projects to Try
If you enjoyed making a wooden folding knife, consider trying these related woodworking projects:
- Wooden Knife Kit: Purchase a pre-made kit to assemble and customize.
- Fixed Blade Wooden Knife: Create a non-folding knife for display or light use.
- Wooden Handle Upgrades: Replace the handle of an existing knife with a custom wooden design.
These projects are great for honing your skills and exploring new techniques.
10. Conclusion: Key Takeaways from Your Knife Project
Creating a wooden folding knife is a rewarding experience that combines creativity and craftsmanship. With the right tools, materials, and patience, you can craft a fully functional and beautiful knife.
Key Points to Remember:
- Start with a solid design and template.
- Use high-quality materials like walnut or maple for the handle.
- Take your time shaping, sanding, and finishing for a polished result.
- Test the knife for smooth folding and secure locking.
Ready to explore more? Check out our collection of wooden handle pocket knives for inspiration and ideas.

