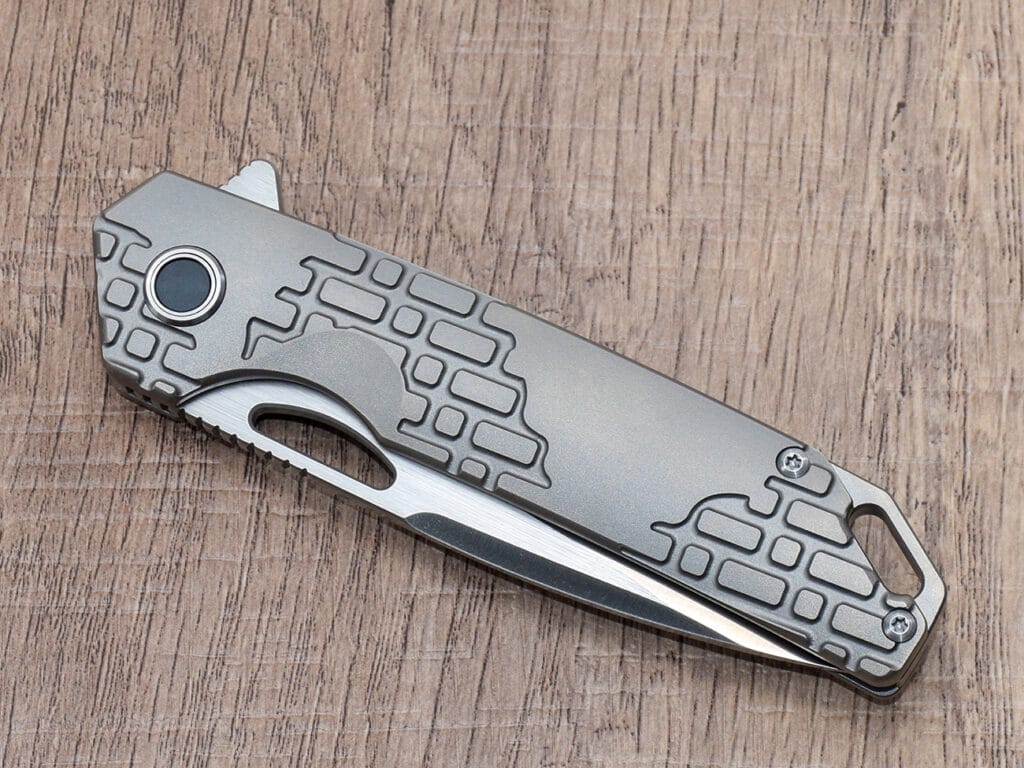
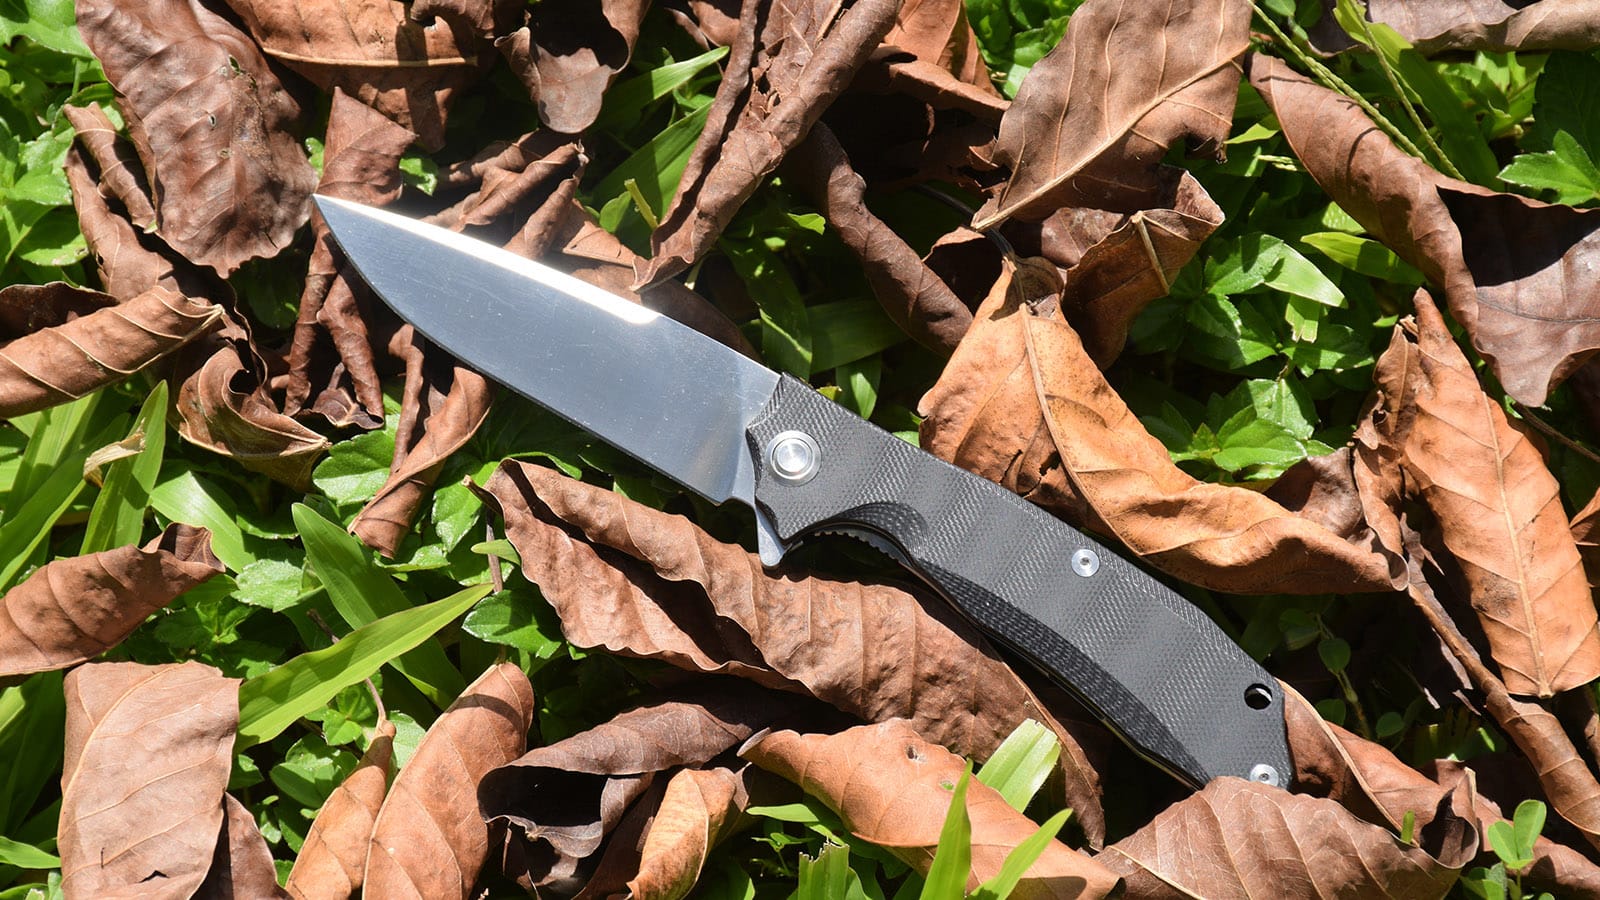
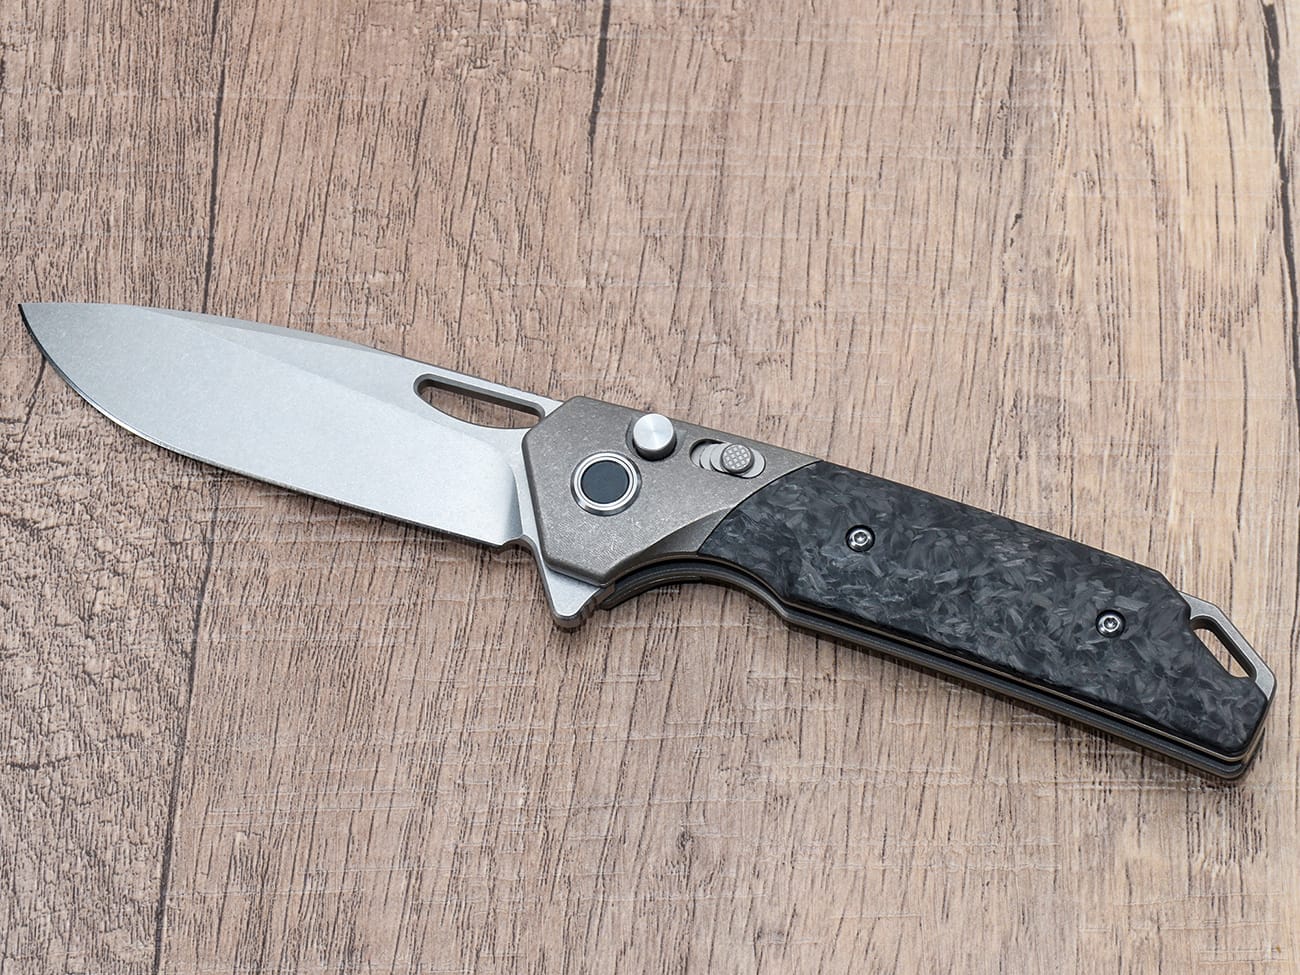
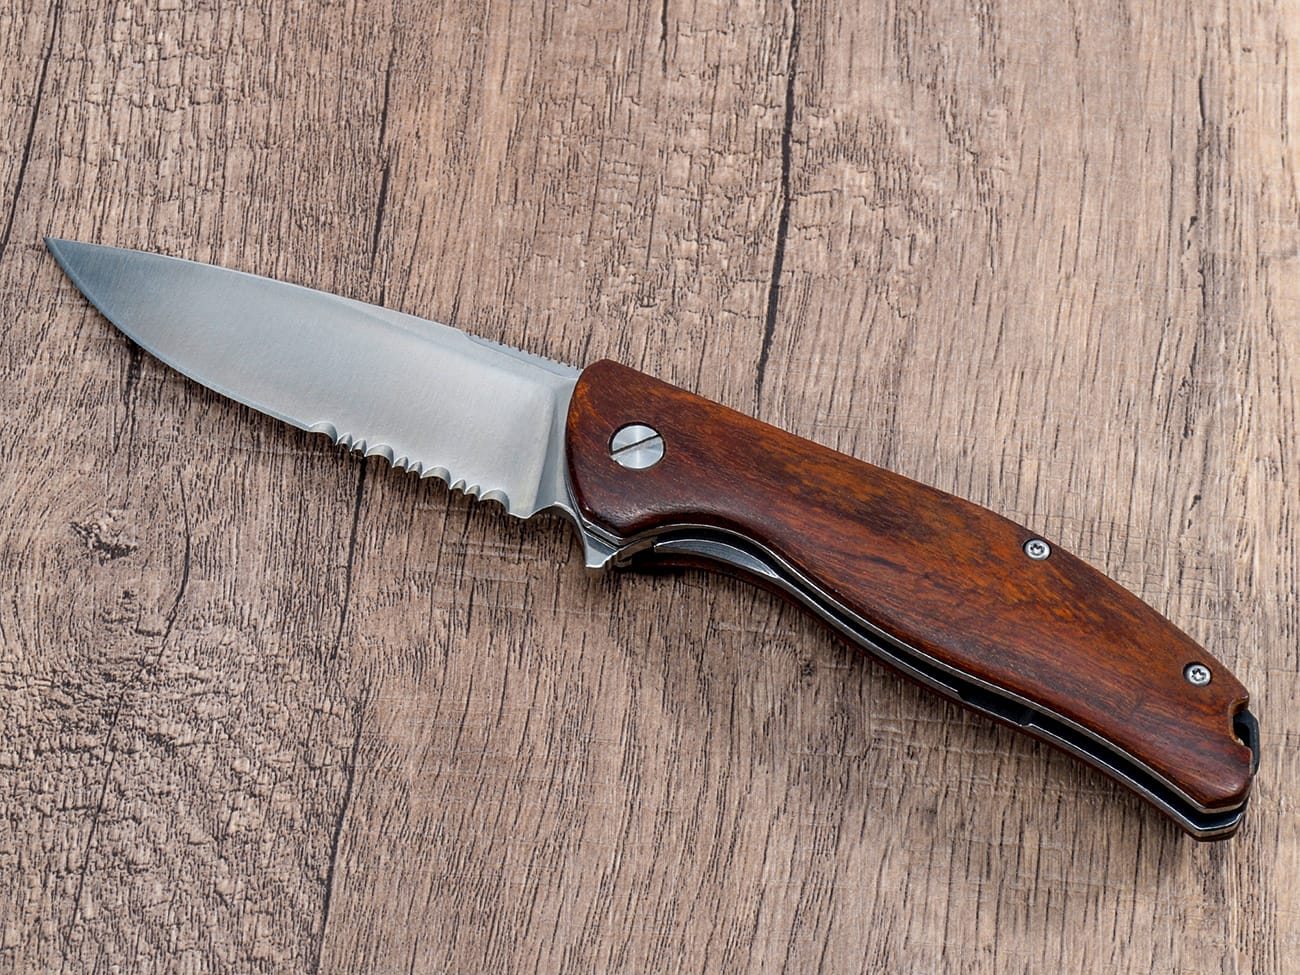
Creating a leather sheath for your pocket knife is not only a practical project but also a rewarding one. A custom-made knife sheath protects your blade, adds a personal touch to your gear, and showcases your craftsmanship. Whether you’re a beginner or an experienced leather worker, this guide will walk you through the process of making a simple leather sheath step by step. By the end, you’ll have a durable and stylish leather sheath for a knife that you can proudly use or gift.
Table of Contents
1. Why Make a Leather Sheath for Your Knife?
A leather sheath is more than just a protective cover for your pocket knife. It’s a functional accessory that ensures your knife is safe, accessible, and stylish. Here are a few reasons why making your own knife sheath is worth the effort:
- Customization: You can design the sheath to perfectly fit your knife and your personal style.
- Durability: High-quality tanned leather ensures long-lasting protection for your blade.
- Satisfaction: Crafting your own sheath is a fulfilling project that showcases your skills.
2. What Materials and Tools Do You Need?
Before you start, gather the necessary materials and tools. Here’s a list of what you’ll need:
Materials:
- Vegetable-tanned leather (thick enough to protect the knife)
- Waxed thread for stitching
- Contact cement or leather glue
- Dye (optional, for coloring the leather)
- Rivets (optional, for added durability)
Tools:
- Utility knife or rotary cutter
- Leather punch for making holes
- Stitching needles
- Burnishing tool for finishing edges
- Ruler and pencil for measurements
- Leather gouge for creating grooves
- Clamps to hold the leather in place
3. How to Transfer the Pattern to Leather?
The first step in sheath making is creating a pattern. This ensures your sheath will fit your knife perfectly.
- Trace the Knife: Place your pocket knife on a piece of paper and trace its outline. Add about ½ inch around the knife for stitching and folding.
- Design the Sheath: Decide on the type of sheath you want (e.g., fold-over, pouch, or belt loop style). Include space for a belt loop if desired.
- Transfer the Pattern: Cut out the paper pattern and trace it onto the vegetable-tanned leather using a pencil.
4. How to Cut and Prepare the Leather?
Once the pattern is transferred, it’s time to cut and prepare the leather.
- Cut the Leather: Use a utility knife or rotary cutter to cut the leather along the traced lines. Ensure clean, precise cuts.
- Dampen the Leather: Lightly dampen the leather with water to make it more pliable for shaping.
- Trim Excess Leather: If needed, trim any excess leather to ensure a snug fit around the knife.
5. How to Form the Leather Around the Knife?
Shaping the leather is a crucial step in making a leather sheath for a knife.
- Mold the Leather: Place the knife on the leather and fold it over to form the sheath. Use clamps to hold the leather in place while it dries.
- Dampen the Leather: If the leather is stiff, dampen it again to make it easier to mold.
- Let It Dry: Allow the leather to dry completely before moving on to the next step.
6. How to Add a Belt Loop?
A belt loop makes your sheath more functional by allowing you to carry it on your belt.
- Cut the Belt Loop Section: Cut a strip of leather for the belt loop. Ensure it’s long enough to fit your belt comfortably.
- Attach the Loop: Use rivets or stitching to secure the belt loop to the back of the sheath.
- Reinforce the Loop: For added durability, apply contact cement before stitching or riveting.
7. How to Stitch the Sheath?
Stitching is where your sheath starts to come together. Follow these steps for strong and even stitches:
- Mark the Stitching Line: Use a ruler and pencil to mark a stitching line about ⅛ inch from the edge of the sheath.
- Punch Holes: Use a leather punch to make evenly spaced holes along the stitching line. Aim for about six holes per inch.
- Stitch the Sheath: Thread a needle with waxed thread and use a saddle stitch to sew the sheath. Ensure the stitches are tight and secure.
8. How to Burnish the Edges?
Burnishing gives your sheath a polished, professional look.
- Smooth the Edges: Use sandpaper to smooth the edges of the sheath.
- Burnish the Edges: Rub a burnishing tool along the edges to create a smooth, shiny finish.
- Apply Edge Dye: If desired, apply edge dye for a more finished appearance.
9. How to Dye and Finish the Leather?
Adding color and a protective finish enhances the look and durability of your sheath.
- Apply Dye: Use a sponge or cloth to apply leather dye evenly across the surface. Allow it to dry completely.
- Seal the Leather: Apply a leather finish or wax to protect the sheath from moisture and wear.
- Polish the Sheath: Buff the surface with a soft cloth for a smooth, shiny finish.
10. Final Assembly and Testing
Before declaring your sheath complete, test it to ensure it fits your knife perfectly.
- Insert the Knife: Place your knife inside the sheath to check the fit. It should be snug but not too tight.
- Adjust if Necessary: If the fit is too loose or tight, make adjustments by trimming or reshaping the leather.
- Test the Belt Loop: Attach the sheath to your belt and ensure it’s comfortable and secure.
Example Image:

Alt: Custom leather knife sheath with belt loop and hand-stitched edges.
Key Tips for Success
- Choose Quality Leather: Use vegetable-tanned leather for its durability and ease of shaping.
- Take Your Time: Rushing through steps like stitching or burnishing can lead to mistakes.
- Practice Makes Perfect: If you’re new to leather work, practice on scrap leather before starting your project.
Internal Links for Further Reading
Final Thoughts
Making a leather sheath for your pocket knife is a rewarding project that combines creativity and functionality. With the right materials, tools, and techniques, you can create a custom sheath that protects your knife and reflects your personal style. Whether you’re crafting for yourself or as a gift, the effort you put into sheath making will be well worth it.
Key Takeaways:
- A leather sheath protects your knife and adds a personal touch.
- Use high-quality materials like vegetable-tanned leather and waxed thread.
- Follow each step carefully, from transferring the pattern to stitching and finishing.
- Practice and patience are essential for achieving professional results.
For more tips and guides on pocket knives and accessories, visit our Pocket Knife Resource Center.


