Discover the rewarding craft of carving your own wooden spoon with nothing more than a trusty pocket knife. This traditional bushcraft skill combines artistry with functionality, allowing you to create a practical utensil while connecting with age-old woodworking traditions. Whether you’re new to spoon carving or looking to refine your technique, this detailed guide will walk you through every step of the process.
What Tools Do You Need to Carve a Wooden Spoon?
Before beginning your spoon carving journey, gather these essential items:
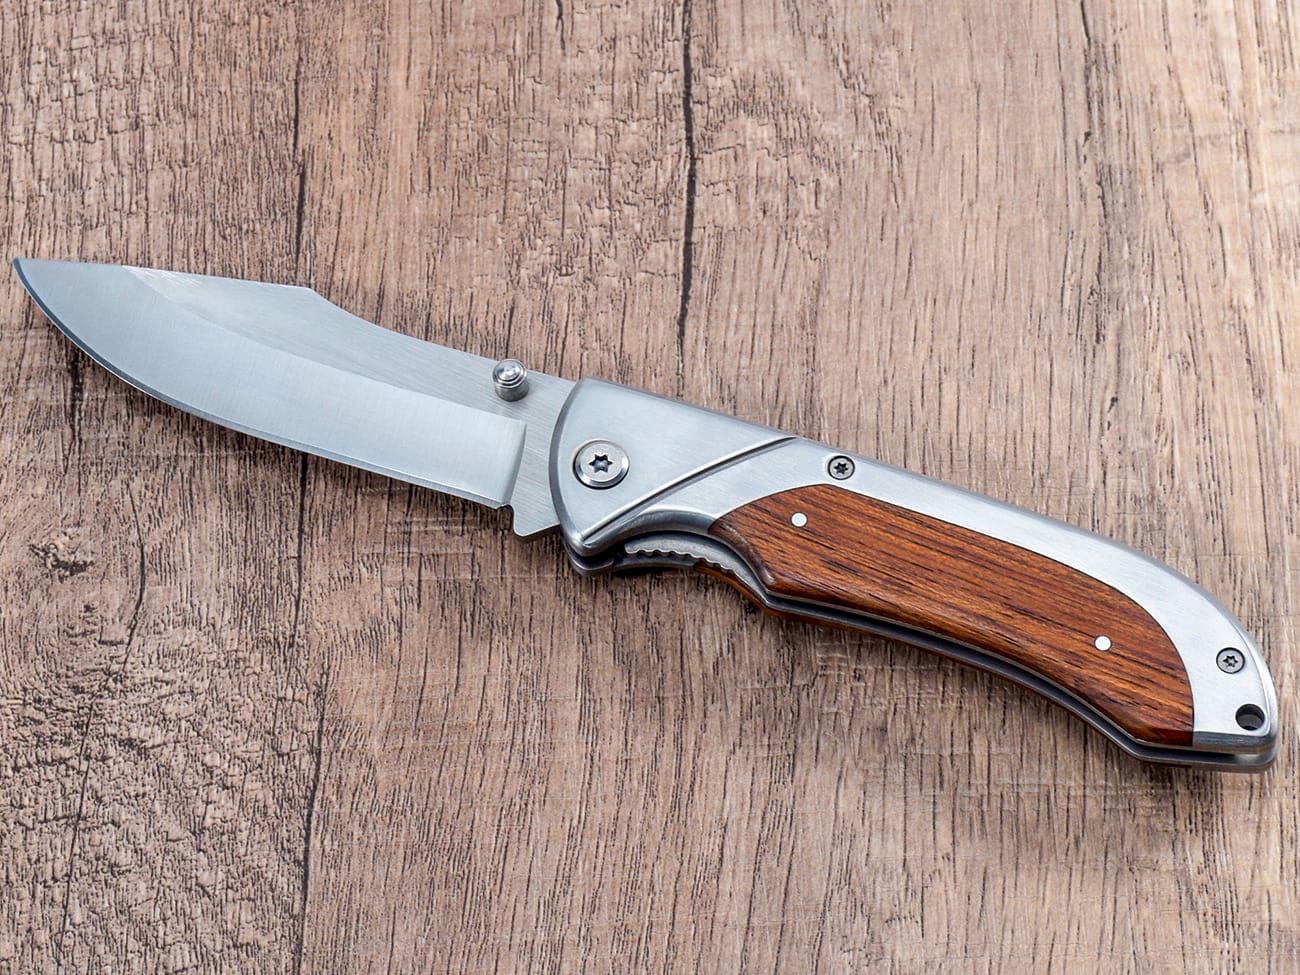
- A sharp pocket knife with a comfortable wooden handle for detailed work
- Green wood or seasoned hardwood
- Basic safety equipment (gloves, thumb guard)
- Sandpaper (various grits)
- Finishing oil
Choosing the Right Wood for Your Spoon
The success of your carved spoon largely depends on selecting appropriate wood. Consider these factors:
- Hardwoods like maple, cherry, or birch work best
- Green wood is easier to carve than seasoned wood
- Look for straight grain with minimal knots
- Freshly cut branches provide ideal carving material
Safety First: Essential Carving Techniques
Before making your first cut, master these fundamental safety practices:
- Always cut away from yourself
- Use controlled movements
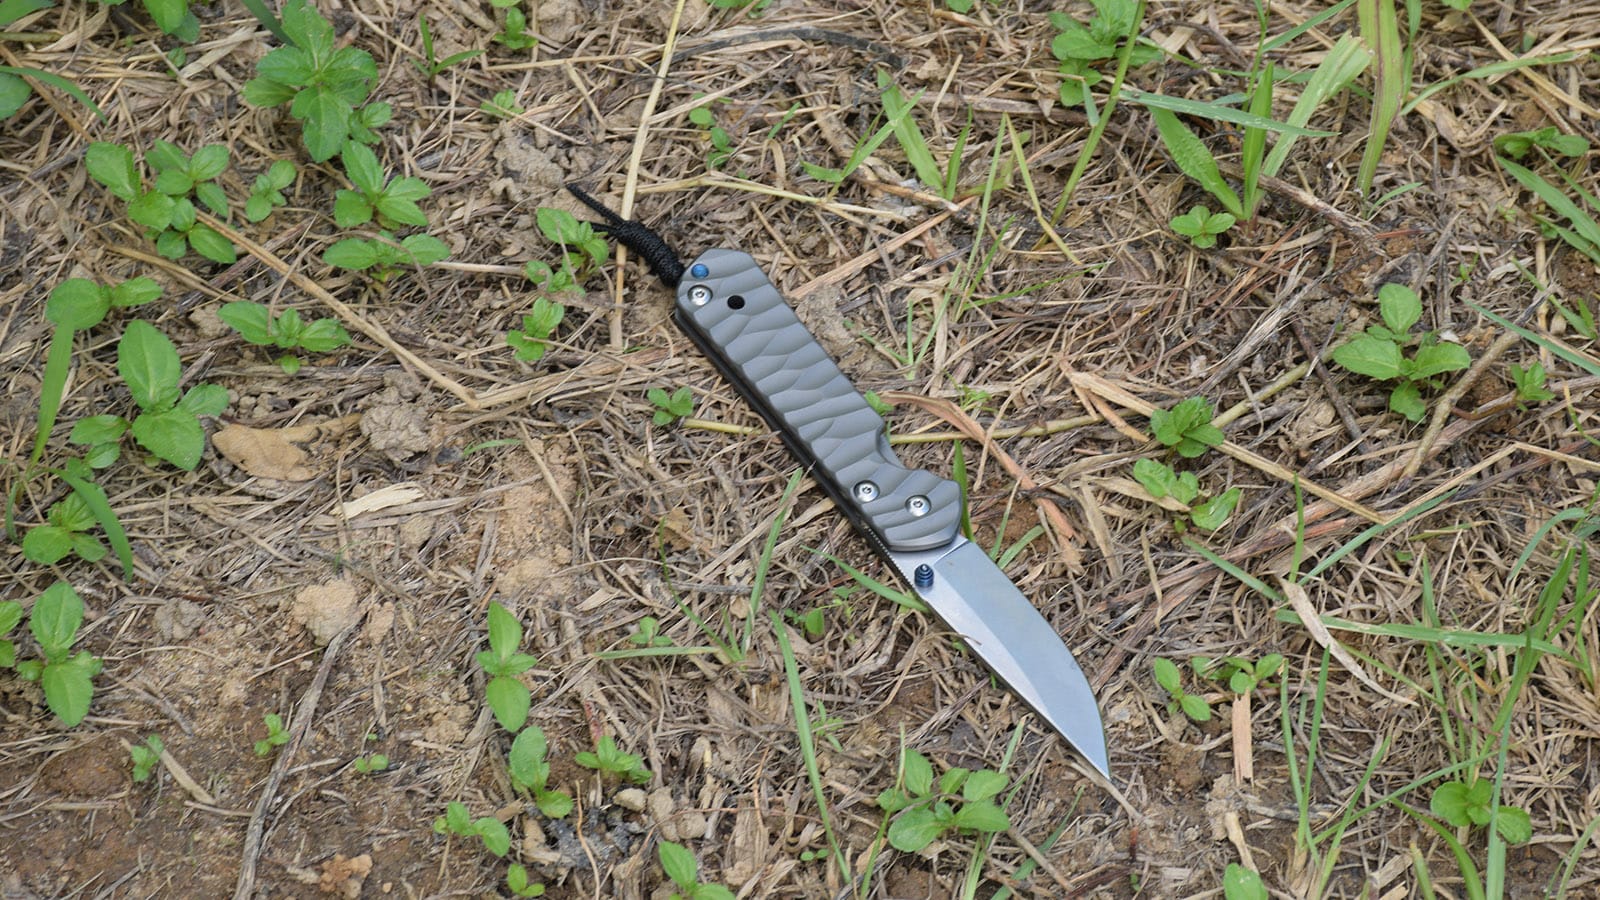
- Maintain a firm grip on your EDC knife
- Keep your tools sharp
- Wear protective gear

How to Start the Spoon Carving Process?
Begin by following these initial steps:
- Draw your spoon design on the wood
- Remove excess wood to create a rough spoon blank
- Establish the basic shape using your utility knife
- Mark the bowl area and handle proportions
Carving the Bowl: Techniques and Tips
The bowl is the most challenging part of spoon carving. Here’s how to approach it:
- Start from the center and work outward
- Use small, controlled cuts
- Maintain consistent depth
- Check progress frequently
- Leave extra thickness initially
Shaping the Handle: Finding the Right Balance
A well-designed handle makes your spoon comfortable to use:
- Keep proportions balanced with the bowl
- Round edges for comfort
- Ensure smooth transitions
- Test the grip frequently
- Consider decorative elements
Common Mistakes to Avoid When Carving Spoons
Watch out for these typical beginner errors:
- Carving with a dull knife
- Removing too much wood too quickly
- Inconsistent bowl depth
- Poor grain direction awareness
- Rushing the finishing process
How to Achieve a Smooth Finish?
Create a professional-looking final product:
- Start with coarse-grit sandpaper
- Progress through finer grits
- Sand with the grain
- Remove all tool marks
- Apply mineral oil or beeswax finish
Maintaining Your Carving Tools
Keep your tools in optimal condition:
- Clean after each use
- Sharpen regularly
- Store properly
- Use a strop for maintenance
- Protect from moisture
Advanced Techniques for Better Results
Once you’ve mastered the basics, try these advanced methods:
- Decorative chip carving
- Surface texturing
- Complex bowl shapes
- Handle variations
- Traditional finishing techniques
Key Points to Remember:
- Take your time and work carefully
- Keep your knife sharp
- Always carve with the grain
- Leave extra wood until final shaping
- Test fit and function throughout
- Apply proper finishing techniques
- Practice safety at all times


