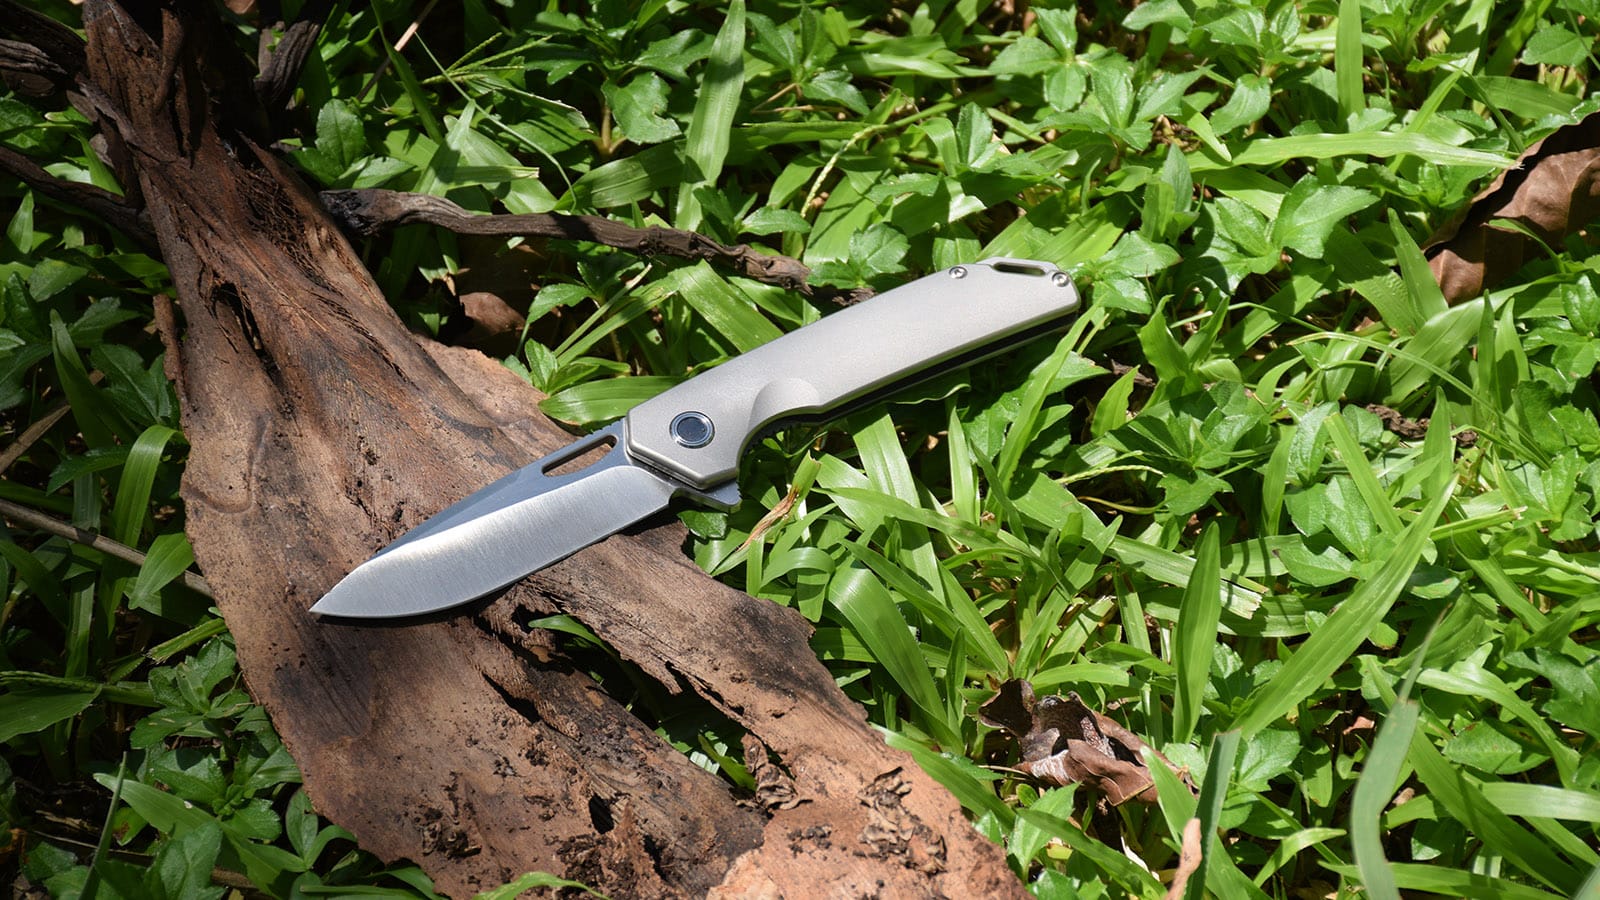
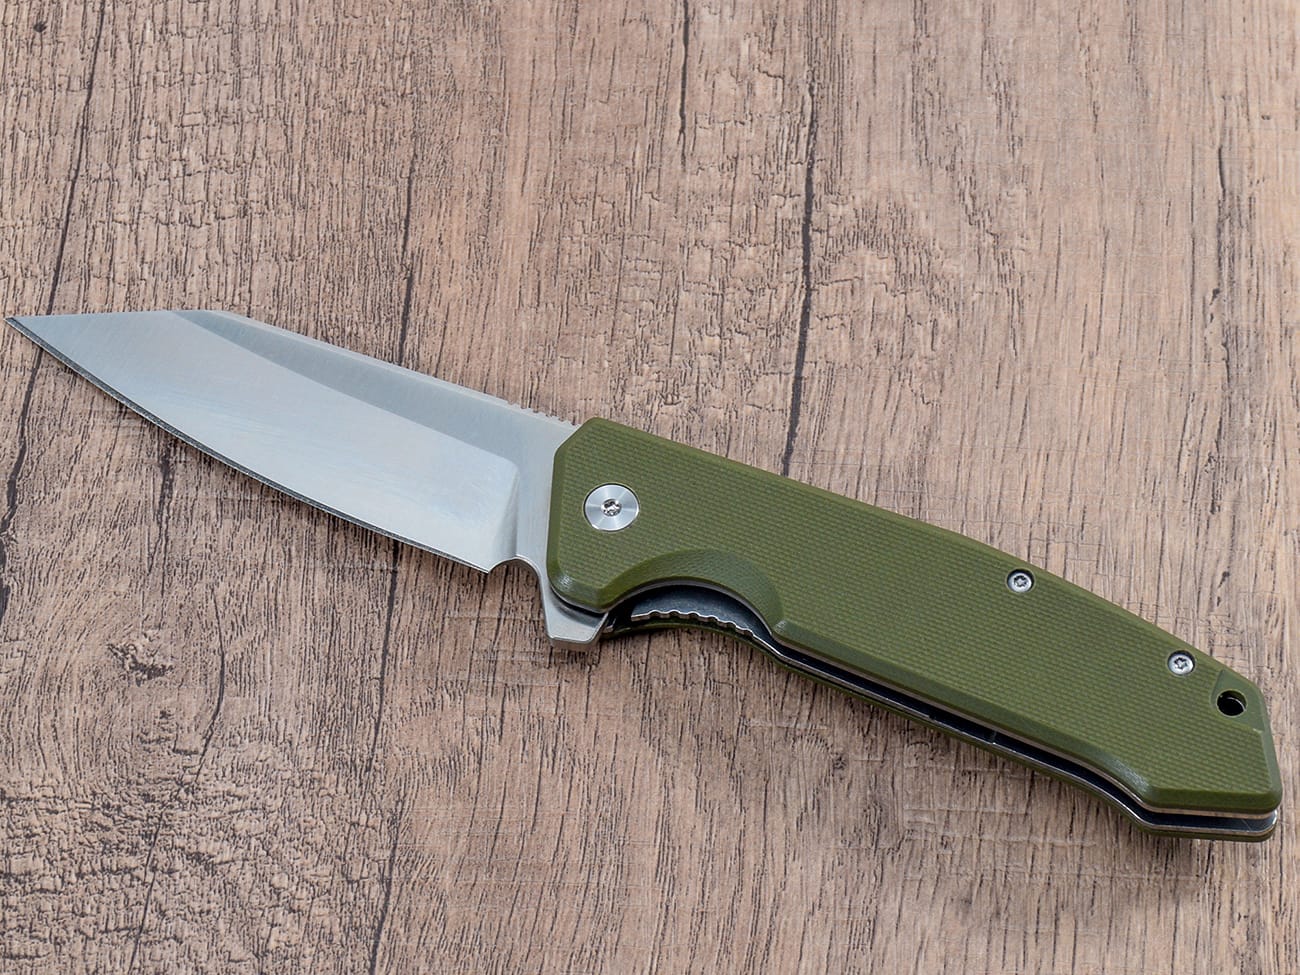
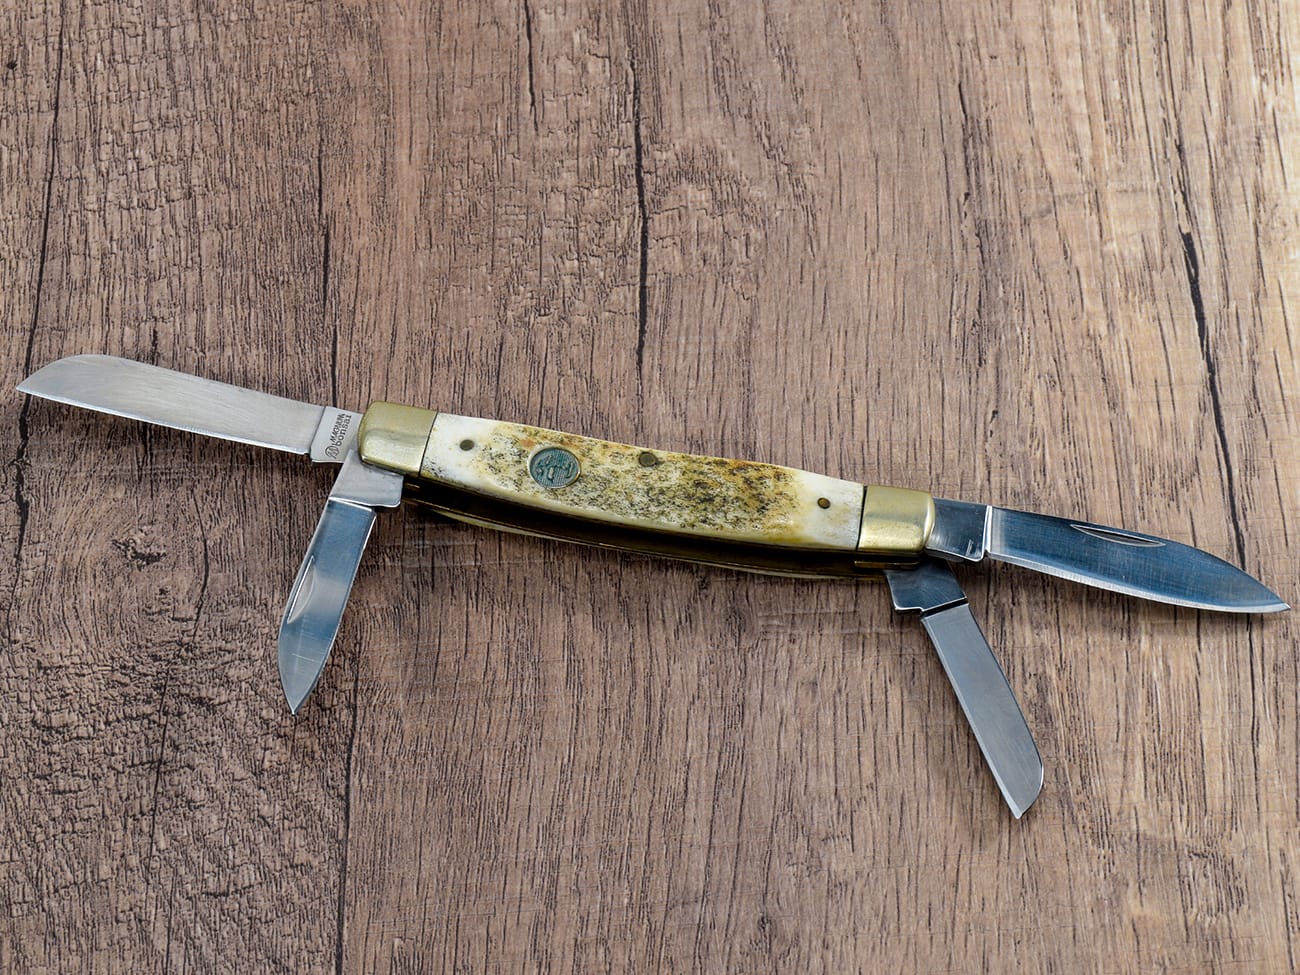
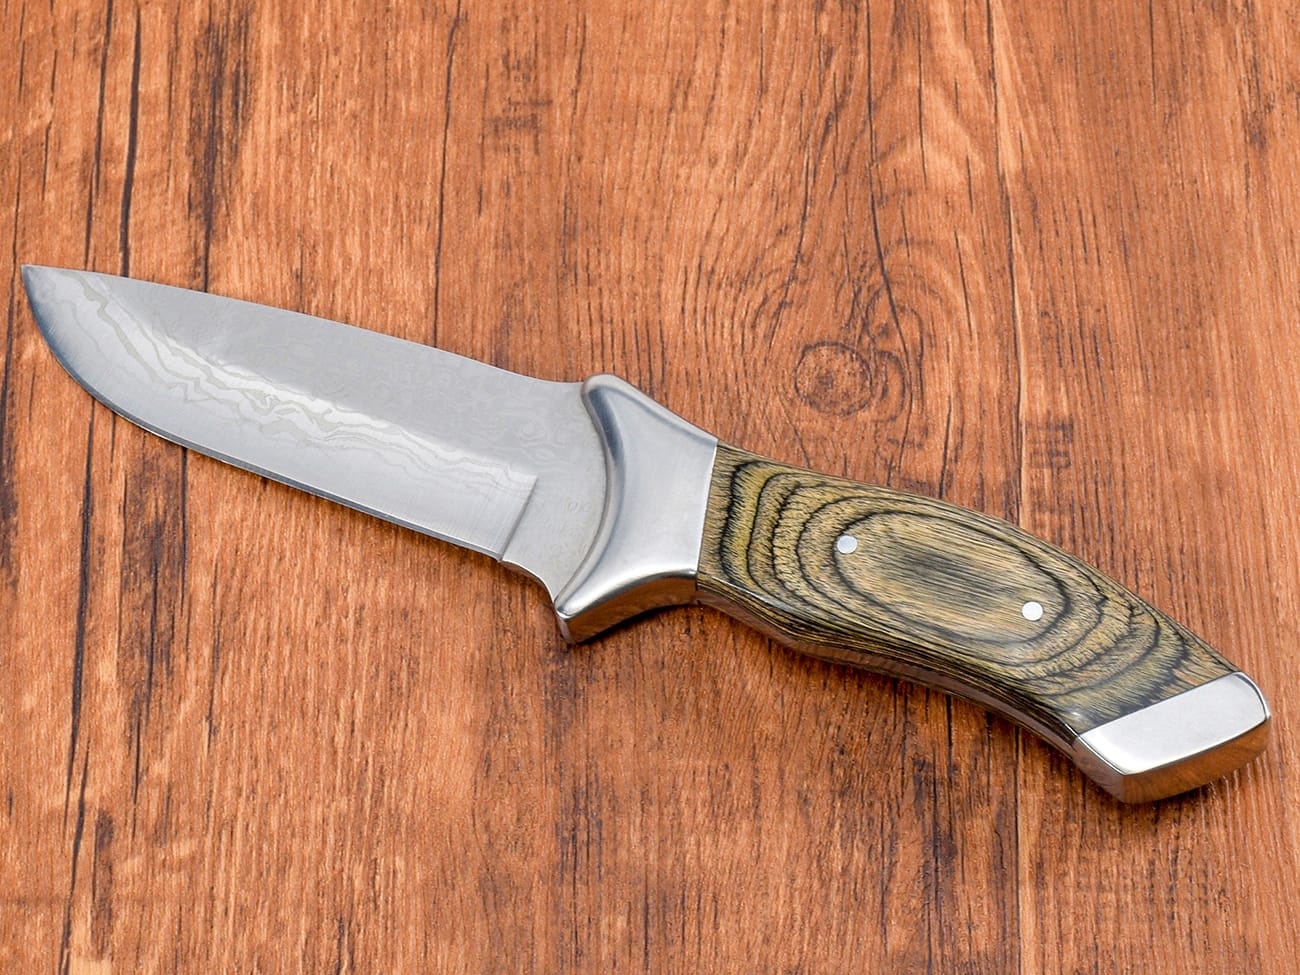
Screen printing logos on knife handles is a specialized technique that allows manufacturers and craftsmen to create custom, durable branding on pocket knives and other cutting tools. This comprehensive guide will walk you through the entire process, from preparation to finishing touches, ensuring professional-quality results for your custom logo-knives.
What Equipment Do You Need for Screen Printing on Knife Handles?
Before starting the screen printing process, gather these essential materials:
- Screen printing frame and mesh
- Photo-sensitive emulsion
- Squeegee
- Ink specifically formulated for metal or handle material
- Masking tape
- Cleaning supplies
- Light exposure unit
- Pressure washer for screen cleaning
Unable to render image
How to Prepare Your Knife Handle Surface?
Proper surface preparation is crucial for achieving durable prints on knife handle materials:
- Clean the handle thoroughly to remove any oils or debris
- Sand the surface if needed for better ink adhesion
- Use appropriate primers depending on handle material
- Ensure the surface is completely dry before printing
What Type of Ink Works Best for Different Handle Materials?
Different handle materials require specific ink types:
- For G10 handles: Epoxy-based inks
- For metal handles: Special metal-adhering inks
- For wooden handles: Solvent-based inks with good penetration
Screen Preparation and Emulsion Application
The screen preparation process involves several critical steps:
- Clean the mesh thoroughly
- Apply photo-sensitive emulsion evenly
- Allow proper drying time in a dark environment
- Ensure edges of the screen frame are properly sealed
How to Create and Transfer Your Logo Design?
Creating an effective logo design requires:
- Vector-based artwork for sharp edges
- Proper size consideration for the handle
- Clear black and white separation
- Registration marks for accurate placement
The Screen Printing Process Step-by-Step
- Position the knife handle firmly
- Align the screen properly
- Apply ink across the screen
- Use the squeegee at a 45-degree angle
- Apply even pressure during printing
- Make multiple passes if needed
Common Challenges and How to Overcome Them
Several issues may arise during printing:
- Ink bleeding: Adjust pressure and ink thickness
- Poor adhesion: Check surface preparation
- Uneven coverage: Ensure proper squeegee technique
- Registration problems: Use alignment guides
Curing and Finishing Techniques
Proper curing is essential for durability:
- Allow initial air drying
- Use appropriate heat curing methods
- Test cure effectiveness
- Apply protective coating if needed
Quality Control and Testing Methods
Ensure quality through:
- Visual inspection
- Adhesion tests
- Durability checks
- Color consistency verification
Maintenance and Care Tips for Printed Knife Handles
To maintain the printed logo:
- Avoid harsh chemicals
- Clean gently
- Store properly
- Handle with care
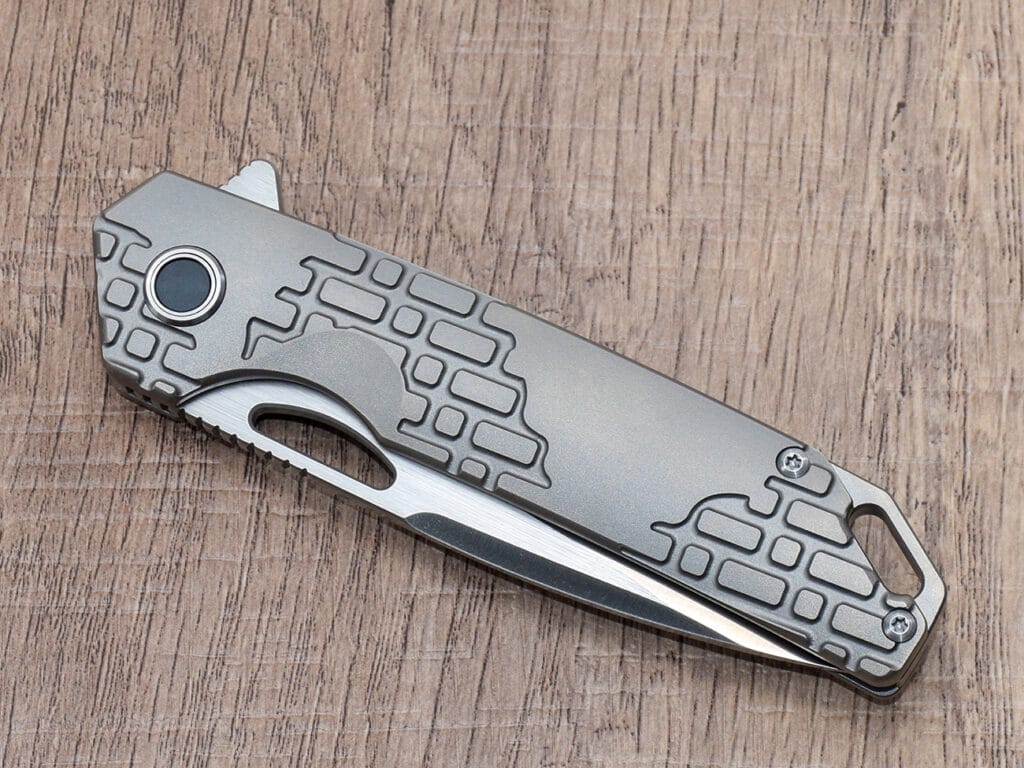
Key Points to Remember:
- Always test on sample materials first
- Maintain consistent pressure during printing
- Allow proper curing time
- Use appropriate inks for different materials
- Keep detailed records of successful techniques
- Clean equipment thoroughly after use
By following these guidelines and practicing the techniques, you can achieve professional-quality screen printed logos on your knife handles. Remember that patience and attention to detail are crucial for successful results.

