Drawing a pocket knife requires attention to detail and understanding of basic knife anatomy. Whether you’re an aspiring artist or just want to improve your sketching skills, this comprehensive tutorial will guide you through the process of creating realistic knife drawings. From basic shapes to intricate details, we’ll cover everything you need to know.
What Tools Do You Need for Drawing a Pocket Knife?
Before starting your knife drawing journey, gather these essential tools:
- Pen and pencils for sketching and detailing
- Drawing paper or sketchbook
- Eraser for corrections
- Ruler for straight lines
- Reference pictures of pocket knives
Understanding Basic Pocket Knife Anatomy
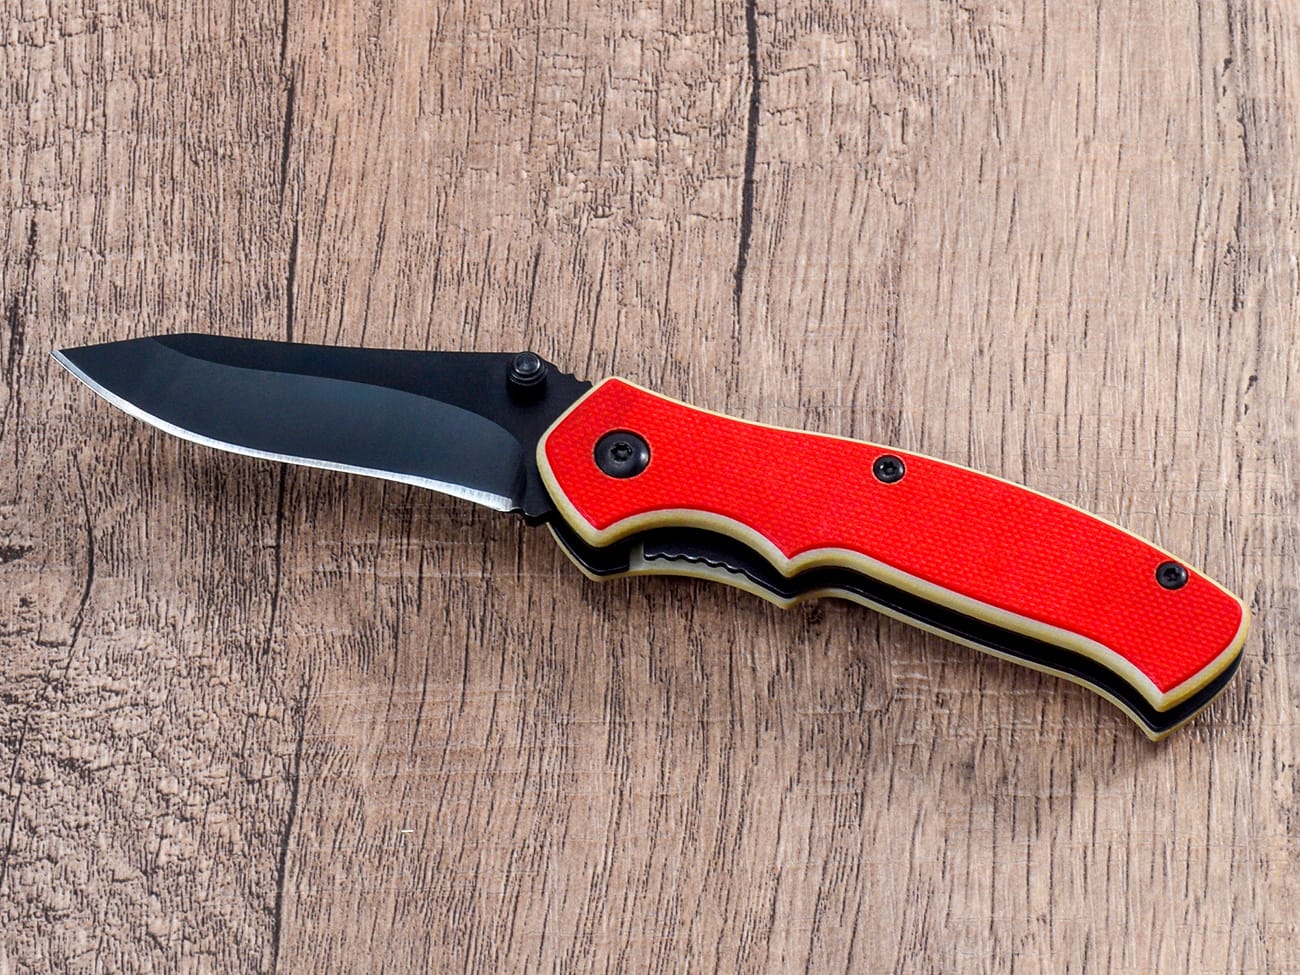
To create an accurate knife drawing, you must first understand the key components:
- The blade is the cutting edge of the knife
- The handle provides grip and houses the folding mechanism
- The lock keeps the blade secure when opened
- The pivot point allows the folder to open and close
How to Start Your Pocket Knife Drawing?
Begin with basic shapes and build up detail:
- Sketch the basic outline of the handle
- Add the blade shape
- Mark the folding point
- Draw the clip if present
Learn more about knife handle materials

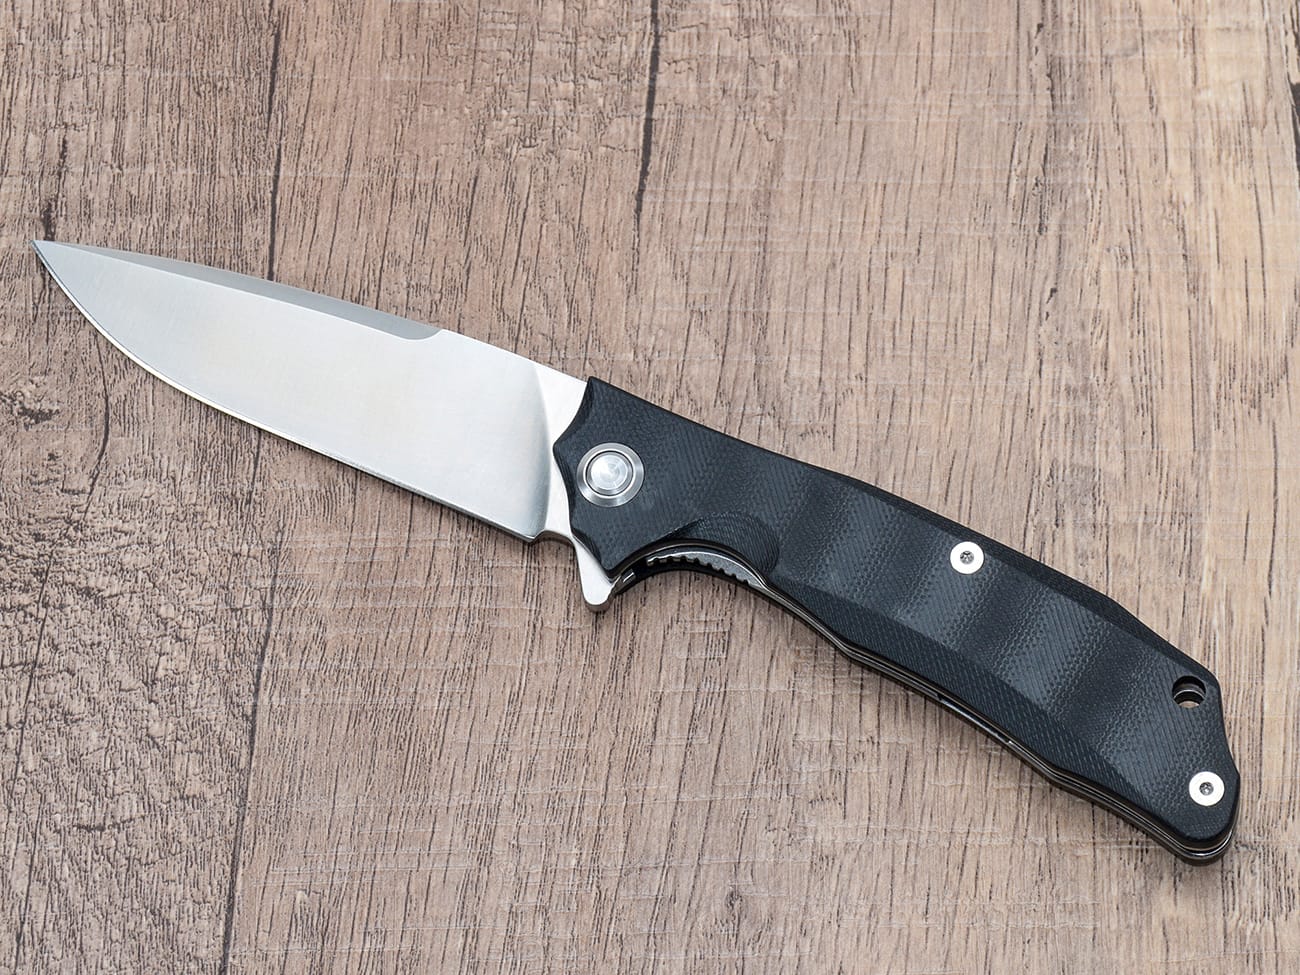
A custom folding knife with G10 handle and black pocket clip
Drawing the Blade Details
The blade is the most important part of your knife drawing:
- Start with the basic shape
- Add bevels and grinds
- Include serrations if present
- Draw the spine details
Explore different blade materials
Mastering Handle Textures and Patterns
Creating realistic handle textures requires practice:
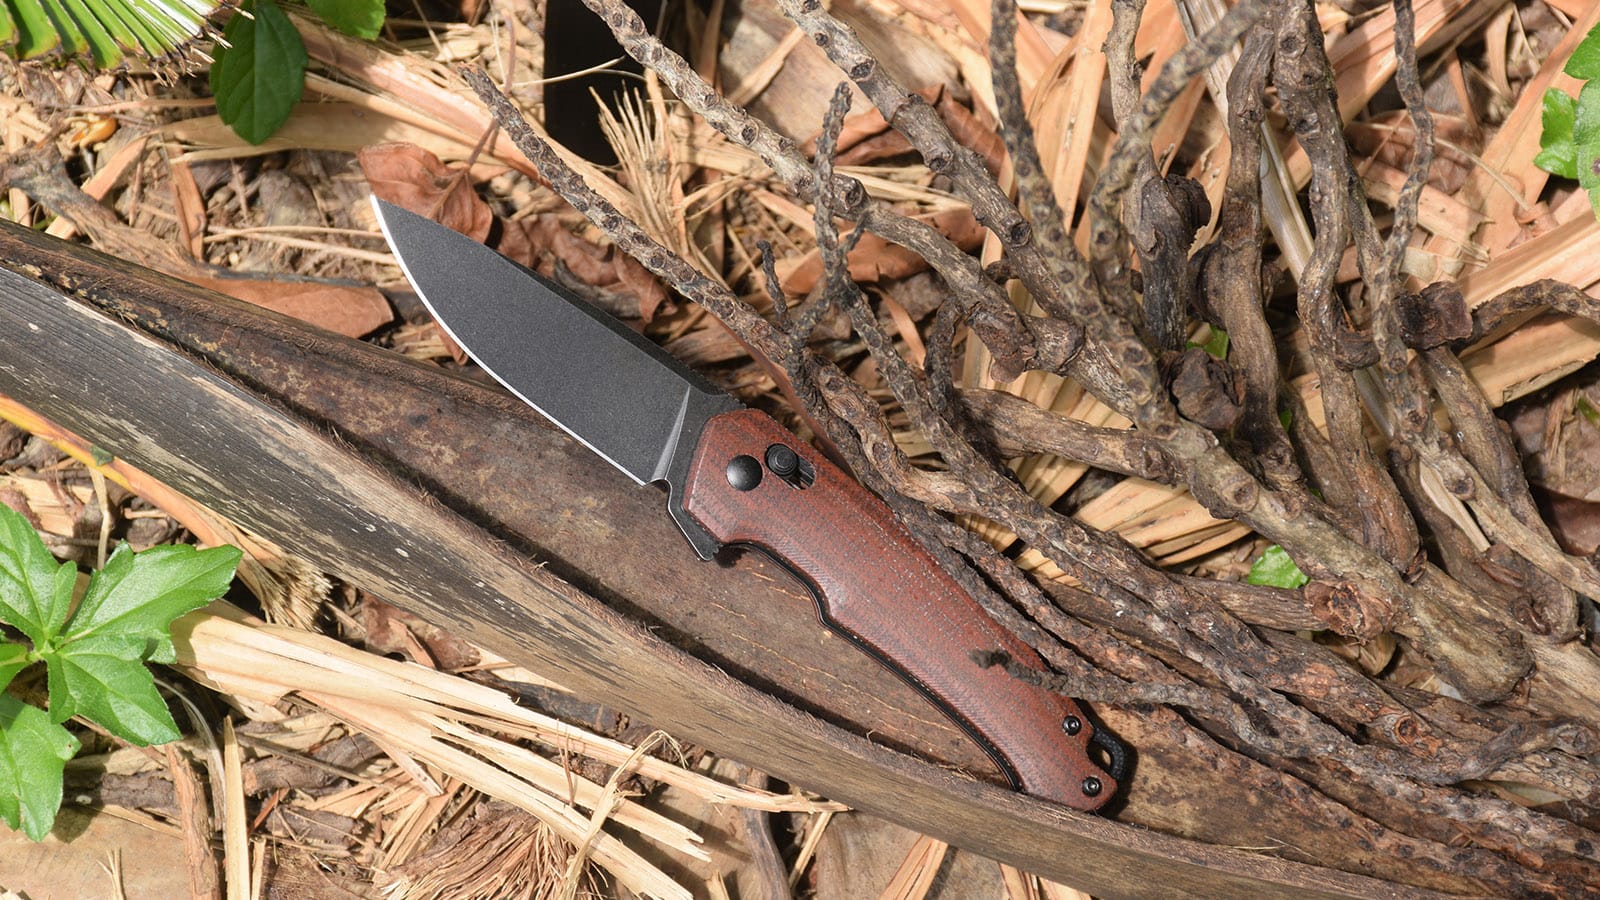
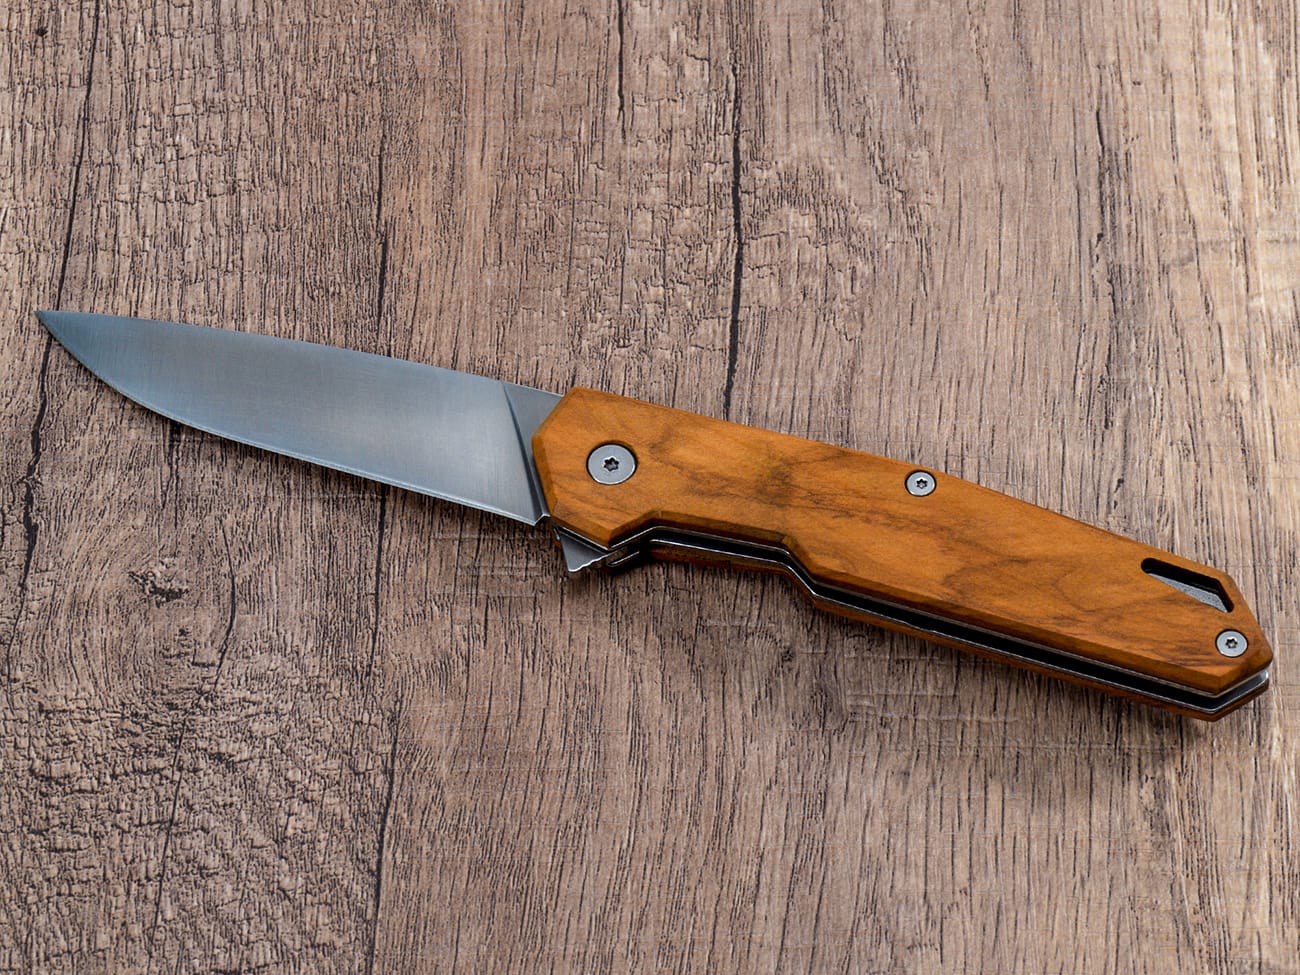
- Draw wood grain patterns for wooden handles
- Add stippling for G10 or micarta patterns
- Include metal finishing details
- Draw screws and pins
How to Add Shadows and Highlights?
Proper shading brings your knife drawing to life:
- Identify the light source
- Add core shadows
- Create highlights on metal surfaces
- Blend smoothly for realistic effects
Common Mistakes to Avoid When Drawing Knives
Watch out for these common errors:
- Incorrect proportions
- Unrealistic blade angles
- Poor perspective
- Missing important details
Advanced Techniques for Realistic Knife Drawing
Take your illustrations to the next level:
- Use cross-hatching for texture
- Add reflections on metal surfaces
- Create detailed mechanisms
- Draw complex lock designs
Tips for Drawing Different Knife Styles
Each knife style requires specific attention:
- Fixed blade knives need different approaches
- Folding knives require mechanism details
- Kitchen knives have unique characteristics
- Utility knives have specific features
Practice Exercises for Improving Your Knife Drawings
Enhance your skills with these exercises:
- Quick sketches of basic shapes
- Detail studies of specific parts
- Multiple angle drawings
- Texture practice sheets
Key Points to Remember:
- Start with basic shapes
- Pay attention to proportions
- Focus on accurate details
- Practice shading techniques
- Study real knife references
- Be patient with the process
- Keep practicing regularly
- Learn from mistakes


