Are you ready to take your knife-making skills to the next level? Whether you’re a seasoned craftsman or a curious beginner, learning how to properly finish a knife blade is an essential skill that can elevate your creations from good to extraordinary. In this comprehensive guide, we’ll dive deep into the world of blade finishing, exploring various techniques, materials, and insider tips to help you achieve that perfect, professional-quality finish on your knife blades.From achieving a mirror-like polish to creating a rugged, battle-ready appearance, we’ll cover it all. So grab your sandpaper and let’s get started on this journey to mastering the art of knife blade finishing!
Why is Blade Finishing Important?
Before we dive into the nitty-gritty details, let’s take a moment to understand why blade finishing is such a crucial step in the knife-making process:
- Aesthetics: A well-finished blade is visually appealing and can significantly increase the value of your knife.
- Performance: Proper finishing can enhance the blade’s cutting ability and reduce friction.
- Corrosion Resistance: Certain finishes can improve the blade’s resistance to rust and other forms of corrosion.
- Durability: A good finish can protect the blade from wear and tear, extending its lifespan.
Now that we understand the importance of blade finishing, let’s explore the various techniques and methods you can use to achieve different types of finishes.
What Are the Different Types of Blade Finishes?
There are several popular blade finishes, each with its own unique characteristics and benefits. Let’s take a closer look at some of the most common types:
- Satin Finish
- Mirror Polish
- Stonewashed Finish
- Blackened or Blued Finish
- Brushed Finish
- Damascus Pattern
How Do You Achieve a Satin Finish?
A satin finish is one of the most popular choices for knife blades, offering a balance between aesthetics and functionality. Here’s how to create a beautiful satin finish:
- Start with a clean, bare blade
- Begin with lower grit sandpaper (around 220 grit) and work your way up to higher grits (600-800)
- Sand in one direction, using long, even strokes
- Progress through the grits, cleaning the blade between each stage
- Finish with a fine scotch-brite pad for a uniform appearance
Pro tip: For an even finish, use a sanding block to maintain consistent pressure across the blade surface.
What’s the Secret to a Mirror Polish?
Achieving a mirror-like finish on your blade requires patience and attention to detail. Follow these steps for a stunning result:
- Start with the satin finish process, working up to 1000 grit sandpaper
- Move to wet sanding, using grits from 1500 to 3000
- Use a polishing compound on a buffing wheel
- Finish with a fine polish, like jeweler’s rouge, for that extra shine
Remember, a mirror polish looks amazing but may require more maintenance to keep it looking its best.
How Can You Create a Stonewashed Finish?
A stonewashed finish gives your blade a rugged, well-used appearance while also helping to hide scratches. Here’s how to achieve this popular look:
- Start with a satin finish
- Place the blade in a tumbler with ceramic media or small rocks
- Add a small amount of water and dish soap
- Tumble for 1-2 hours, checking periodically
- Clean and oil the blade once you’re satisfied with the finish
What’s the Process for Blackening or Bluing a Blade?
Blackening or bluing a blade can provide both aesthetic appeal and increased corrosion resistance. Here’s a basic process for cold bluing:
- Clean the blade thoroughly with alcohol
- Apply a cold blue solution evenly across the blade
- Let it sit for the recommended time (usually a few minutes)
- Rinse with water and dry completely
- Apply a light coat of oil
Note: This process works best on carbon steel blades. For stainless steel, you may need to use a different method or professional services.
How Do You Create a Brushed Finish?
A brushed finish gives your blade a distinctive, linear pattern. Here’s how to achieve it:
- Start with a satin finish
- Use a Scotch-Brite pad or similar abrasive
- Stroke the blade in one direction, maintaining consistent pressure
- Continue until you achieve the desired look
- Clean and oil the blade
What’s the Secret to Highlighting a Damascus Pattern?
Damascus steel is known for its beautiful, swirling patterns. To make these patterns pop, try this etching process:
- Sand the blade to at least 600 grit
- Clean the blade thoroughly with acetone
- Prepare a solution of ferric chloride and water (follow safety precautions!)
- Dip the blade in the solution for 5-10 minutes
- Neutralize with baking soda and water
- Lightly sand with fine grit paper to highlight the pattern
Remember, working with chemicals can be dangerous. Always prioritize safety and consider seeking professional help if you’re unsure.
What Tools Do You Need for Blade Finishing?
To successfully finish your knife blades, you’ll need a variety of tools and materials. Here’s a basic list to get you started:
- Sandpaper (various grits from 220 to 3000)
- Sanding blocks
- Buffing wheel and compounds
- Scotch-Brite pads
- Tumbler (for stonewashed finish)
- Cold blue solution (for bluing)
- Ferric chloride (for etching Damascus)
- Safety equipment (gloves, eye protection, respirator)
How Can You Protect Your Finished Blade?
After all your hard work, you’ll want to protect your beautifully finished blade. Here are some tips:
- Apply a thin coat of oil regularly
- Store the knife in a dry place
- Clean and dry the blade after each use
- Consider using a protective sheath
What Are Some Common Mistakes to Avoid?
Even experienced knife makers can make mistakes during the finishing process. Here are some common pitfalls to watch out for:
- Rushing through the grits
- Applying uneven pressure while sanding
- Neglecting to clean between grits
- Overheating the blade during power sanding
- Using the wrong finish for the blade’s intended use
How Can You Troubleshoot Finishing Problems?
Sometimes, despite your best efforts, things don’t go as planned. Here are some common issues and how to address them:
- Uneven finish: Start over with a lower grit and work your way up carefully
- Scratches: Move back a few grits and sand until the scratches disappear
- Discoloration: This could be due to overheating. Let the blade cool and try again
- Etching didn’t take: Ensure your blade is thoroughly clean and try again with a longer etching time
Conclusion: Mastering the Art of Blade Finishing
Finishing a knife blade is truly an art form that combines technical skill with creative vision. By understanding the different techniques and practicing regularly, you can elevate your knife-making to new heights. Remember, the key to a great finish is patience, attention to detail, and a willingness to learn from your mistakes.Here are the key takeaways to remember:
- Choose the right finish for your blade’s intended use
- Start with lower grits and work your way up gradually
- Maintain consistent pressure and direction while sanding
- Clean your blade between each stage of the finishing process
- Protect your finished blade with proper care and storage
- Don’t be afraid to experiment with different techniques
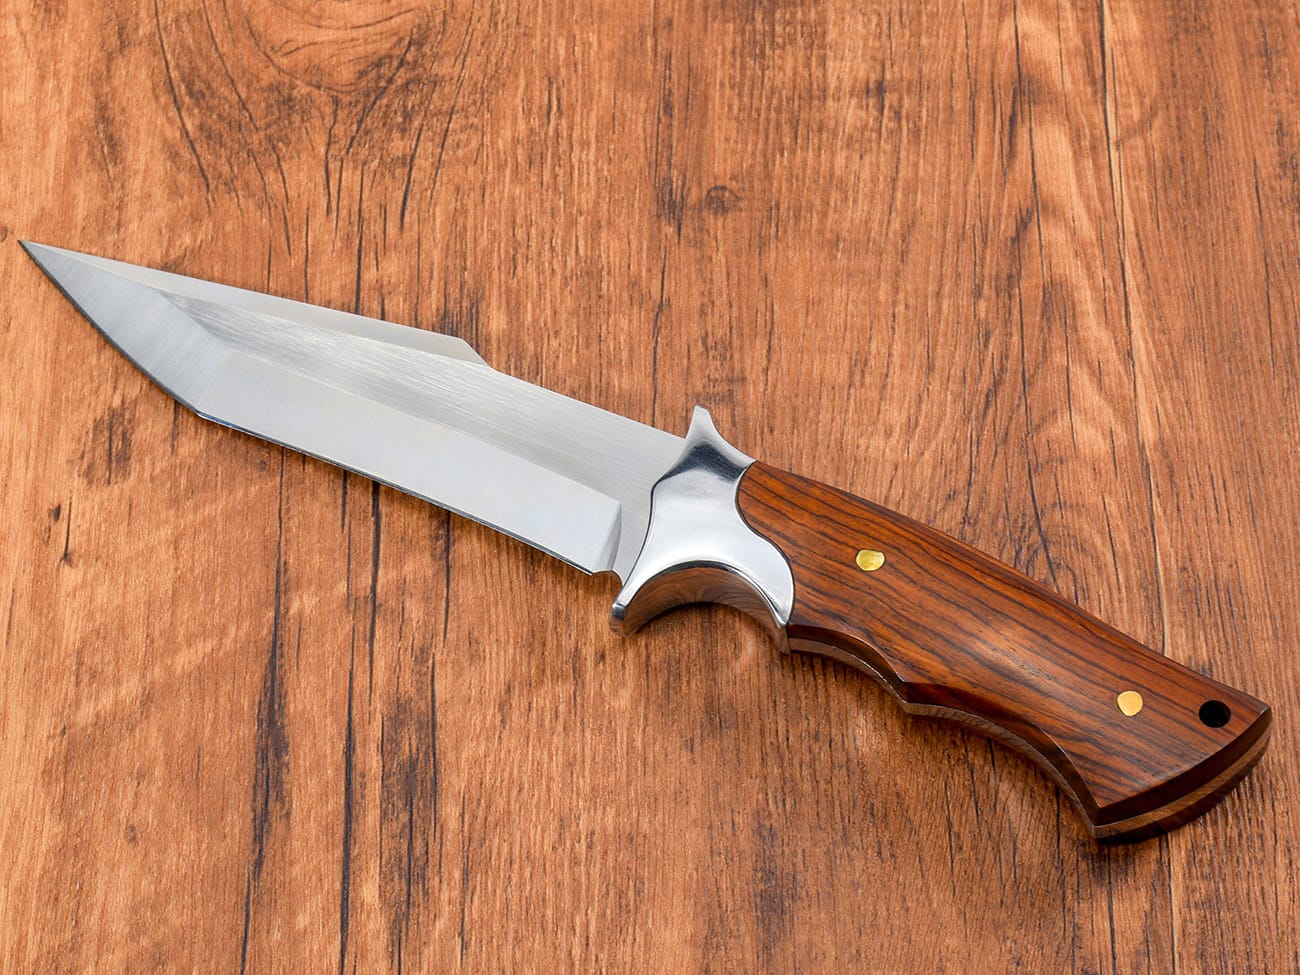
Whether you’re creating a custom hunting knife with a rose wood handle and sanded blade or crafting a damascus folding knife with a wooden handle and pocket clip, mastering the art of blade finishing will take your creations to the next level. So keep practicing, stay curious, and most importantly, enjoy the process of bringing your knife designs to life!

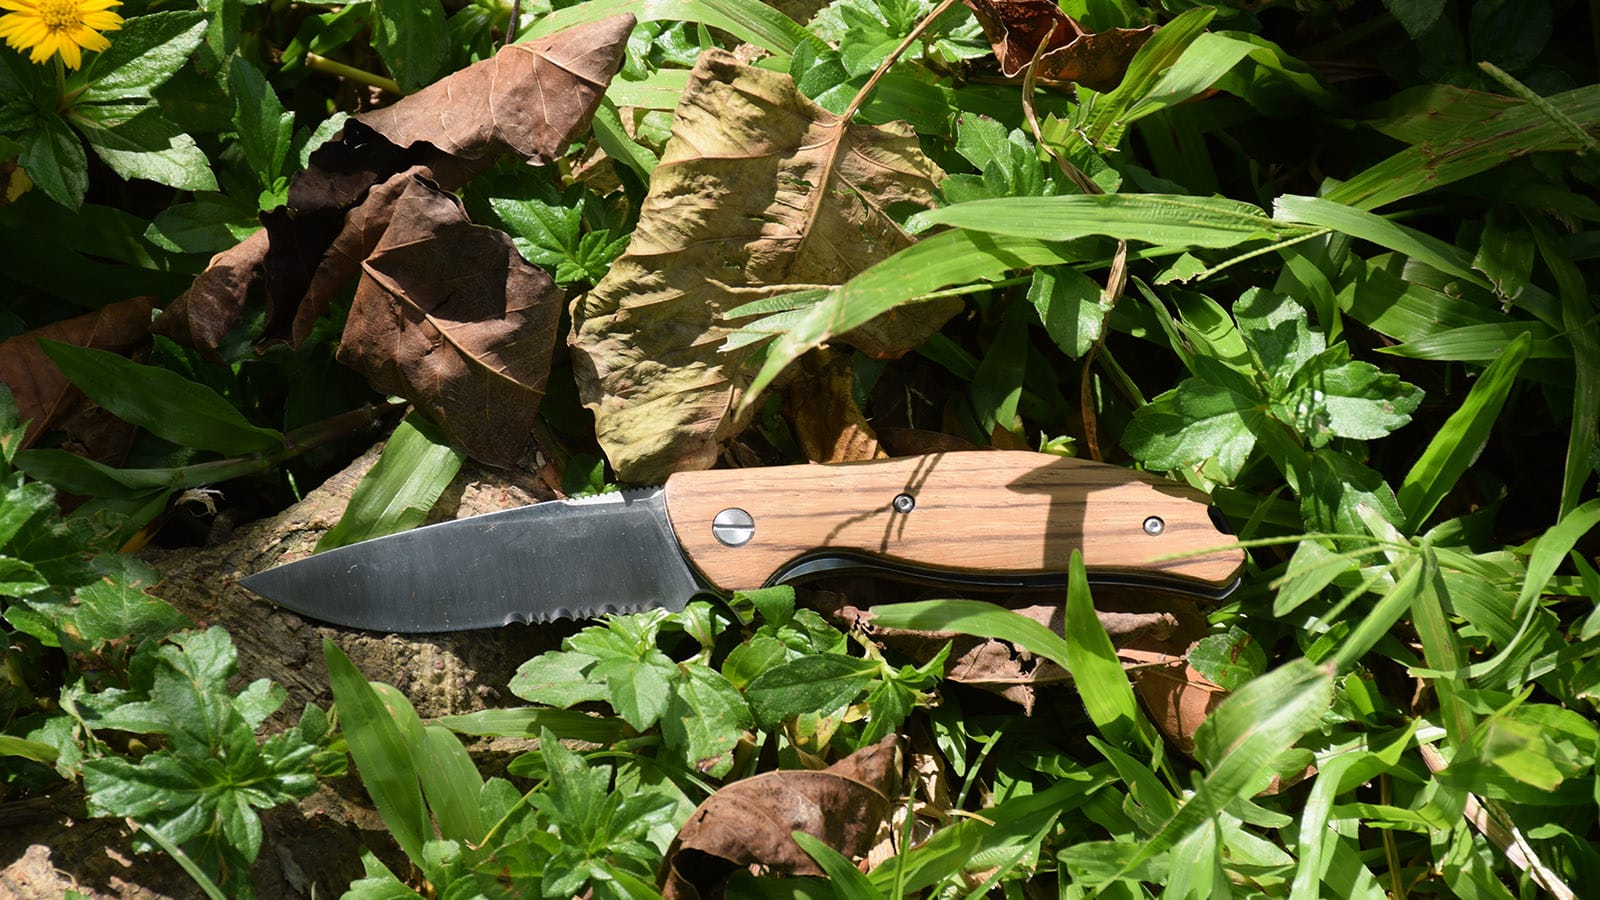
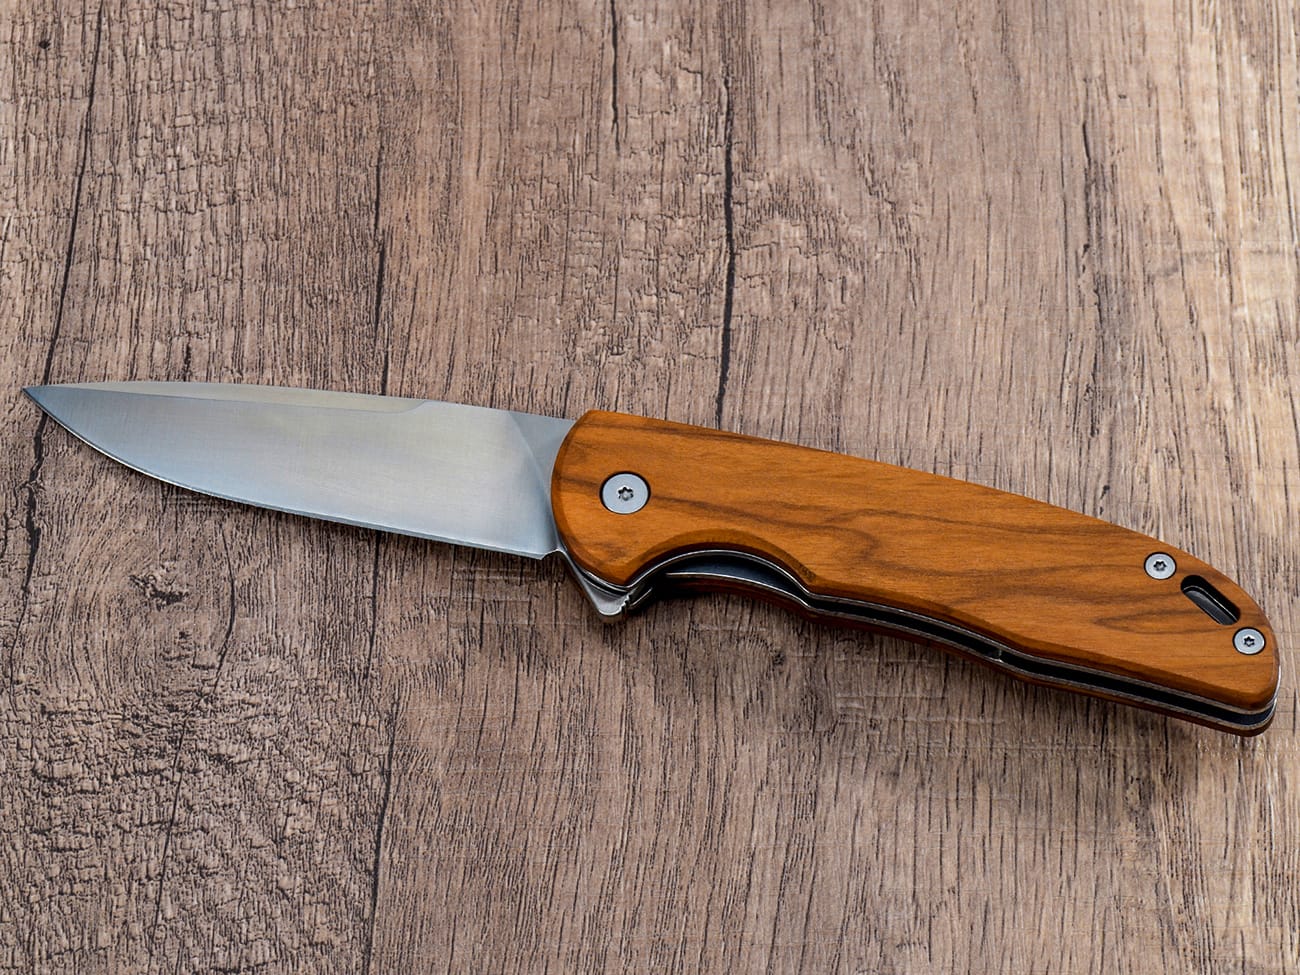
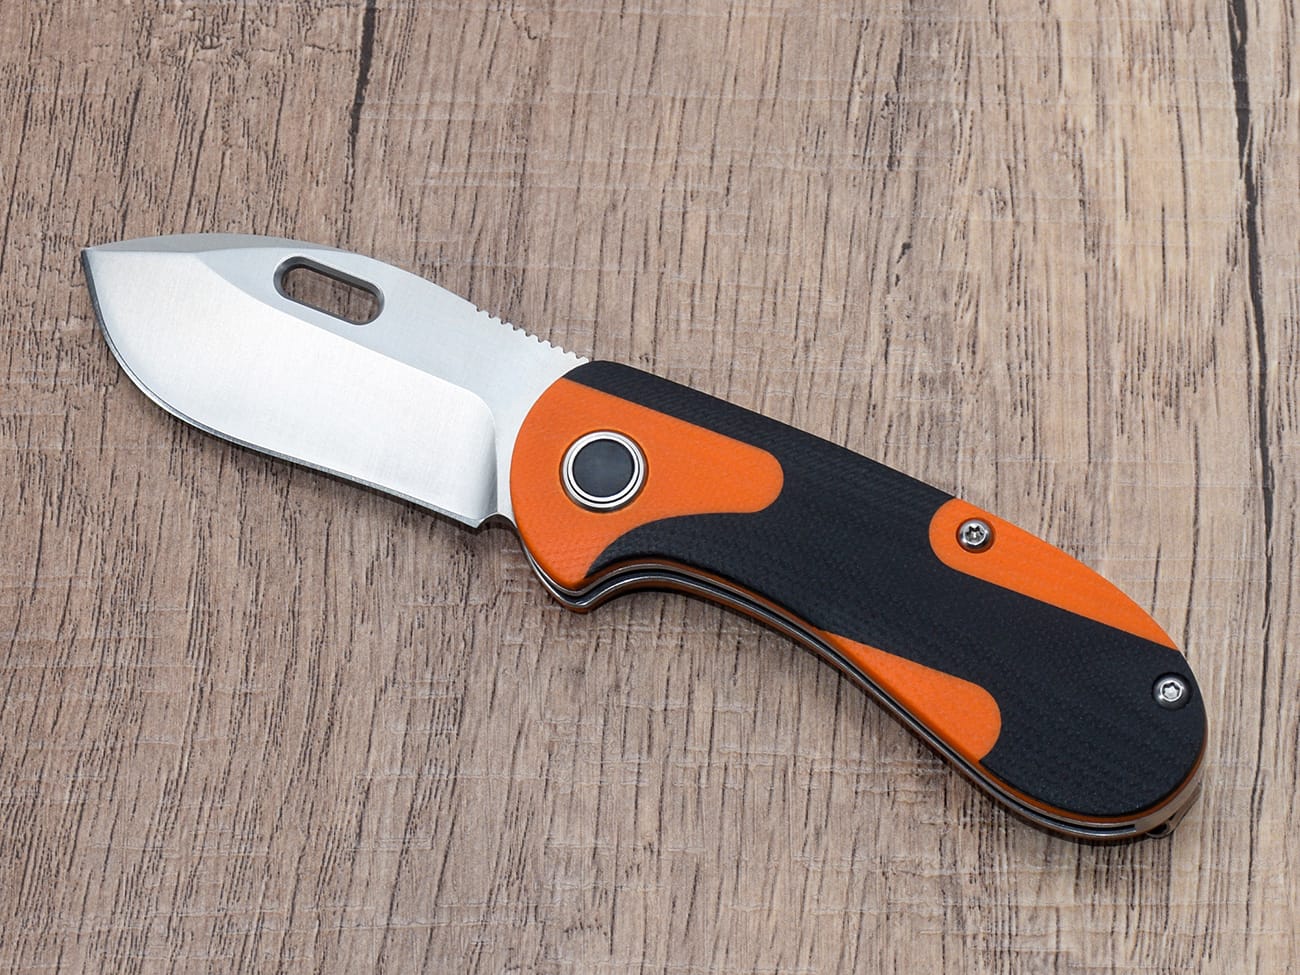
A beautifully finished custom hunting knife with a rose wood handle and sanded bladeRemember, whether you’re working on a 3.54 inch 8cr13mov stainless steel olive wood folding knife or a custom d2 steel folding knife with g10 handle and axis lock, the finishing process can make all the difference in the final product. Happy knife making!


