Creating a folding knife is both an art and a science. Whether you’re a seasoned knifemaker or a beginner looking to craft your first knife, understanding the process is essential. This guide will walk you through the steps of making a folding knife, from choosing the right materials to assembling the final product. By the end, you’ll have the knowledge to create a functional and beautiful folding knife that suits your needs.
Table of Contents
1. What Makes a Folding Knife Unique?
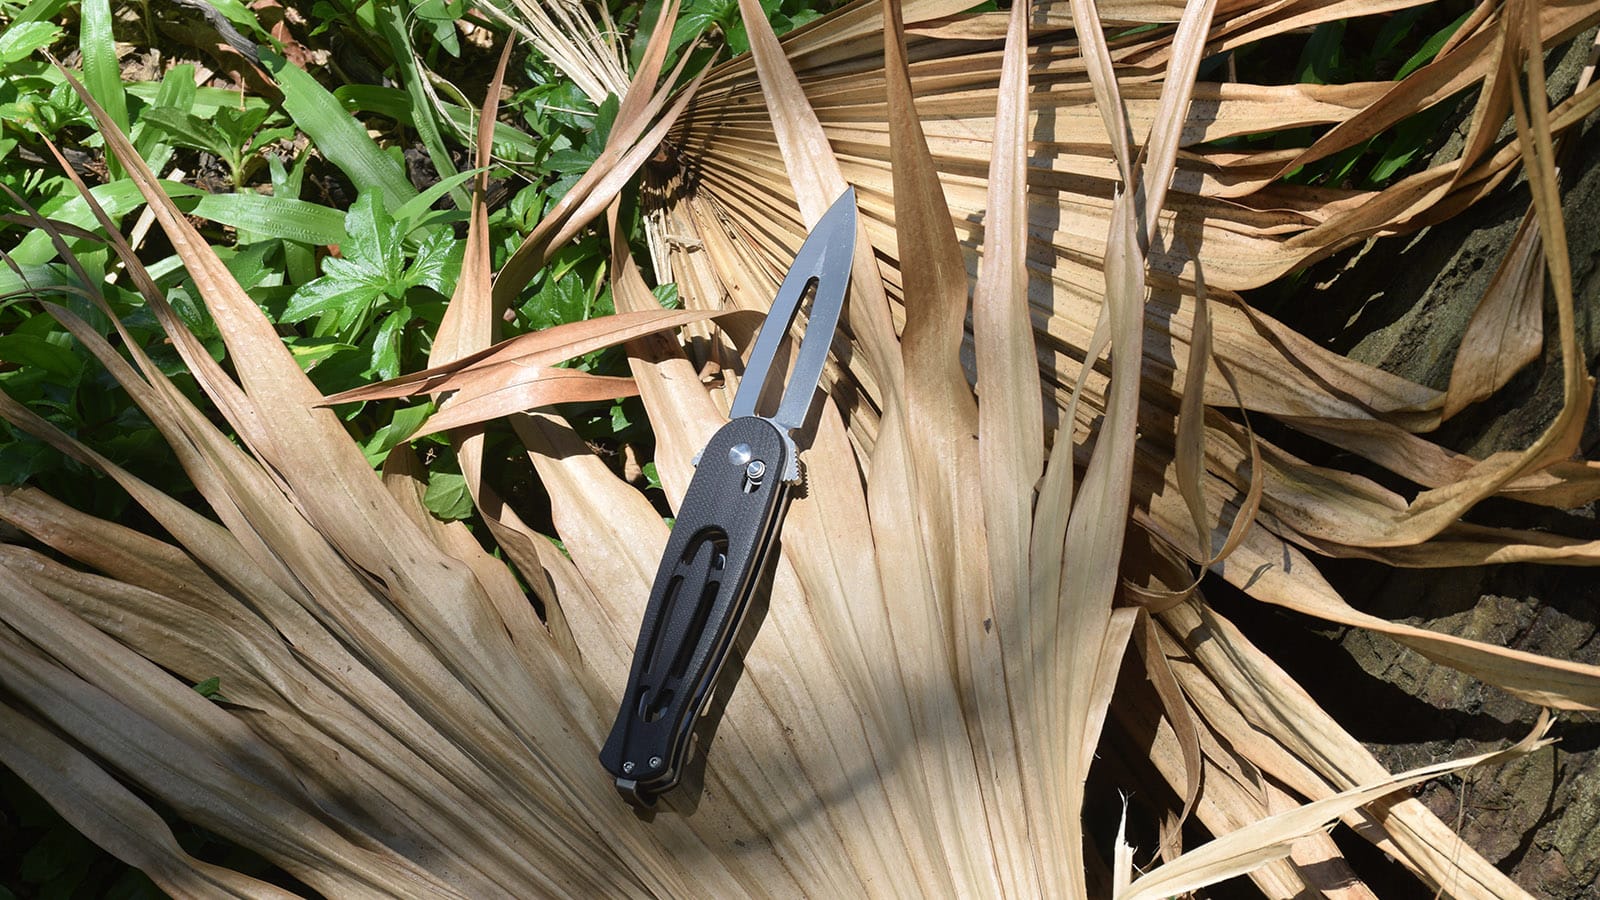
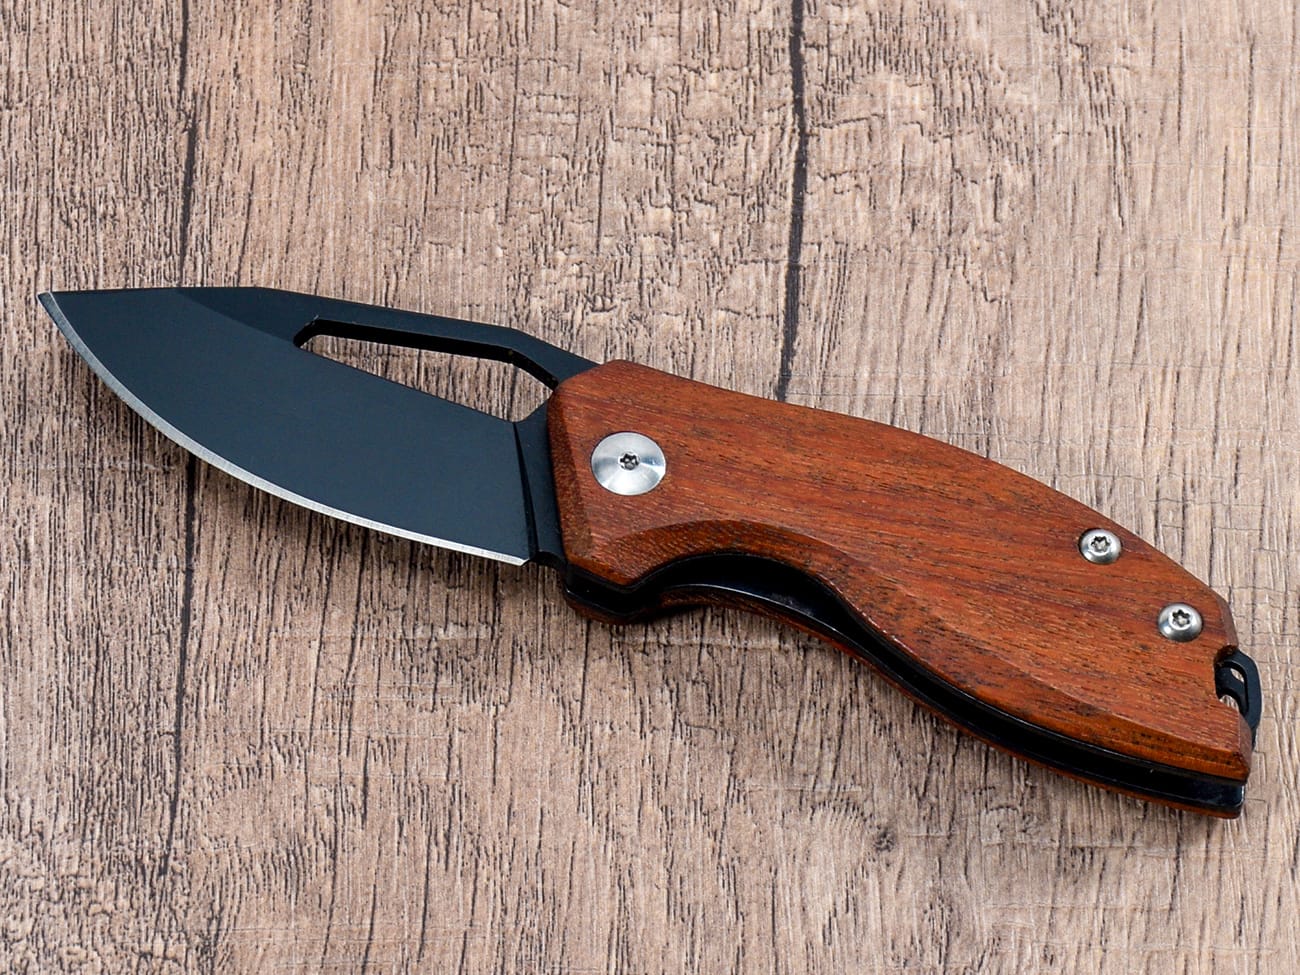
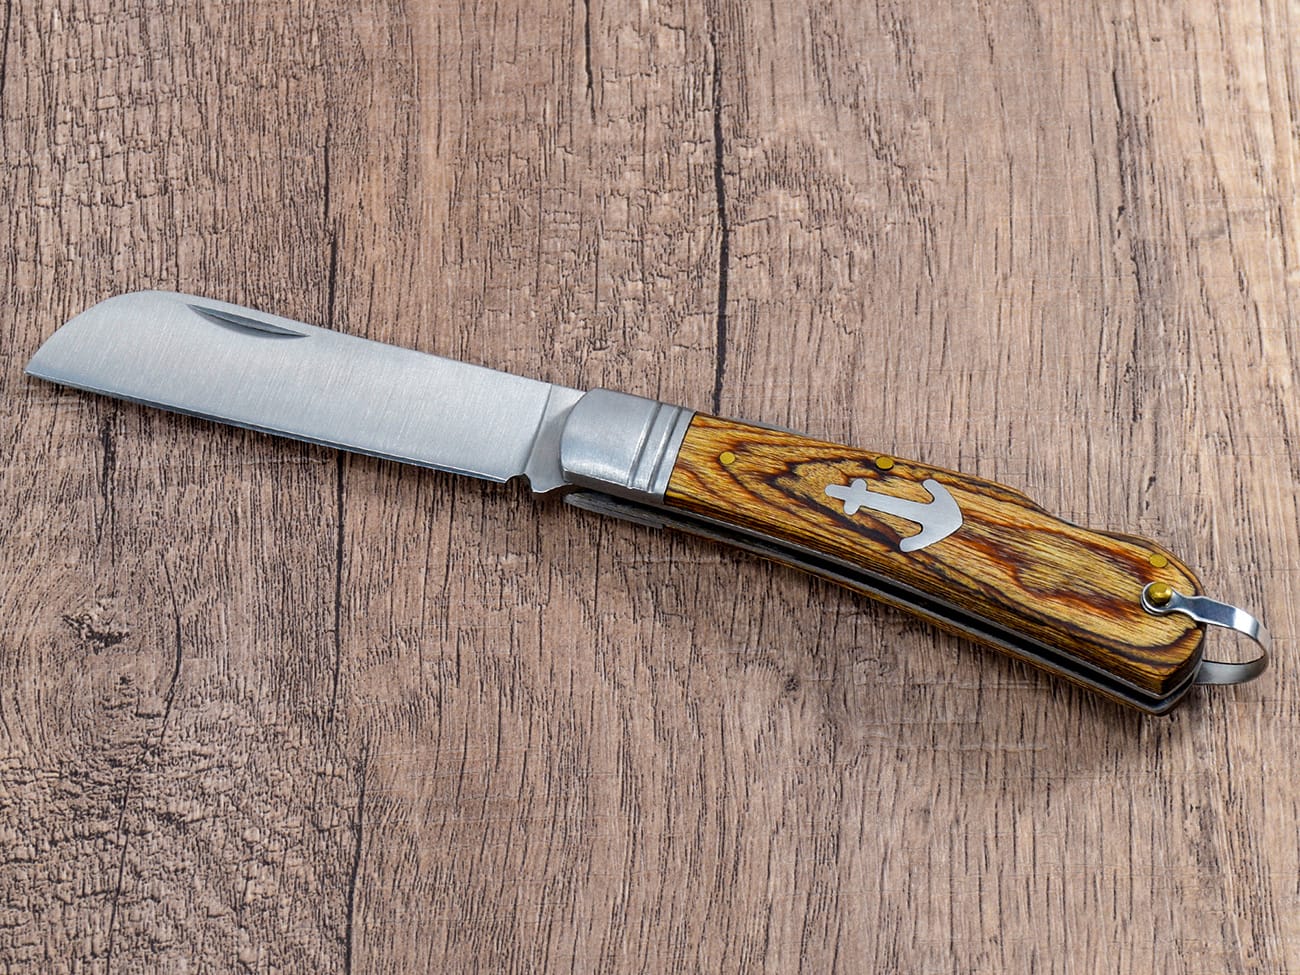
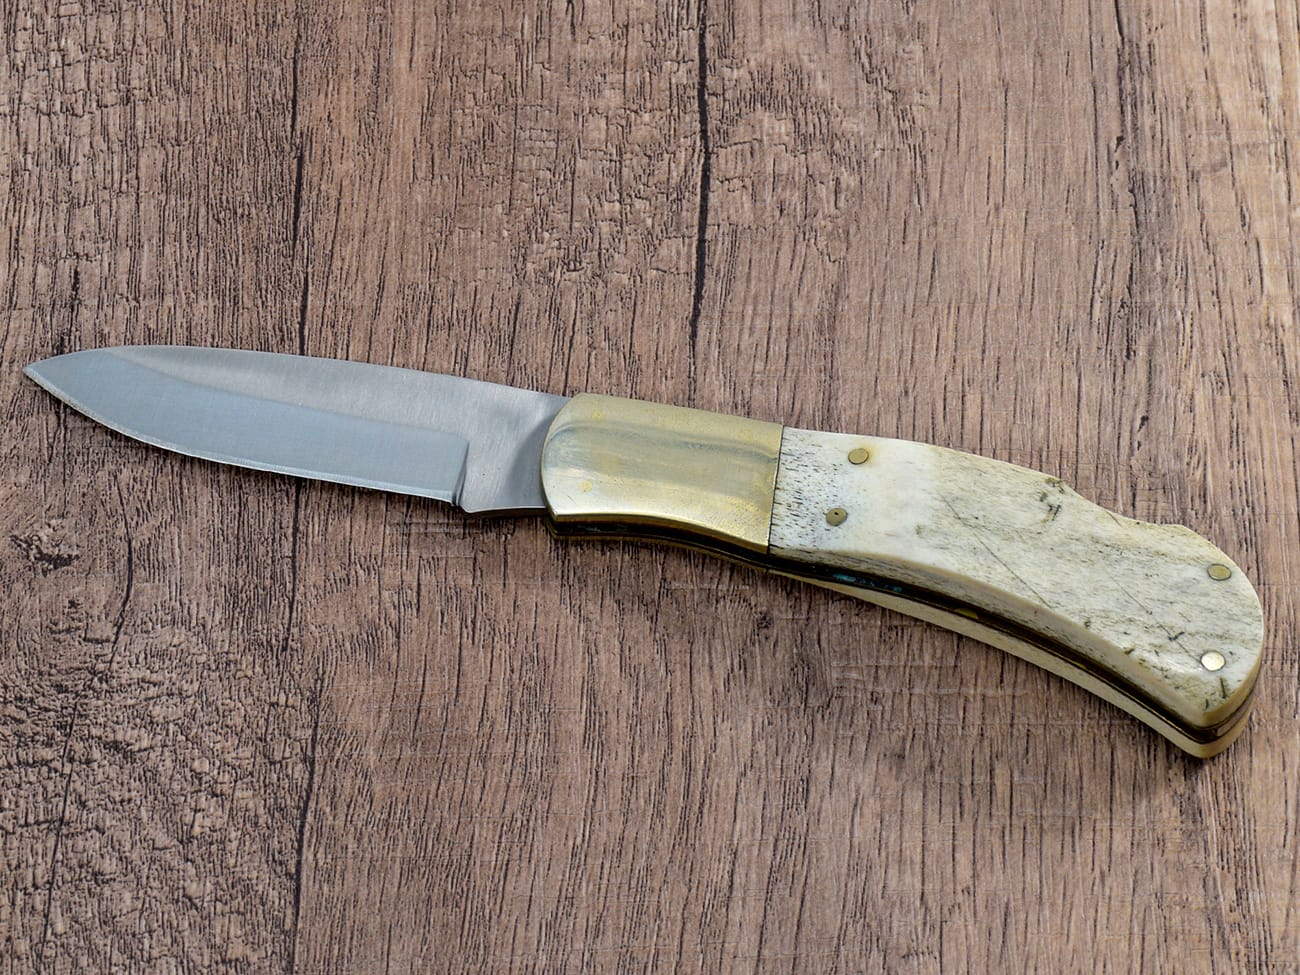
A folding knife, unlike a fixed blade knife, is designed to fold into its handle, making it compact and portable. This design is ideal for everyday carry (EDC) and ensures safety when the blade is not in use. The pivot point and locking mechanism are critical components that differentiate folding knives from other types of knives.Folding knives are versatile tools used for various tasks, from outdoor adventures to simple household chores. Their compact size and functionality make them a favorite among knife enthusiasts and EDC users.
2. How to Sketch Your Folding Knife Design?
Before you start crafting, it’s essential to have a clear sketch of your folding knife design. This step allows you to visualize the blade and handle proportions, ensuring a balanced and functional product.
- Blade Design: Decide on the blade shape, such as drop point, tanto, or clip point. Each shape serves a specific purpose, so choose one that aligns with your intended use.
- Handle Design: The handle should be ergonomic and complement the blade. Materials like G10, micarta, or wood are popular choices for their durability and aesthetic appeal.
Tip: Use CAD software or graph paper to create precise designs. This ensures accuracy when transferring the design to your materials.
3. What Materials Do You Need for Knife Making?
The materials you choose will significantly impact the performance and durability of your folding knife. Here’s a breakdown of essential components:
| Component | Material Options | Notes |
| Blade | Stainless steel, D2, Damascus steel | Choose a steel type based on hardness, corrosion resistance, and edge retention. |
| Handle | G10, micarta, wood, titanium | Ensure the handle material is durable and comfortable to hold. |
| Pivot | Stainless steel, brass | A smooth pivot ensures the blade opens and closes effortlessly. |
| Locking Mechanism | Liner lock, frame lock, slip joint | Select a mechanism that suits your knife’s purpose and safety needs. |
For beginners, 1084 steel is an excellent choice for the blade due to its ease of heat treatment. Pair it with a wood handle for a classic look.
4. Step 1: Preparing the Blade Blank
The blade is the heart of your folding knife. Start by cutting the blade blank from your chosen steel using a hacksaw or band saw. Ensure the blank matches your design’s dimensions.
Key Steps:
- Mark the Blade Shape: Use a marker to outline the blade shape on the steel.
- Cut the Blank: Carefully cut along the outline using a hacksaw or band saw.
- Grind the Edges: Smooth the edges with a belt sander to refine the shape.
Pro Tip: Leave a bit of extra material around the edges to allow for adjustments during the grinding process.
5. Step 2: Shaping the Blade
Shaping the blade involves creating the bevel, which determines the cutting edge. This is a critical step that requires precision.
Steps to Shape the Blade:
- Grind the Bevel: Use a belt sander or grinder to create the bevel. Maintain a consistent angle for a sharp and durable edge.
- Drill the Hole: If your design includes a thumb stud or pivot hole, drill it at this stage. Use a drill press for accuracy.
Tip: Take your time during this step. A well-shaped blade is the foundation of a high-quality knife.
6. Step 3: Heat Treating the Blade
Heat treatment is essential to harden the blade and improve its edge retention. This process involves heating the blade to a specific temperature and then cooling it rapidly.
Heat Treatment Process:
- Heat the Blade: Use a forge or heat-treating oven to heat the blade until it reaches a cherry-red color.
- Quench the Blade: Submerge the blade in oil to cool it quickly. This hardens the steel.
- Temper the Blade: Reheat the blade at a lower temperature to reduce brittleness.
Note: Always follow the recommended heat treatment process for your chosen steel type.
7. Step 4: Assembling the Handle
The handle provides grip and houses the blade when folded. Choose a material that complements your blade and is comfortable to hold.
Steps to Assemble the Handle:
- Cut the Handle Scales: Use your design template to cut the handle scales from materials like G10, wood, or micarta.
- Drill Holes for Pins: Align the scales with the blade and drill holes for the pivot and stop pins.
- Attach the Scales: Secure the scales to the blade using screws or adhesive.
Pro Tip: Sand the handle edges to ensure a smooth and ergonomic finish.
8. Step 5: Installing the Pivot and Locking Mechanism
The pivot point and locking mechanism are crucial for the folding knife’s functionality. These components allow the blade to open and close smoothly while ensuring safety.
Steps:
- Install the Pivot: Insert the pivot pin through the blade and handle. Use washers to reduce friction.
- Add the Locking Mechanism: Install a liner lock or other locking mechanism to secure the blade in the open position.
Tip: Test the blade’s movement to ensure it opens and closes smoothly without wobbling.
9. Step 6: Final Assembly and Adjustments
Once all components are in place, it’s time to assemble the knife and make final adjustments.
Steps:
- Tighten Screws: Secure all screws and pins to hold the knife together.
- Check Blade Alignment: Ensure the blade is centered when closed and doesn’t rub against the handle.
- Test the Lock: Open and close the blade multiple times to test the locking mechanism.
Pro Tip: Use a clamp to hold the knife steady during assembly.
10. How to Sharpen and Finish Your Folding Knife?
The final step is to sharpen the blade and add finishing touches to your knife.
Sharpening:
- Use a belt sander or sharpening stone to create a razor-sharp edge.
- Maintain a consistent angle to ensure even sharpening.
Finishing:
- Polish the blade and handle for a professional look.
- Apply a protective coating to prevent rust and corrosion.
Tip: Take your time during this step to achieve a high-quality finish.
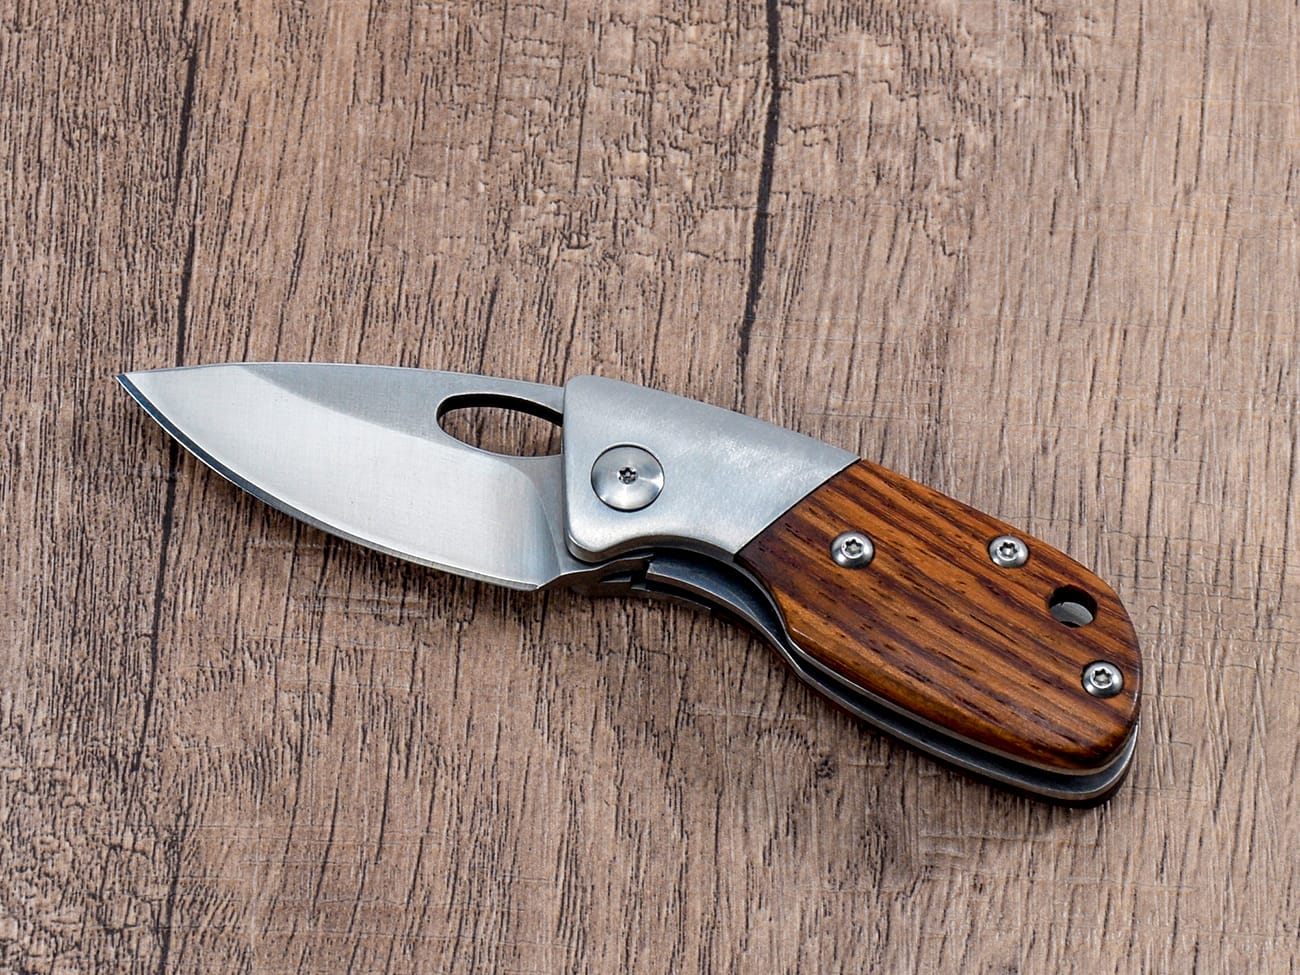
Alt: Custom folding knife with wooden handle and liner lock.
Key Considerations for Knife Making
When making a folding knife, keep the following factors in mind:
- Safety: Always wear protective gear and work in a well-ventilated area.
- Precision: Small errors can affect the knife’s functionality, so measure and cut carefully.
- Patience: Knife making is a time-consuming process, but the results are worth the effort.
Internal Links for Further Reading
Summary: Key Takeaways
- A folding knife is a versatile tool with a compact design.
- Start with a clear design and choose high-quality materials.
- Follow each step carefully, from shaping the blade to assembling the handle.
- Pay attention to details like the pivot point and locking mechanism.
- Take your time to sharpen and finish the knife for a professional result.
By following this guide, you’ll be well on your way to creating a folding knife that is both functional and aesthetically pleasing. Happy knife making!

