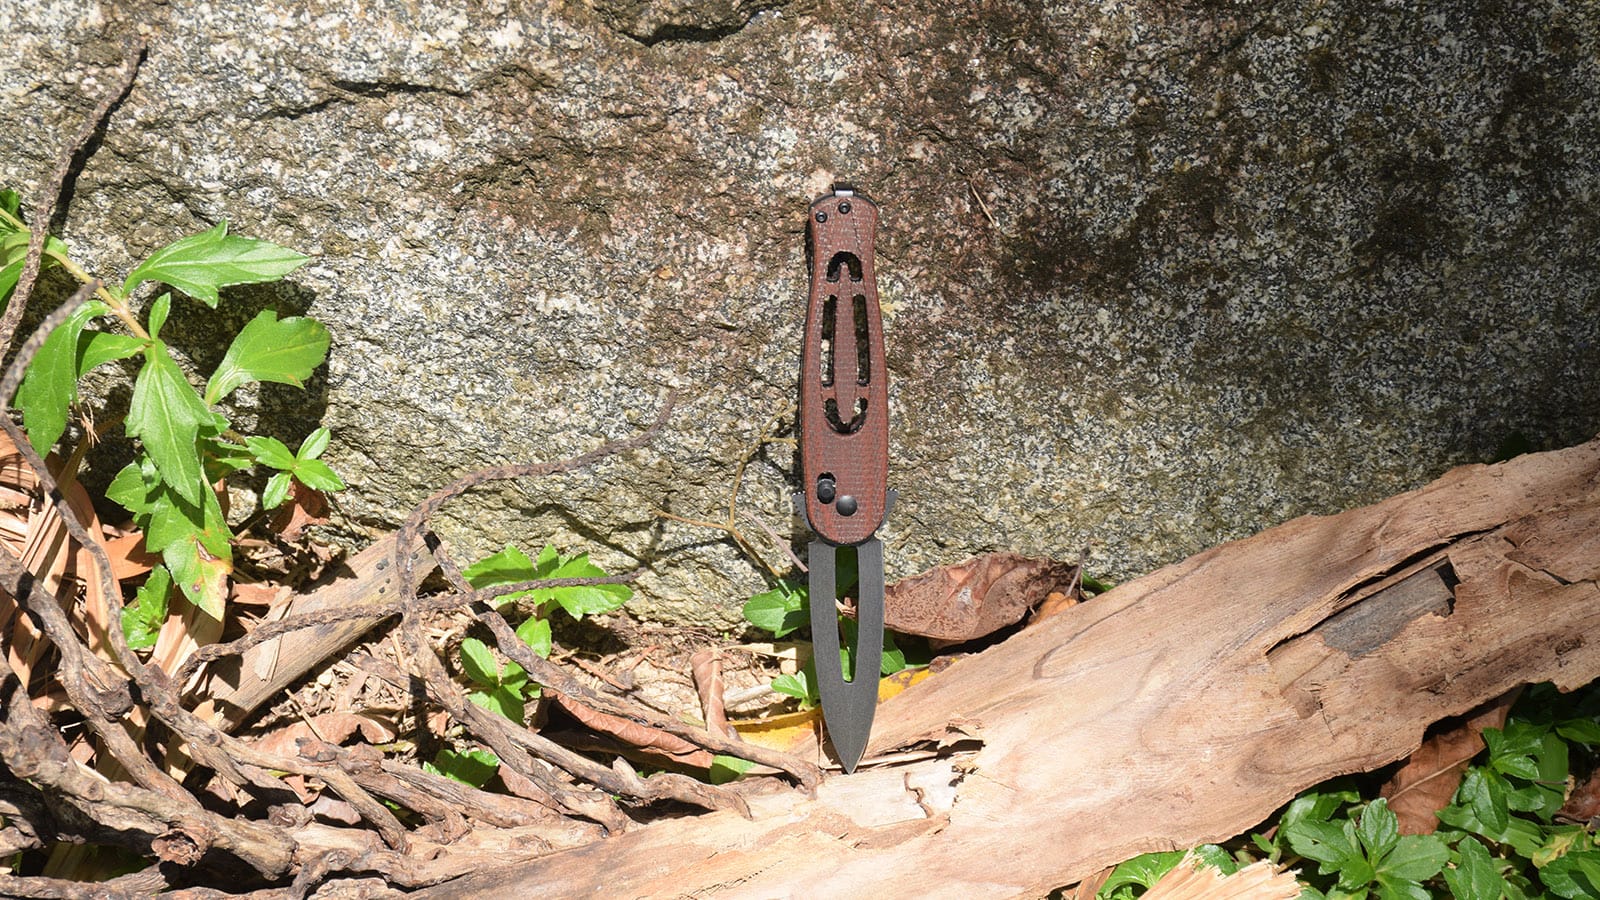
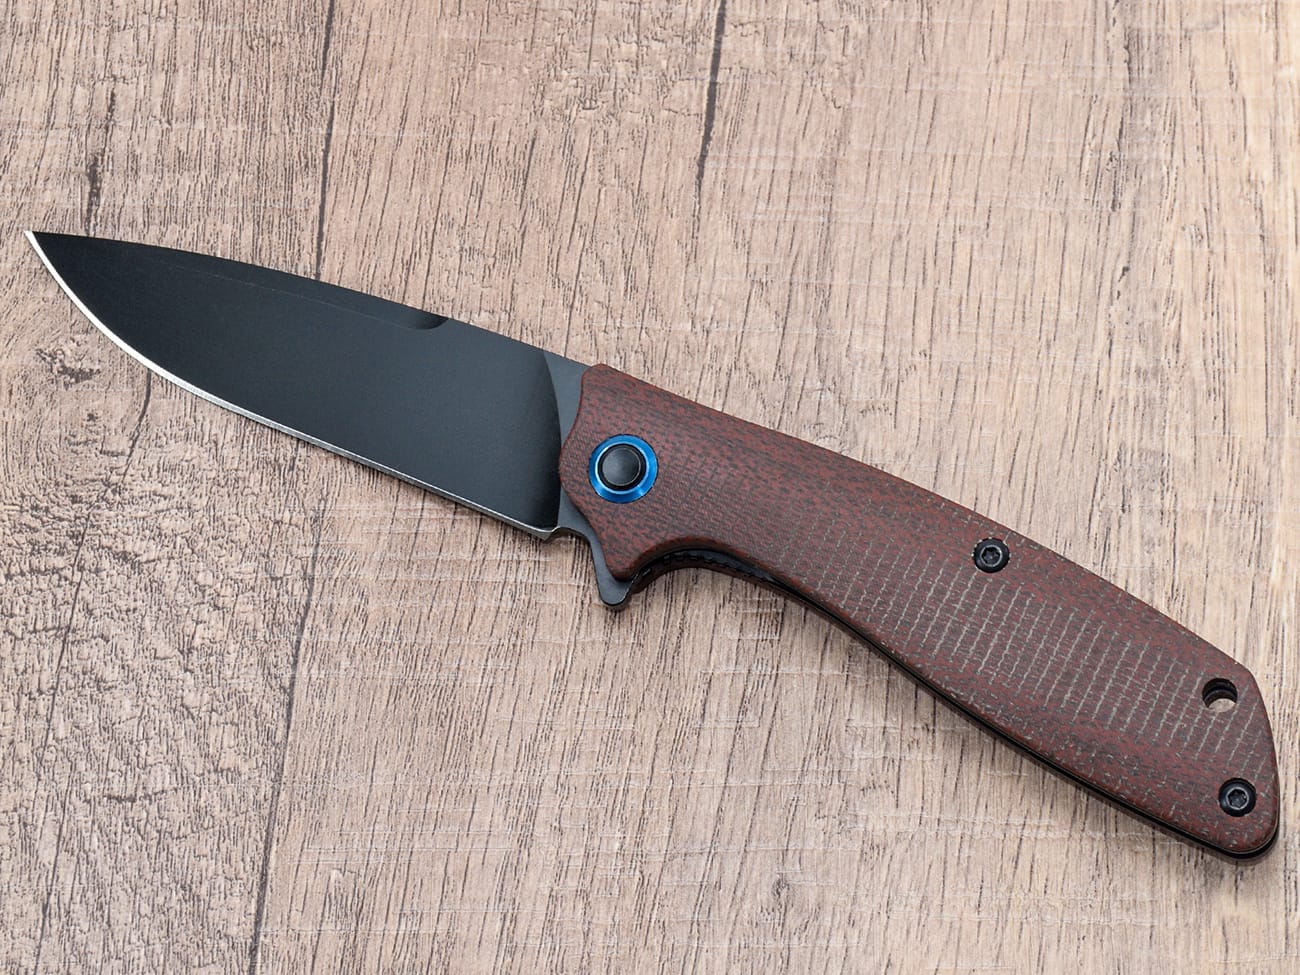
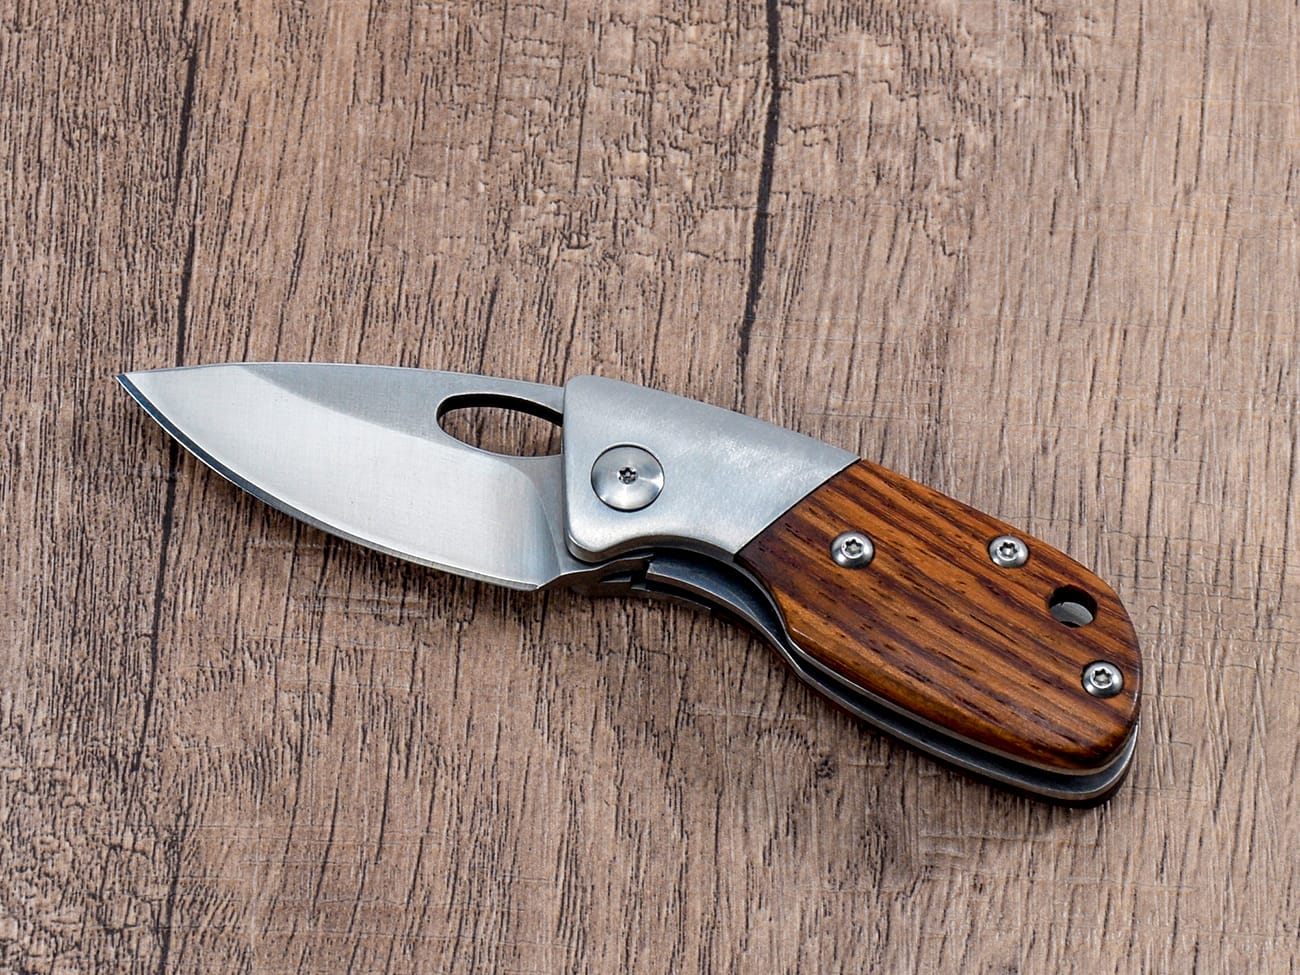
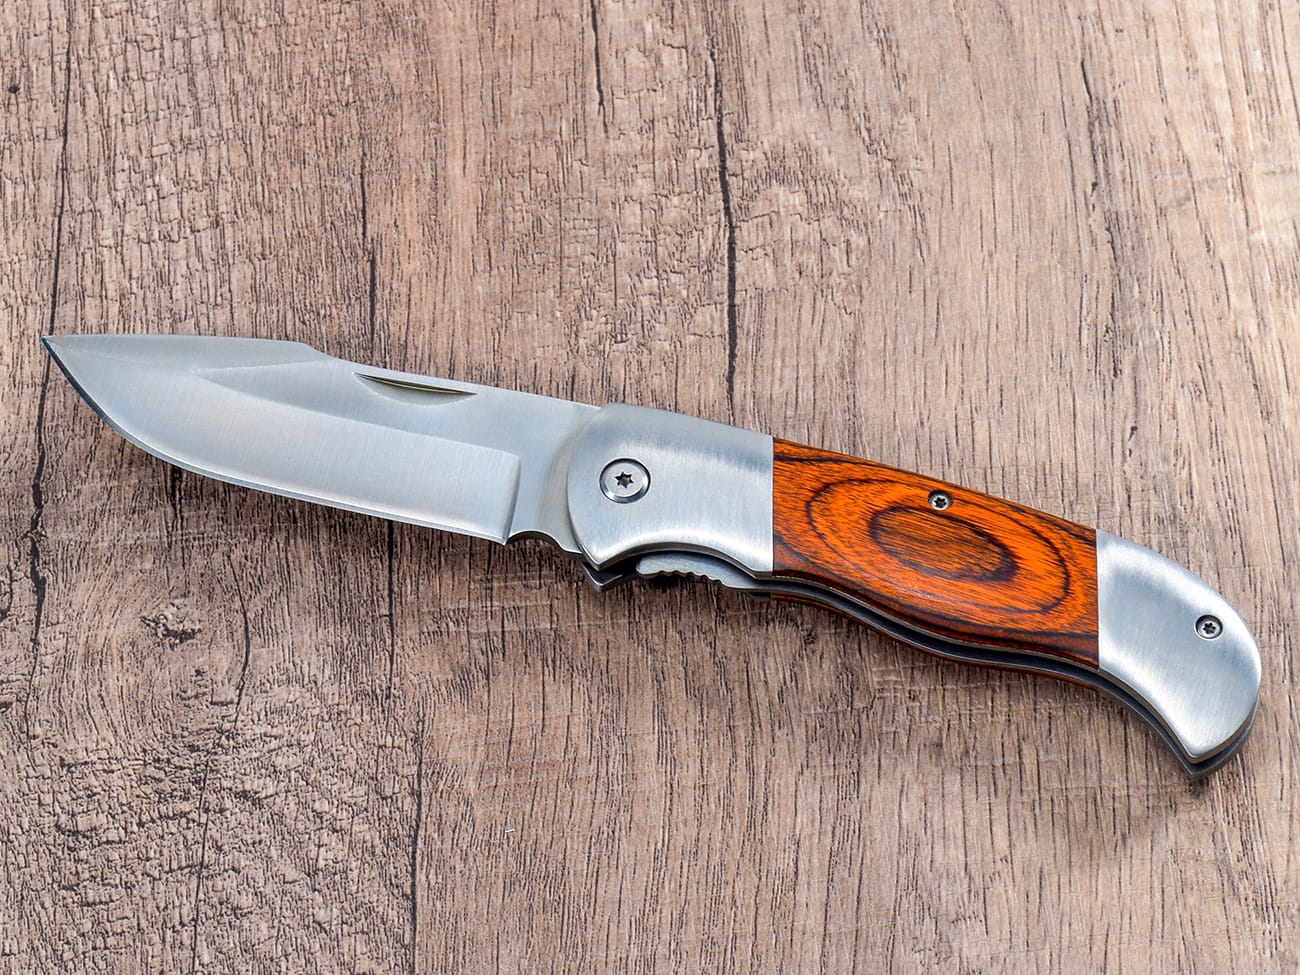
Creating a custom leather sheath for your pocket knife isn’t just a practical project – it’s an opportunity to craft something uniquely yours while protecting your valuable blade. This comprehensive guide will walk you through the process of making a professional-quality leather sheath, from selecting materials to adding finishing touches. Whether you’re a beginner or experienced leatherworker, you’ll find valuable tips to create a sheath that both protects your knife with g10 handle and looks great.
What Materials Do You Need for Making a Leather Sheath?
Before starting your leather sheath project, gather these essential materials:
- Quality leather: Vegetable-tanned leather (4-6 oz thickness)
- Template materials: Paper, pencil, scissors
- Tools: Leather punch, utility knife, ruler
- Hardware: Belt loop materials, rivets
- Finishing supplies: Leather dye, leather oil, burnishing tool
How to Choose the Right Type of Leather?
Selecting the right leather is crucial for creating a durable sheath. Consider these factors:
- Vegetable-tanned leather is ideal for knife sheaths due to its durability
- Thickness should match your custom folding knife size
- Look for firm, high-quality leather with minimal stretch
Creating Your Paper Template
A proper template ensures your sheath fits perfectly:
- Trace your knife onto paper
- Add 1/2 inch allowance around the edges
- Include space for the belt loop
- Test fit before cutting leather
How to Transfer the Design onto the Leather?
Transfer your pattern onto the leather carefully:
- Dampen the leather slightly
- Position and trace your knife carefully
- Mark stitching lines
- Double-check measurements
What’s the Best Way to Cut the Leather?
Precise cutting is essential for a professional finish:
- Use a sharp utility knife
- Make clean, straight cuts
- Follow your template lines exactly
- Trim excess leather carefully
Making the Belt Loop Attachment
A secure belt loop is crucial for safe knife carrying:
- Cut a strip for the belt loop
- Form the leather into the desired shape
- Attach securely to the main sheath body
- Consider custom EDC knife size when sizing
How to Stitch the Sheath Together?
Proper stitching ensures durability:
- Make a row of holes using leather punch
- Use waxed thread for strength
- Double-stitch critical areas
- Keep stitches even and tight
Molding the Leather Around Your Knife
Proper molding ensures a secure fit:
- Wet the leather appropriately
- Place your knife on the leather
- Form the leather around your knife
- Allow to dry completely
Finishing Touches and Leather Treatment
Final steps for a professional look:
- Dye the leather if desired
- Apply leather oil for protection
- Buff the leather for shine
- Add any decorative elements
Testing and Adjusting the Fit
Ensure your sheath functions properly:
- Test knife insertion and removal
- Check belt loop security
- Verify retention
- Make adjustments as needed
Key Points to Remember:
- Always use high-quality materials for best results
- Take time with measurements and cutting
- Allow proper drying time between steps
- Test fit frequently during construction
- Apply multiple thin coats of finish rather than one thick coat
- Safety first when handling knives and tools
With these instructions and some patience, you can create a custom leather sheath that will protect your custom pocket knife for years to come. Remember that your first sheath may need some adjustments, but each project will help you improve your leatherworking skills.

