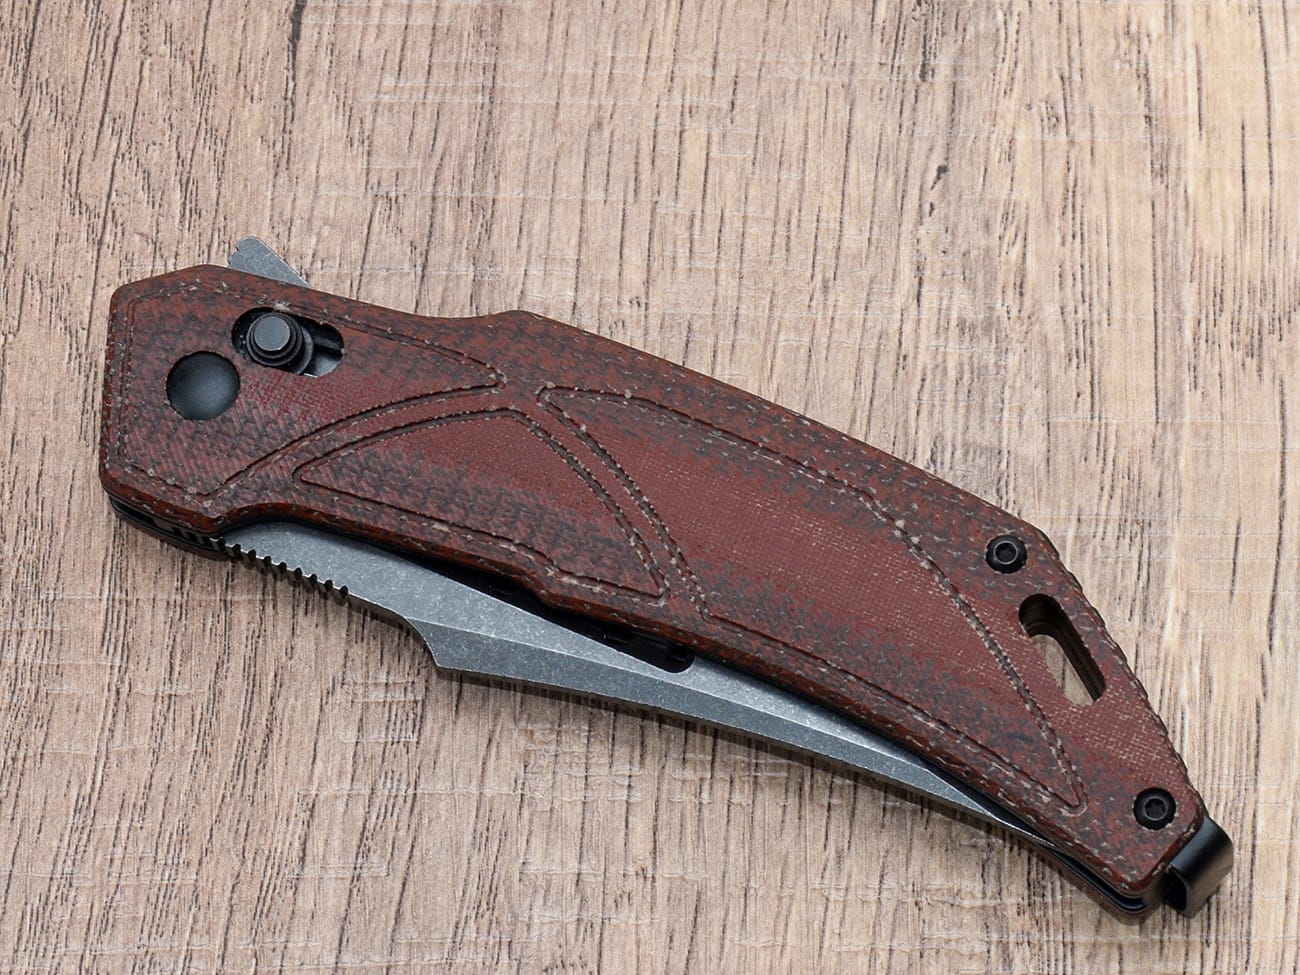
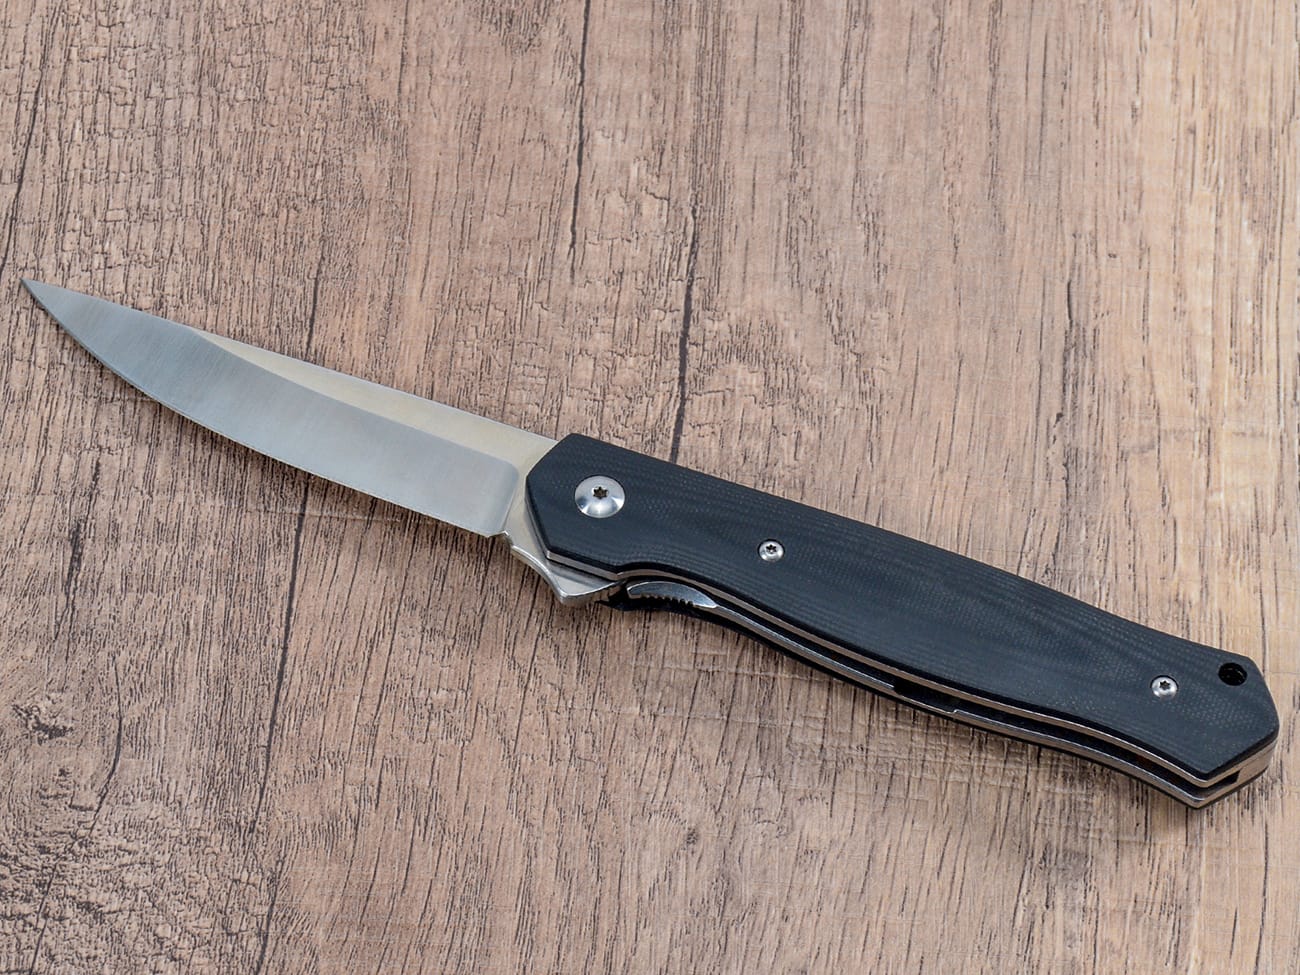
Sagte kniver er essensielle verktøy på ethvert kjøkken, verdsatt for deres evne til å skjære gjennom tøffe frukter, sprø brød og annen utfordrende mat med letthet. Imidlertid kan det være en vanskelig oppgave å opprettholde den skarpe kanten for mange hjemmekokker. Denne omfattende guiden vil lede deg gjennom prosessen med å slipe en tagget kniv, og sikre at bladene dine holder seg knivskarpe og yter sitt beste. Enten du er en kulinarisk entusiast eller en profesjonell kokk, vil det å mestre denne ferdigheten forlenge levetiden til knivene dine og forbedre skjæreopplevelsen.
Hvorfor det er viktig å skjerpe den taggete kniven din
Sagte kniver blir ofte oversett når det kommer til sliping, da mange tror de holder seg skarpe for alltid. Selv om det er sant at taggete kanter har en tendens til å opprettholde skjæreevnen lenger enn rette kanter, blir de til slutt matte og krever oppmerksomhet. En skarp takket kniv gjør ikke bare skjæreoppgaver enklere, men også sikrere, siden du må bruke mindre press når du skjærer. Regelmessig vedlikehold av de taggete bladene dine vil sikre at de fortsetter å fungere godt i årene som kommer.
Forstå serrated knivs anatomi
Før du dykker inn i slipeprosessen, er det avgjørende å forstå den unike strukturen til en tagget kniv:
- Serrations: De saglignende tennene langs bladets kant
- Gullets: De buede utsparingene mellom hver serration
- Skråkant: Den vinklede overflaten til takkingene, typisk slipt på den ene siden
- Flat side: Den motsatte siden av bladet, som vanligvis er glatt
Å kjenne til disse delene vil hjelpe deg med å slipe kniven mer effektivt og opprettholde sin originale design.
Når er det på tide å slipe den taggete kniven din?
Hvordan vet du når den taggete kniven din trenger sliping? Her er noen avslørende tegn:
- Kniven sliter med å skjære gjennom brød uten å knuse det
- Du opplever at du bruker mer press enn vanlig når du skjærer
- Bladet river eller river mat i stedet for å lage rene kutt
- Du merker synlige skader eller slitasje på takkene
Hvis du observerer noen av disse symptomene, er det på tide å slipe den taggete kniven.
Verktøy du trenger for å slipe en tagget kniv
For å slipe den taggete kniven din effektivt, trenger du følgende verktøy:
- En konisk slipestang (keramikk eller diamant)
- En finkornet slipestein (valgfritt)
- En stropp eller lærbelte (valgfritt)
- Et skjærebrett eller håndkle for beskyttelse av arbeidsplassen
- Sikkerhetshansker (anbefalt)
Å investere i kvalitetsslipingsverktøy vil gjøre prosessen enklere og mer effektiv.
Trinn-for-trinn veiledning for å slipe en tagget kniv
Nå som du er forberedt, la oss gå gjennom skjerpeprosessen:
1. Forbered arbeidsområdet ditt
Start med å sette opp et rent, godt opplyst område. Plasser et skjærebrett eller håndkle på arbeidsflaten for å beskytte den og gi stabilitet. Ta på deg vernehansker hvis du bruker dem.
2. Identifiser den skrå siden
Undersøk den taggete kniven din for å finne ut hvilken side som har skråkanten. Dette er vanligvis høyre side for høyrehendte kniver og venstre side for venstrehendte kniver. Du vil fokusere på å skjerpe denne siden.
3. Velg passende slipestang
Velg en avsmalnende slipestang som passer komfortabelt i åpningene på kniven. Keramiske stenger er skånsommere og egnet for regelmessig vedlikehold, mens diamantstenger er mer aggressive og bedre for kraftig sløvede blader.
4. Skjerp hver serration individuelt
Starter ved bunnen av bladet nær håndtaket:
- Sett den avsmalnende stangen inn i det første spiserøret, slik at vinkelen samsvarer med skråkanten (vanligvis rundt 13-17 grader).
- Trekk stangen på tvers av skråkanten fra bunn til spiss ved å bruke lett trykk.
- Gjenta denne bevegelsen 3-5 ganger for hver serration.
- Gå til neste spiserør og gjenta prosessen.
Vær konsistent med vinkelen og trykket for å sikre jevn skarphet på tvers av alle serrationer.
5. Sjekk fremgangen din
Etter å ha slipt noen takker, test knivens skarphet på et stykke papir eller tomat. Hvis det skjærer rent, fortsett med resten av bladet. Hvis ikke, juster teknikken og prøv igjen.
6. Adresser den flate siden (valgfritt)
Mens det meste av skjerpingen skjer på den skrå siden, kan det hende du må fjerne eventuelle grader som har dannet seg på den flate siden:
- Legg den flate siden av bladet mot en finkornet slipestein.
- Trekk bladet forsiktig over steinen noen ganger, hold det flatt.
- Dette trinnet bidrar til å opprettholde knivens generelle geometri og fjerner metallrester.
7. Stropp bladet (valgfritt)
For en siste polering:
- Tegn den skrå siden av bladet over en lærstropp eller belte.
- Bruk lett trykk og behold skråvinkelen.
- Dette trinnet hjelper til med å justere kanten og fjerne eventuelle gjenværende grader.
8. Rengjør og test kniven
Vask den nylig slipte kniven med såpe og varmt vann, og tørk den deretter grundig. Test den på en rekke matvarer for å sikre at den fungerer bra.
Vanlige feil å unngå ved sliping av taggete kniver
Vær oppmerksom på disse fallgruvene for å opprettholde knivens integritet:
- Oversliping: Ikke fjern mer metall enn nødvendig. Lett, regelmessig vedlikehold er bedre enn aggressiv, sjelden sliping.
- Feil vinkel: Unnlatelse av å matche den originale skråvinkelen kan endre knivens kutteytelse.
- Forsømmelse av spiserørene: Sørg for at du skjerper hele serrationen, inkludert dybden på hver spiserør.
- Bruker feil verktøy: Unngå å bruke slipeverktøy designet for rette kanter på taggete kniver.
Profesjonell skjerping vs. DIY: Når bør du søke eksperthjelp
Mens mange hjemmekokker med hell kan slipe sine taggete kniver, er det tider når profesjonell hjelp er berettiget:
- Hvis du har dyre eller avanserte kniver
- Ved håndtering av alvorlig skadede eller forsømte kniver
- Hvis du er ukomfortabel med slipeprosessen
- For kniver med komplekse eller uvanlige serrationsmønstre
Profesjonelle knivslipere har ekspertisen og spesialiserte verktøy for å håndtere utfordrende saker og kan ofte gjenopprette selv sterkt slitte, taggete kniver til som ny tilstand.
Vedlikehold av den taggete kniven mellom slipingene
For å holde den taggete kniven i god ytelse mellom slipingene:
- Bruk den riktig: Unngå å vri eller påføre sidetrykk mens du skjærer.
- Rengjør og tørk umiddelbart etter bruk: Forhindrer korrosjon og flekker.
- Oppbevar den trygt: Bruk en knivblokk, magnetisk stripe eller bladbeskyttelse for å beskytte kanten.
- Bruk et honestål regelmessig: Selv om det ikke skjerper serrations, kan det bidra til å opprettholde kanten.
- Klipp på passende overflater: Bruk skjærebrett av tre eller plast for å unngå unødvendig sløving.
Konklusjon: Hold knivene skarpe og effektive
Å slipe en tagget kniv kan virke skremmende i begynnelsen, men med øvelse og riktig verktøy blir det en håndterlig oppgave som kan forlenge levetiden til bladene dine betraktelig. Ved å følge denne veiledningen og vedlikeholde knivene regelmessig, vil du sikre at de taggete knivene forblir skarpe, trygge og klare for enhver kulinarisk utfordring. Husk disse nøkkelpunktene:
- Forstå knivens anatomi og når den trenger sliping
- Bruk de riktige verktøyene og teknikkene for taggete kniver
- Fokuser på å skjerpe hver serration individuelt
- Oppretthold jevn vinkel og trykk gjennom hele prosessen
- Rengjør og oppbevar knivene på riktig måte for å bevare kanten
Med disse ferdighetene i ditt kulinariske arsenal, vil du alltid ha en skarp takket kniv klar til å takle enhver skjæreoppgave på kjøkkenet ditt.
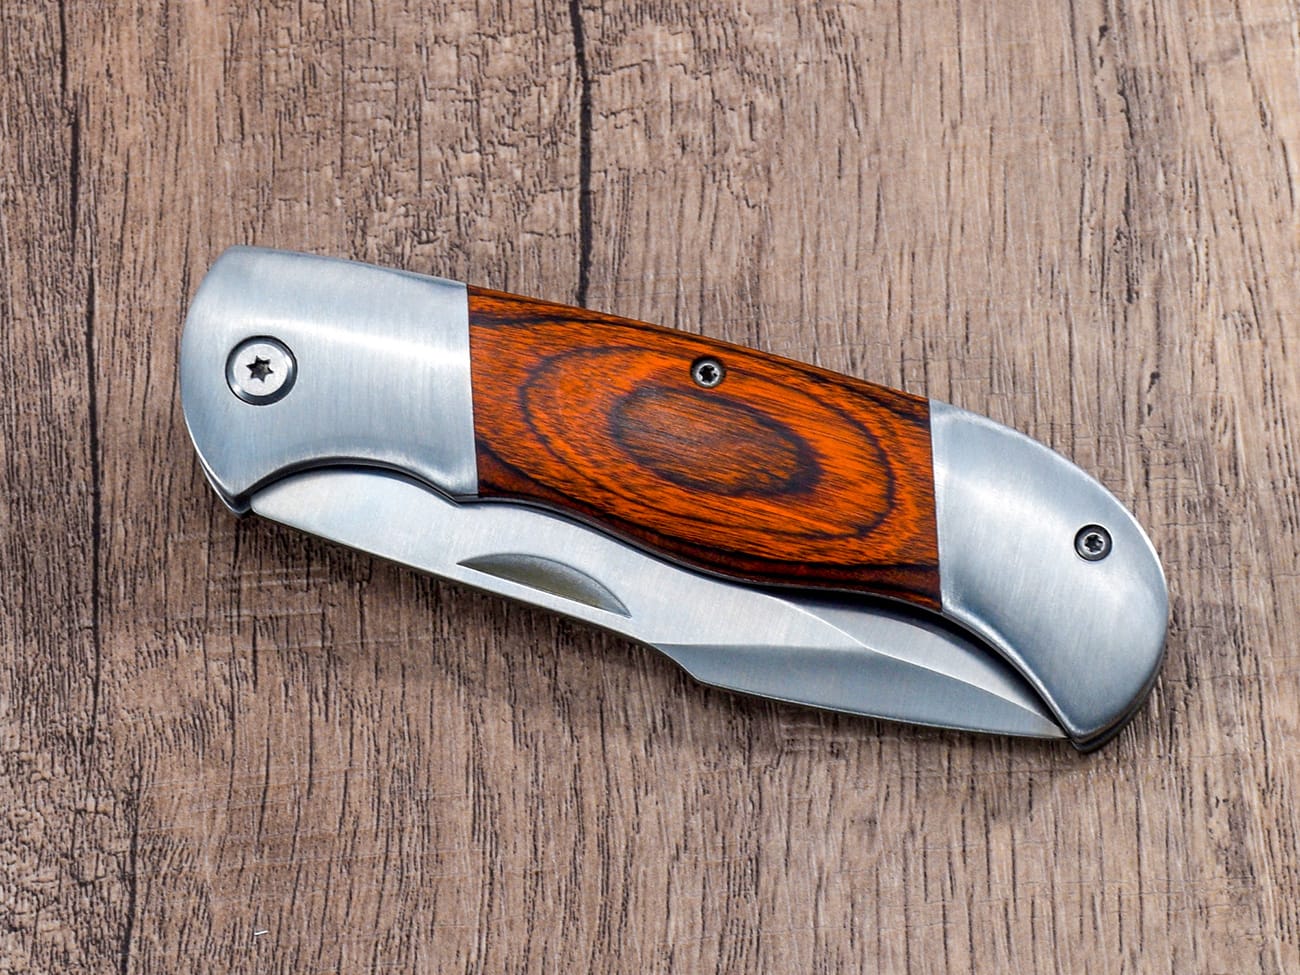
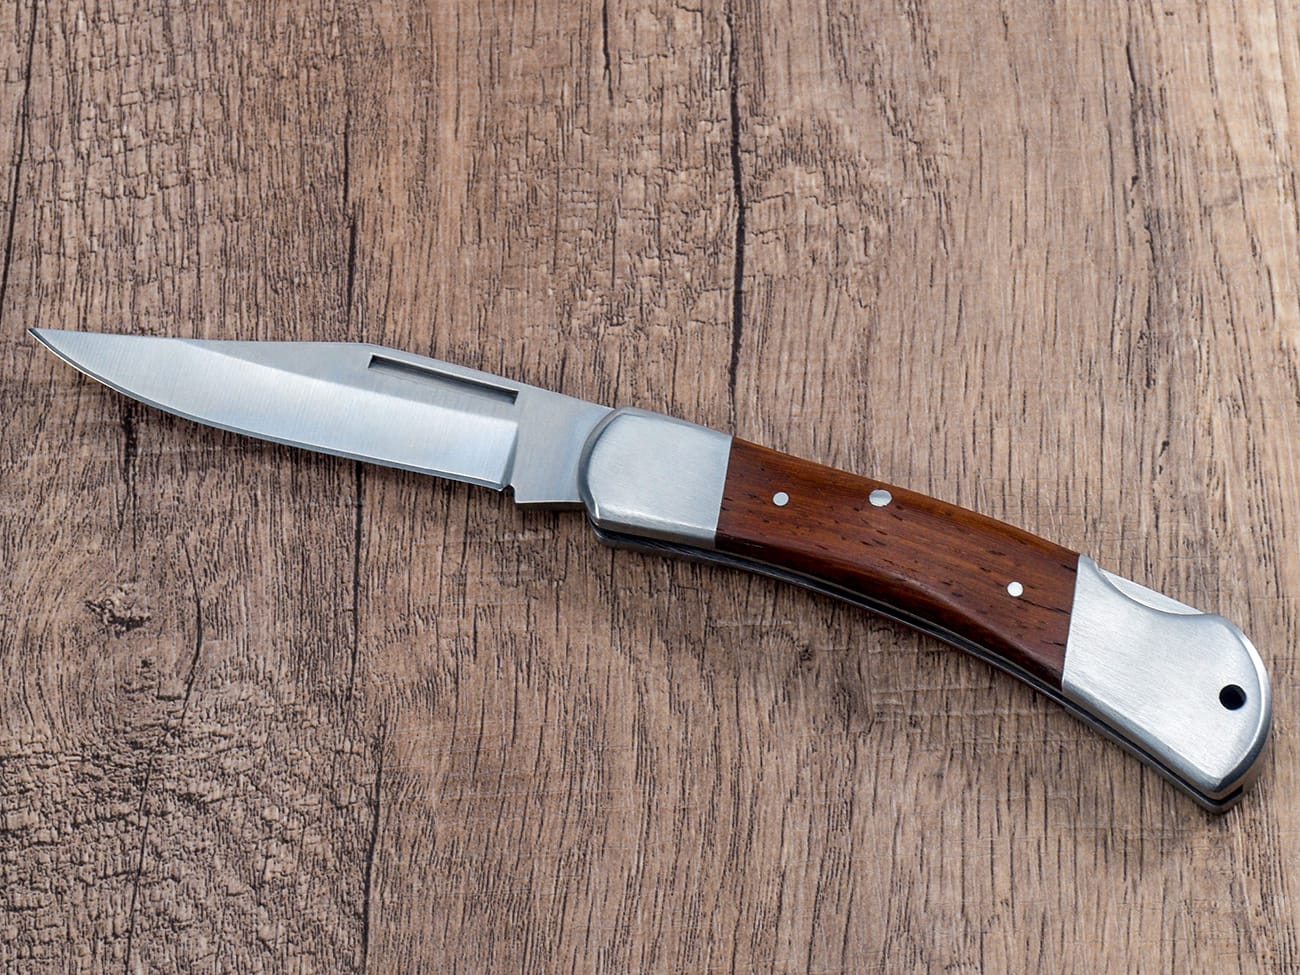
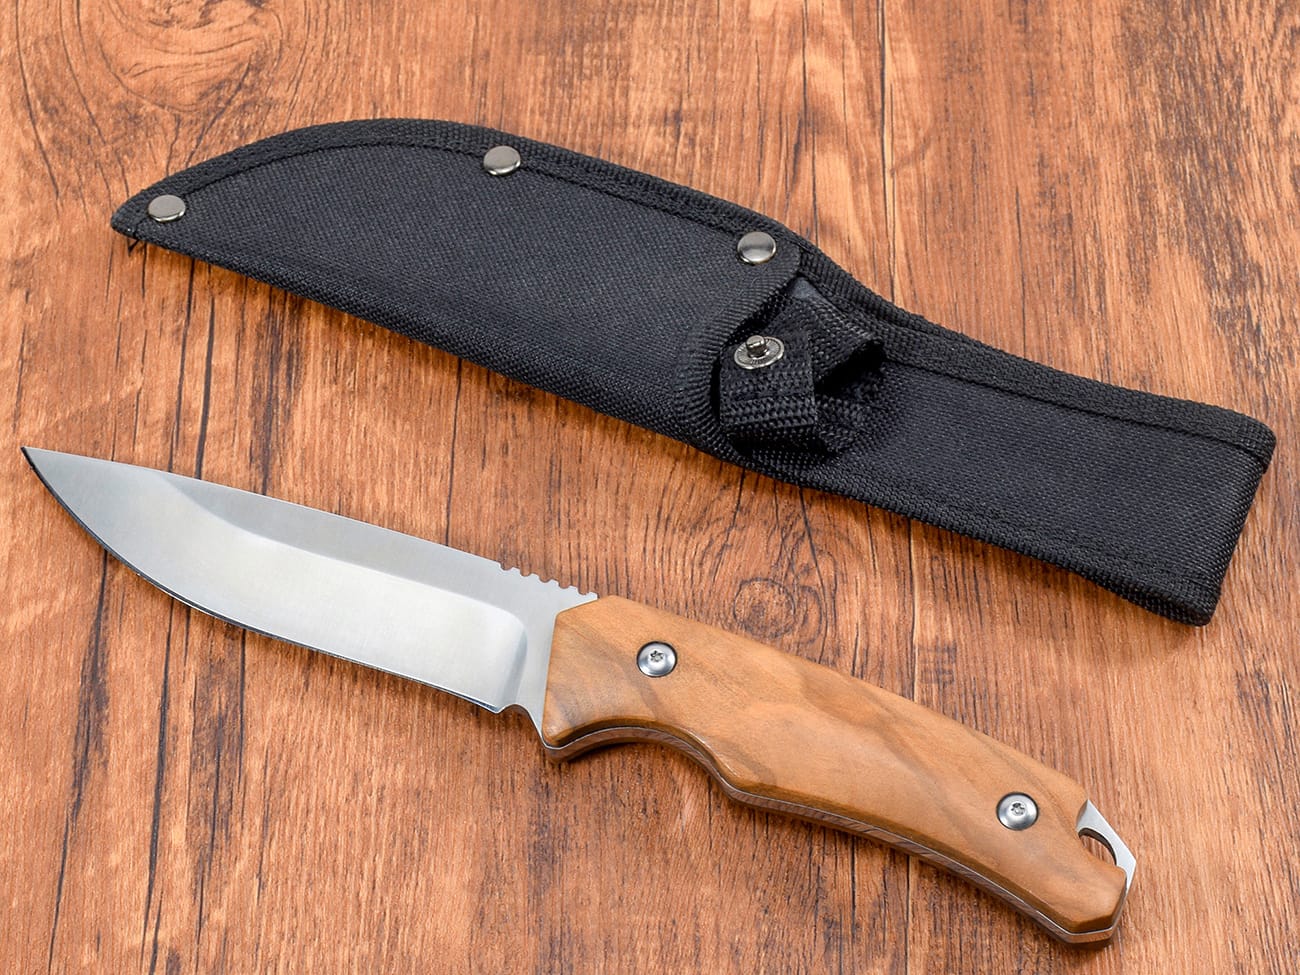
For de som er interessert i å utvide knivsamlingen sin eller ser etter taggete kniver av høy kvalitet, kan du vurdere å utforske vårt utvalg av tilpassede foldekniver med pakkawood håndtak. Disse knivene tilbyr eksepsjonelt håndverk og holdbarhet, noe som gjør dem til et utmerket valg for både hjemmekokker og profesjonelle kokker. Hvis du ser etter en allsidig kniv som kombinerer fordelene med en tagget egg med bekvemmeligheten av en foldemekanisme, 8cr13mov foldekniv i stål med trehåndtak og lommeklemme kan være det perfekte tillegget til kjøkken- eller utendørsutstyret ditt. For de som foretrekker en mer tradisjonell tilnærming, vår spesialtilpasset jaktkniv med pakkawoodskaft og slipt blad tilbyr eksepsjonell kvalitet og presisjon, ideell for ulike skjæreoppgaver både på og utenfor kjøkkenet. Husk at en godt vedlikeholdt kniv er en fryd å bruke og kan forbedre matlagingsopplevelsen din betraktelig. Enten du er en erfaren kokk eller entusiast for hjemmelaget mat, vil investering i kvalitetskniver og lære riktige slipeteknikker tjene deg godt i alle dine kulinariske bestrebelser.

