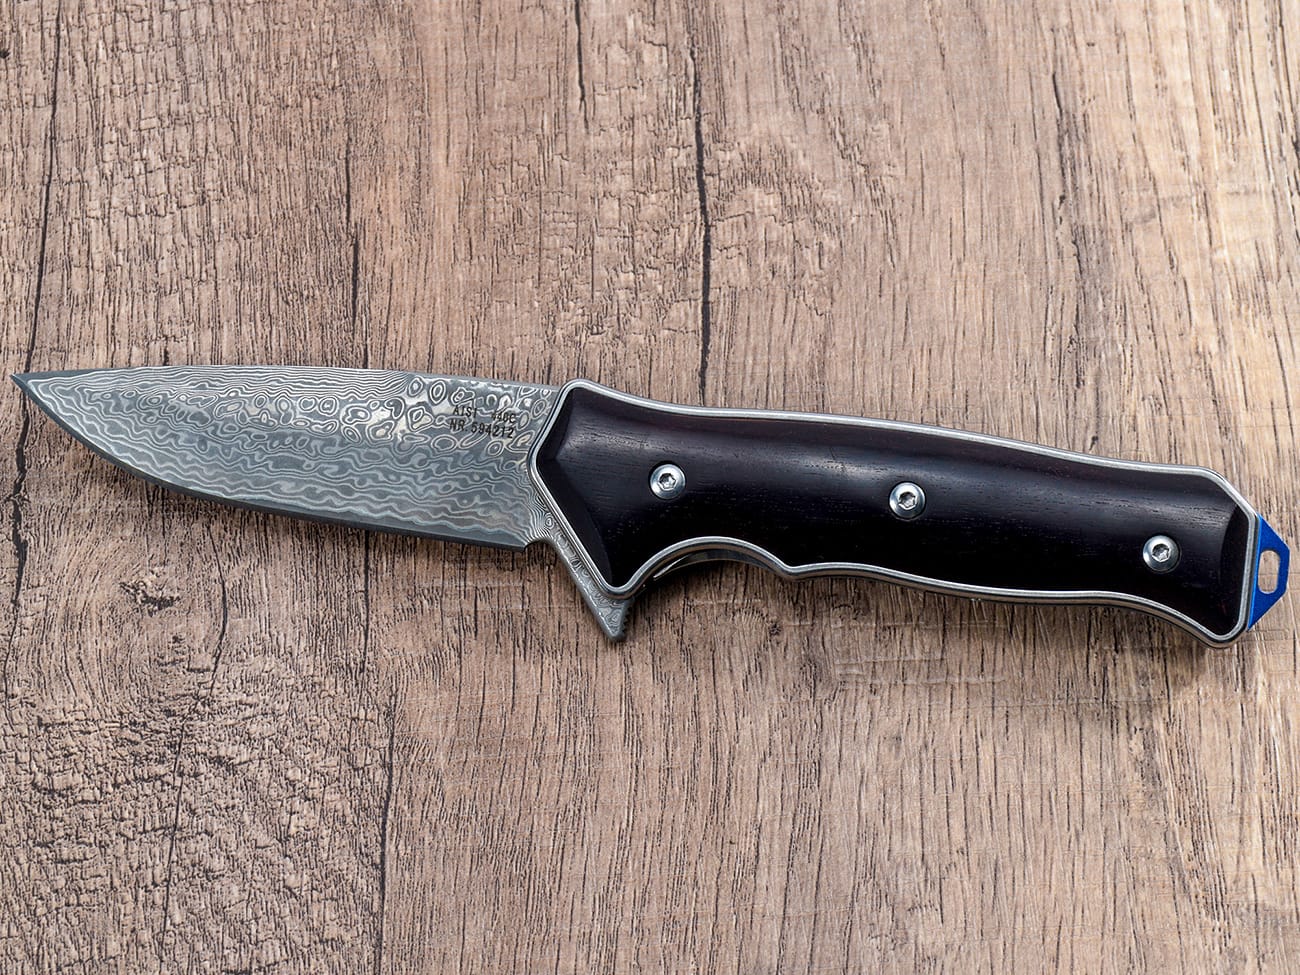
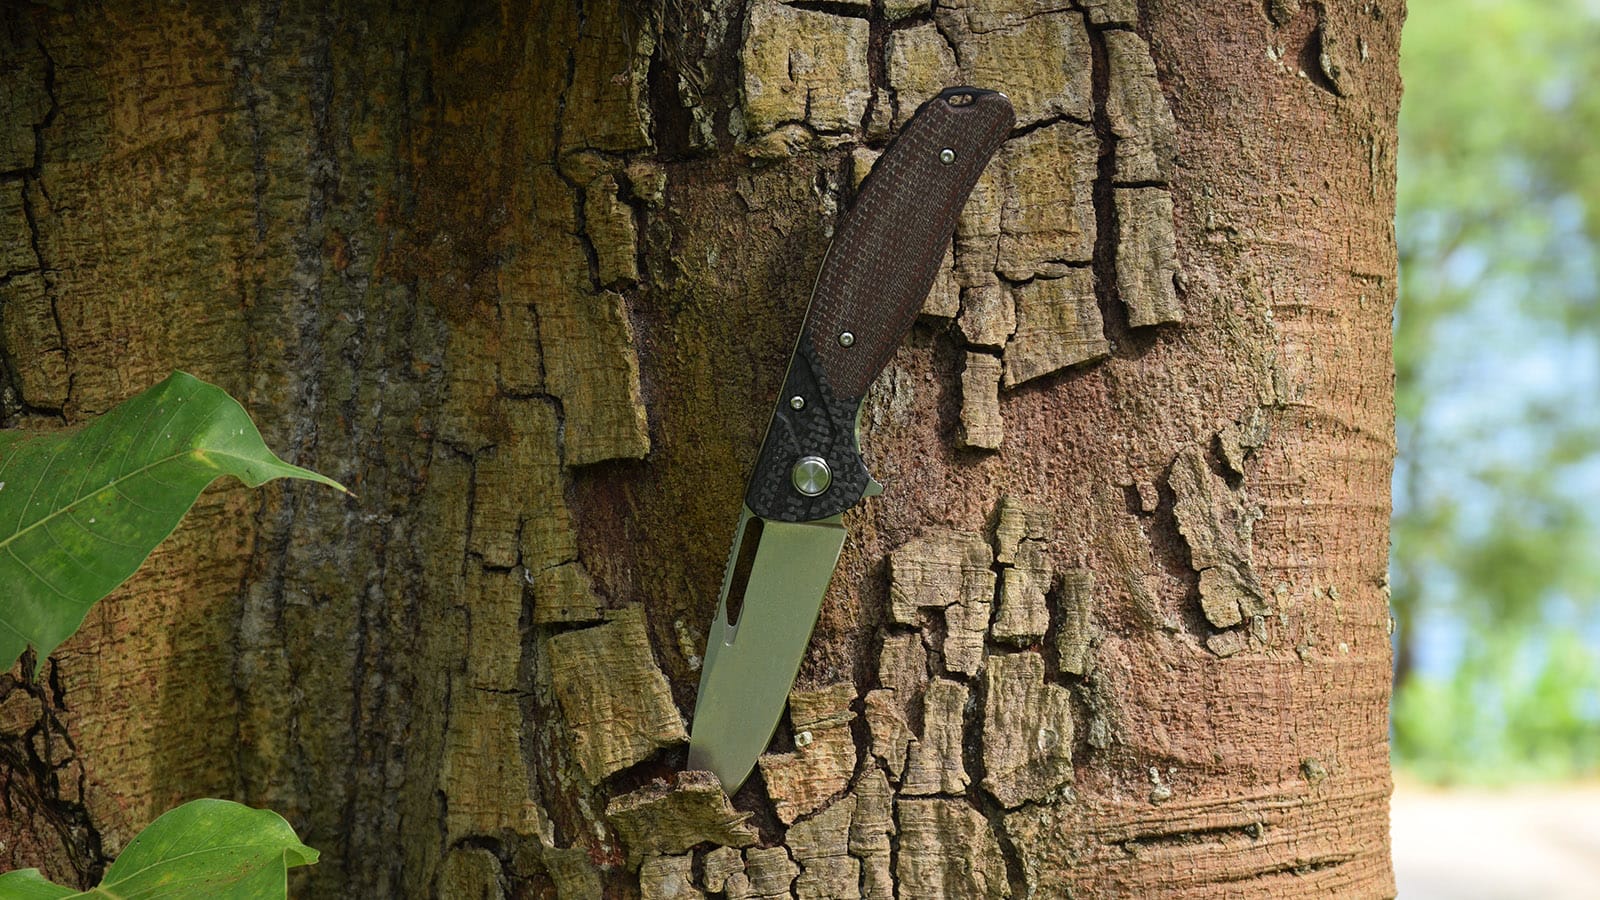
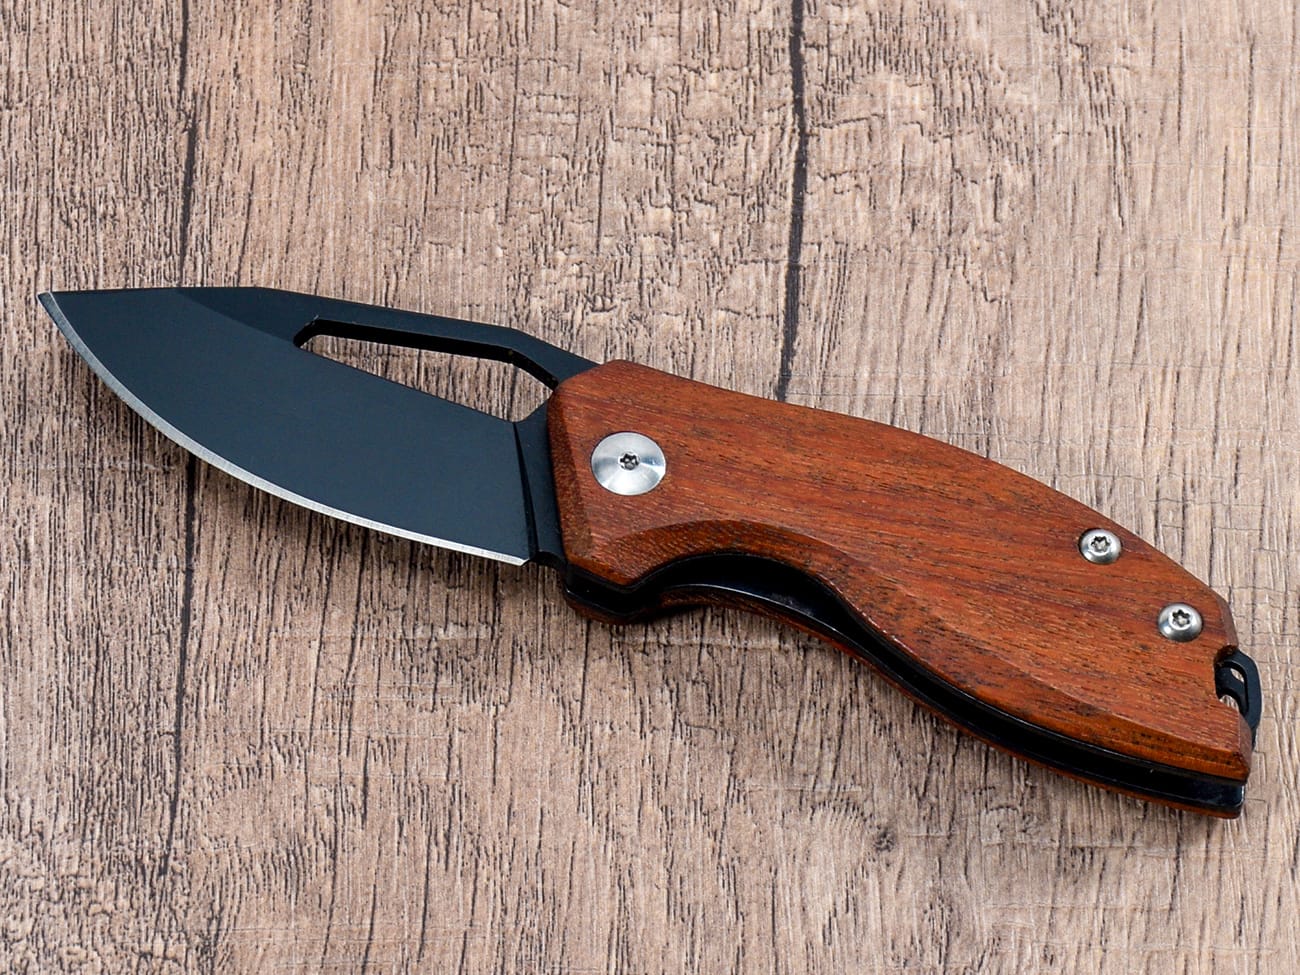
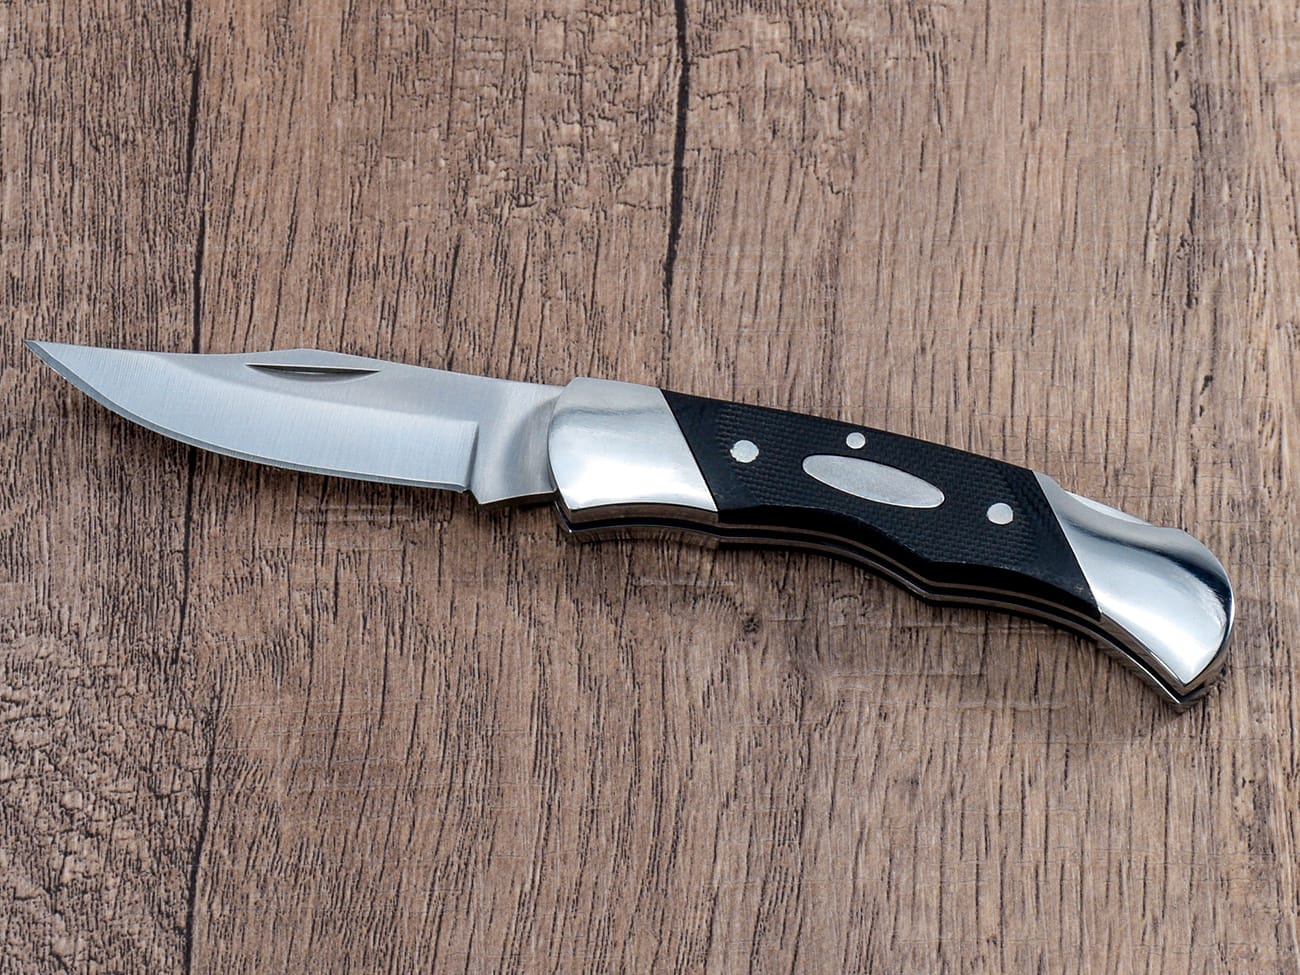
Apakah Anda terpesona oleh seni pembuatan pisau dan ingin membuat pisau lipat saku Anda sendiri? Tidak perlu mencari lebih jauh! Panduan lengkap ini akan memandu Anda melalui proses pembuatan pisau lipat khusus dari awal. Baik Anda seorang pembuat pisau berpengalaman atau pemula yang penasaran, artikel ini akan memberi Anda wawasan, kiat, dan teknik berharga untuk mewujudkan impian pembuatan pisau Anda. Dalam artikel ini, kita akan menjelajahi dunia rumit pembuatan pisau saku, mulai dari pemilihan bahan hingga perakitan produk akhir. Anda akan mempelajari tentang komponen, peralatan, dan keterampilan penting yang dibutuhkan untuk membuat pisau lipat yang fungsional dan menarik secara estetika. Di akhir panduan ini, Anda akan memiliki pengetahuan dan kepercayaan diri untuk memulai perjalanan pembuatan pisau Anda sendiri.
Mengapa Anda Harus Belajar Cara Membuat Pisau Saku?
Sebelum kita menyelami detailnya, mari kita pertimbangkan mengapa belajar membuat pisau saku merupakan usaha yang berharga:
- Kustomisasi: Dengan membuat pisau Anda sendiri, Anda memiliki kendali penuh atas desain, bahan, dan fungsinya.
- Pengembangan keterampilan: Pembuatan pisau menggabungkan berbagai kerajinan, termasuk pengerjaan logam, pengerjaan kayu, dan rekayasa presisi.
- Kepuasan pribadi: Ada rasa bangga yang tak tertandingi dalam membawa dan menggunakan pisau yang Anda buat dengan tangan Anda sendiri.
- Hobi atau bisnis potensial: Dengan latihan, pembuatan pisau dapat berkembang menjadi hobi yang menguntungkan atau bahkan bisnis sampingan yang menguntungkan.
Sekarang setelah kami menggelitik minat Anda, mari jelajahi proses langkah demi langkah untuk membuat pisau saku Anda sendiri.
Bahan dan Alat Apa yang Anda Butuhkan untuk Membuat Pisau Saku?
Sebelum Anda memulai perjalanan membuat pisau, penting untuk mengumpulkan bahan dan peralatan yang diperlukan. Berikut ini daftar lengkap untuk membantu Anda memulai:
Bahan:
- Baja bilah (misalnya, 440C, D2, atau 154CM)
- Menangani bahan (misalnya, G10, Micarta, atau kayu)
- Pin pivot dan ring
- Pin penghenti
- Batang pengunci (untuk mekanisme pengunci liner)
- Klip saku (opsional)
- Sekrup dan spacer
Peralatan:
- Bor dan mata bor
- Penggiling atau sander sabuk
- Kikir dan amplas
- Gergaji besi atau gergaji perhiasan
- Ragum
- Pukulan tengah
- Obeng
- Tang
- Peralatan keselamatan (sarung tangan, kacamata keselamatan, masker debu)
Dengan bahan dan peralatan yang terkumpul, Anda siap memulai petualangan membuat pisau!
Bagaimana Anda Mendesain Pisau Saku Anda?
Langkah pertama dalam membuat pisau saku kustom adalah mendesainnya. Fase krusial ini menjadi dasar untuk keseluruhan proyek Anda. Berikut cara memulai proses desain:
- Buat sketsa ide Anda: Mulailah dengan menggambar sketsa kasar desain pisau Anda. Pertimbangkan bentuk bilah pisau, profil pegangan, dan estetika keseluruhan.
- Tentukan kegunaan pisau: Apakah akan menjadi pisau yang dibawa sehari-hari (EDC), pisau lipat taktis, atau pisau pria? Ini akan memengaruhi pilihan desain Anda.
- Pilih mekanisme penguncian Anda: Tentukan di antara opsi yang populer seperti kunci pelapis, kunci rangka, atau sambungan selip.
- Pilih bahan: Berdasarkan desain dan tujuan penggunaan, pilih baja bilah dan bahan pegangan yang sesuai.
- Buat cetak biru terperinci: Setelah Anda menyempurnakan desain, buat cetak biru yang tepat dengan pengukuran untuk setiap komponen.
Ingat, desain pisau pertama Anda tidak harus terlalu rumit. Sering kali lebih baik untuk memulai dengan desain yang sederhana dan lugas untuk proyek pisau lipat pertama Anda.
Apa Saja Langkah-Langkah Membuat Bilah Pisau Saku?
Bilah pisau adalah jantung pisau saku Anda, dan membuatnya memerlukan kesabaran dan ketelitian. Berikut panduan langkah demi langkah untuk membuat bilah pisau Anda:
- Pindahkan desain Anda: Jiplak desain bilah pisau Anda ke baja menggunakan spidol permanen atau juru tulis.
- Potong bentuk dasar: Gunakan gergaji besi, gergaji perhiasan, atau gerinda sudut untuk memotong bentuk kasar bilah pisau Anda.
- Memperbaiki profil: Gunakan kikir dan penggiling sabuk untuk memperbaiki profil bilah dan buat garis halus.
- Bor lubang pivot: Tandai dan bor lubang pivot dengan hati-hati menggunakan mesin bor tekan atau bor tangan.
- Mengasah bevel: Ciptakan ujung tajam bilah dengan mengasah bevel primer dan sekunder. Langkah ini memerlukan kesabaran dan latihan untuk mencapai geometri yang diinginkan.
- Perlakuan panas pada bilah: Untuk mengeraskan baja dan meningkatkan kinerjanya, Anda perlu melakukan perlakuan panas pada bilah. Proses ini melibatkan pemanasan baja hingga suhu tertentu dan kemudian mendinginkannya dalam minyak atau air.
- Temper bilah: Setelah mengeras, temper bilah untuk mengurangi kerapuhan dan meningkatkan ketangguhan. Ini melibatkan pemanasan ulang bilah ke suhu yang lebih rendah selama waktu tertentu.
- Pembentukan dan penyelesaian akhir: Setelah diberi perlakuan panas, lakukan pembentukan dan pemolesan akhir untuk memperoleh hasil akhir bilah pisau yang Anda inginkan.
Ingat, bekerja dengan baja memerlukan tindakan pencegahan keselamatan yang tepat. Selalu kenakan alat pelindung yang sesuai dan bekerjalah di area yang berventilasi baik.
Bagaimana Anda Membuat Gagang untuk Pisau Saku Anda?
Gagang pisau lipat Anda tidak hanya memberikan pegangan yang nyaman, tetapi juga menampung mekanisme pengunci dan komponen lainnya. Berikut cara membuat gagang yang sempurna untuk pisau lipat Anda:
- Pilih bahan pegangan Anda: Pilihan yang populer meliputi G10, Micarta, kayu, atau logam. Setiap bahan memiliki sifat dan daya tarik estetika yang unik.
- Potong dan bentuk sisik pegangan: Dengan menggunakan cetak biru Anda, potong dua sisik pegangan sedikit lebih besar dari dimensi akhir Anda.
- Lubang bor: Tandai dan bor lubang untuk pivot, pin penghenti, dan perangkat keras lainnya.
- Buat ceruk batang kunci: Jika menggunakan kunci pelapis, potong ceruk untuk batang kunci dengan hati-hati.
- Bentuk dan kontur: Gunakan kikir, amplas, dan penggiling sabuk untuk membentuk dan mengkontur skala pegangan agar pegangan nyaman.
- Selesaikan gagangnya: Amplas gagang hingga kehalusan yang Anda inginkan dan aplikasikan pelapis akhir (misalnya, minyak untuk gagang kayu).
Ingatlah untuk menguji kecocokan bilah pisau dan komponen lainnya selama proses pembuatan gagang guna memastikan semuanya sejajar dengan benar.
Apa Proses Perakitan Pisau Saku Anda?
Setelah komponen bilah dan gagang siap, saatnya merakit pisau saku Anda. Ikuti langkah-langkah berikut:
- Pasang poros dan ring: Letakkan ring pada kedua sisi bilah dan masukkan pin poros melalui pegangan, bilah, dan ring.
- Tambahkan pin penghenti: Masukkan pin penghenti melalui gagang dan bilah.
- Pasang batang pengunci: Jika menggunakan kunci lapisan, masukkan batang pengunci secara hati-hati ke dalam ceruk pegangan.
- Pasang skala pegangan kedua: Sejajarkan dan pasang skala pegangan kedua dengan hati-hati, pastikan semua komponen terpasang dengan pas.
- Pasang sekrup dan spacer: Tambahkan spacer yang diperlukan dan kencangkan semuanya dengan sekrup yang sesuai.
- Sesuaikan ketegangan pivot: Atur ketegangan pivot secara halus untuk pengoperasian bilah yang lancar.
- Tambahkan klip saku (opsional): Jika diinginkan, pasang klip saku ke pegangan.
- Uji pisau: Buka dan tutup bilah beberapa kali untuk memastikan pengoperasian yang lancar dan penguncian yang benar.

Bagaimana Anda Memastikan Pisau Saku Anda Berfungsi dengan Baik?
Setelah dirakit, sangat penting untuk menguji dan menyempurnakan pisau saku Anda guna memastikannya berfungsi dengan sempurna. Berikut ini beberapa aspek penting yang perlu diperiksa:
- Pemusatan bilah: Saat tertutup, bilah harus berada di tengah antara sisik pegangan.
- Penguncian: Kunci harus terkunci dengan aman saat bilah terbuka, tanpa gerak atau goyangan.
- Pengoperasian yang lancar: Bilah harus dapat dibuka dan ditutup dengan lancar tanpa tersangkut atau tersangkut.
- Penahan yang tepat: Harus ada ketegangan yang cukup untuk menjaga bilah tetap tertutup saat tidak digunakan.
- Penjajaran tepi: Pastikan ujung pemotongan lurus dan sejajar dengan benar.
Jika Anda menemui kendala, jangan berkecil hati. Pemecahan masalah dan penyesuaian merupakan bagian dari proses pembelajaran dalam pembuatan pisau.
Apa Saja Tantangan Umum dalam Membuat Pisau Saku?
Seperti halnya kerajinan lainnya, membuat pisau saku memiliki tantangan tersendiri. Berikut ini beberapa rintangan umum yang mungkin Anda hadapi dan cara mengatasinya:
- Mencapai geometri bilah pisau yang tepat: Latihlah teknik pengasahan Anda dan luangkan waktu untuk memastikan kemiringan yang rata dan konsisten.
- Perlakuan panas: Jika Anda baru dalam perlakuan panas, pertimbangkan untuk mengirim bilah pisau Anda ke layanan perlakuan panas profesional untuk hasil optimal.
- Menyelaraskan komponen: Luangkan waktu Anda selama perakitan dan gunakan ganjal jika perlu untuk memastikan penyelarasan yang tepat.
- Menyempurnakan mekanisme penguncian: Ketegangan dan pengikatan batang pengunci mungkin memerlukan penyetelan halus untuk kinerja optimal.
- Sentuhan akhir: Mencapai hasil akhir berkualitas tinggi memerlukan latihan. Mulailah dengan grit yang lebih kasar dan secara bertahap beralih ke grit yang lebih halus untuk tampilan yang mengilap.
Ingat, pembuatan pisau adalah keterampilan yang meningkat dengan latihanJangan berkecil hati jika percobaan pertama Anda tidak sempurna – setiap pisau yang Anda buat akan lebih baik dari sebelumnya.
Bagaimana Anda Dapat Menyesuaikan Pisau Saku Anda?
Salah satu kesenangan membuat pisau saku sendiri adalah kemampuan untuk menyesuaikannya dengan keinginan Anda. Berikut ini beberapa cara untuk membuat pisau Anda benar-benar unik:
- Finishing bilah pisau: Bereksperimenlah dengan finishing bilah pisau yang berbeda seperti stonewashed, acid-etched, atau hand-rubbed.
- Bahan pegangan: Cobalah kayu eksotis, serat karbon, atau bahkan pegangan micarta khusus untuk tampilan yang unik.
- Bentuk bilah: Jelajahi berbagai profil bilah seperti drop point, tanto, atau wharncliffe.
- Elemen dekoratif: Tambahkan kikir pada tulang punggung atau ukir pola pada pegangan.
- Anodisasi: Jika menggunakan komponen titanium, cobalah anodisasi untuk mendapatkan aksen warna-warni.
- Klip saku khusus: Rancang dan buat klip saku unik yang melengkapi estetika pisau Anda.
Kemungkinan untuk penyesuaian hampir tidak terbatas, memungkinkan Anda membuat pisau saku yang benar-benar mencerminkan gaya dan preferensi Anda.
Tindakan pencegahan keselamatan apa saja yang mesti diambil saat membuat pisau saku?
Keselamatan harus selalu menjadi prioritas utama Anda saat membuat pisau lipat. Berikut ini beberapa kiat keselamatan penting yang perlu diingat:
- Kenakan alat pelindung: Selalu gunakan kacamata keselamatan, sarung tangan, dan masker debu saat bekerja dengan peralatan dan material.
- Bekerja di area yang berventilasi baik: Ventilasi yang tepat sangat penting, terutama saat bekerja dengan bahan kimia atau menghasilkan debu.
- Tangani peralatan dengan hati-hati: Biasakan diri Anda dengan setiap peralatan dan gunakan dengan benar untuk menghindari kecelakaan.
- Amankan benda kerja Anda: Selalu gunakan ragum atau klem untuk mengamankan material Anda saat mengerjakannya.
- Waspadalah terhadap bagian yang tajam: Pegang pisau Anda dengan hati-hati, terutama setelah diasah.
- Ikuti prosedur perlakuan panas yang tepat: Jika melakukan perlakuan panas di rumah, pastikan Anda memiliki peralatan dan pengetahuan yang tepat untuk melakukannya dengan aman.
- Jaga ruang kerja Anda tetap bersih: Ruang kerja yang rapi mengurangi risiko kecelakaan dan membantu Anda bekerja lebih efisien.
Dengan mengikuti panduan keselamatan ini, Anda dapat menikmati proses pembuatan pisau sambil meminimalkan risiko.
Bagaimana Anda Dapat Terus Meningkatkan Keterampilan Membuat Pisau?
Seperti halnya kerajinan lainnya, kunci untuk meningkatkan keterampilan membuat pisau adalah latihan dan pembelajaran berkelanjutan. Berikut ini beberapa cara untuk meningkatkan kemampuan Anda:
- Bergabunglah dengan forum dan komunitas pembuatan pisau: Terhubung dengan pembuat pisau lainnya untuk berbagi pengalaman dan mempelajari teknik baru.
- Hadiri pameran dan lokakarya pisau: Acara ini menawarkan kesempatan untuk belajar dari pembuat pisau berpengalaman dan melihat pekerjaan mereka dari dekat.
- Bereksperimenlah dengan berbagai desain dan bahan: Tantang diri Anda dengan mencoba bentuk bilah, bahan pegangan, atau mekanisme penguncian baru.
- Pelajari karya para pembuat pisau ahli: Analisis desain dan teknik yang digunakan oleh para pembuat pisau terkenal untuk mendapatkan inspirasi.
- Dokumentasikan kemajuan Anda: Buatlah jurnal atau blog tentang proyek pembuatan pisau Anda untuk melacak kemajuan Anda dari waktu ke waktu.
- Berinvestasilah pada peralatan berkualitas: Saat Anda maju, pertimbangkan untuk meningkatkan peralatan Anda agar pekerjaan lebih tepat dan efisien.
- Mintalah masukan: Jangan takut untuk meminta kritik yang membangun dari pembuat pisau lain atau calon pengguna pisau Anda.
Ingat, setiap pisau yang Anda buat adalah kesempatan untuk belajar dan mengasah keterampilan Anda. Nikmati perjalanan dan proses menjadi pembuat pisau yang terampil.
Kesimpulan: Merangkul Seni Pembuatan Pisau Saku
Membuat pisau saku sendiri adalah proses yang mengasyikkan dan mengasyikkan yang menggabungkan seni, teknik, dan keterampilan. Dengan mengikuti panduan ini dan mendedikasikan waktu untuk berlatih dan bereksperimen, Anda akan berada di jalur yang tepat untuk membuat pisau saku yang cantik dan fungsional yang dapat Anda banggakan. Saat Anda melanjutkan perjalanan membuat pisau, ingatlah poin-poin penting berikut:
- Mulailah dengan desain yang sederhana dan secara bertahap tingkatkan kompleksitas seiring bertambahnya pengalaman Anda.
- Utamakan keselamatan di bengkel Anda dan saat menangani peralatan dan material.
- Perhatikan detail pada setiap langkah proses, dari desain hingga perakitan akhir.
- Jalani proses pembelajaran dan jangan berkecil hati dengan tantangan awal.
- Teruslah berusaha untuk meningkatkan keterampilan dan pengetahuan Anda dalam seni pembuatan pisau.
Baik Anda membuat pisau untuk penggunaan pribadi, sebagai hadiah untuk teman dan keluarga, atau mungkin sebagai usaha bisnis, keterampilan yang Anda kembangkan dalam pembuatan pisau saku akan berguna bagi Anda. Jadi, kumpulkan bahan-bahan Anda, siapkan ruang kerja Anda, dan mulailah perjalanan yang mengasyikkan ini ke dunia pembuatan pisau khusus. Selamat berkarya!


